
When you try to delete some files from your system, you may encounter issues such as permission restrictions, or corrupted files that prevent deletion through conventional methods. Even deleting data through the Recycle Bin may not be enough, and specialized software may be able to recover them. These circumstances could lead to sensitive data leakage.
The File Shredder feature of WMaster Cleanup uses military-grade technology to shred files. It restricts data recovery by overwriting file contents and deleting index information, making it an effective way for users to protect their privacy.
Part 1. Key Features of WMaster Cleanup's File Shredder
- It uses secure overwriting methods, ensuring files are not recoverable by any technical means.
- It can shred files that are locked, in use, or corrupted.
- The feature is accessible through software launch or via right-click menu shortcuts.
- Through batch processing, it can shred multiple files at once.
Part 2. How to Use WMaster Cleanup's File Shredder Feature
You have two methods for using WMaster Cleanup's "File Shredder" feature. To use this feature, first download and install WMaster Cleanup from the official website.
Method 1: Shred files with WMaster Cleanup Software
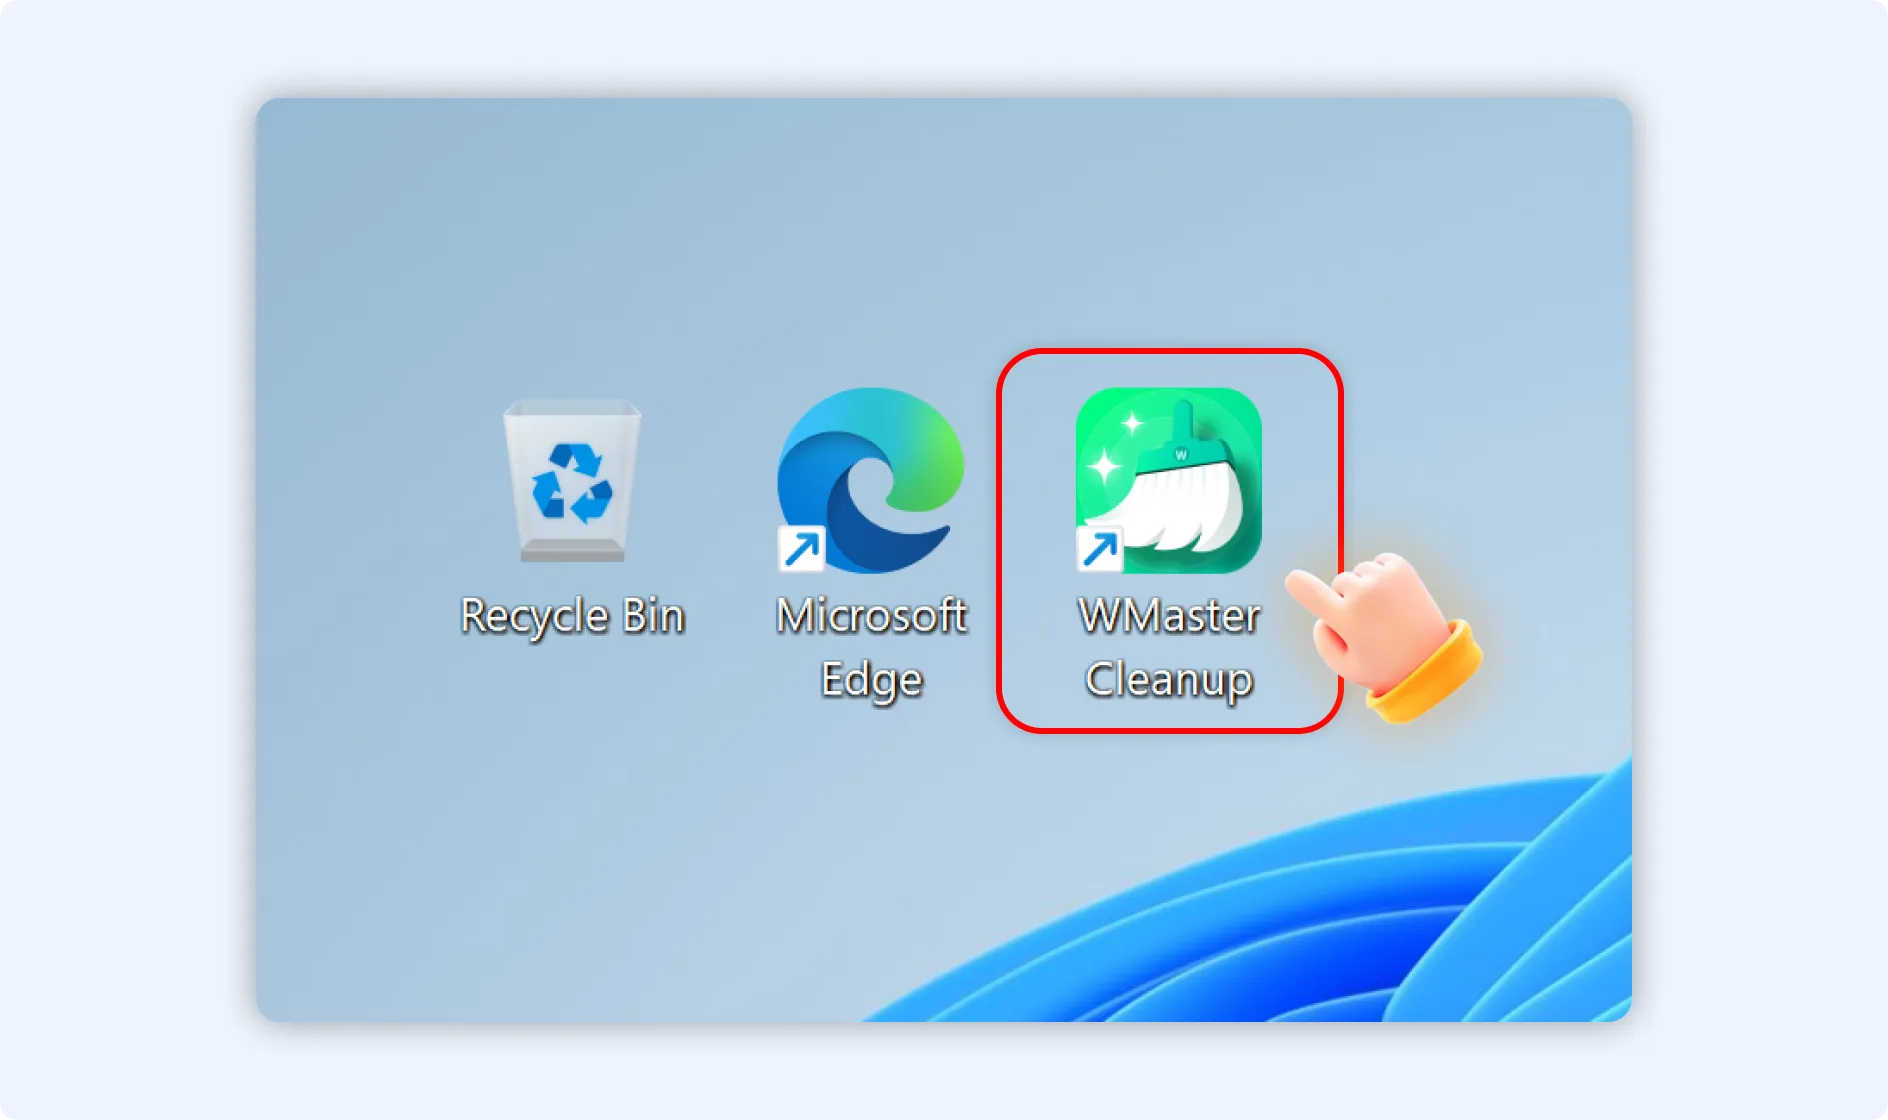
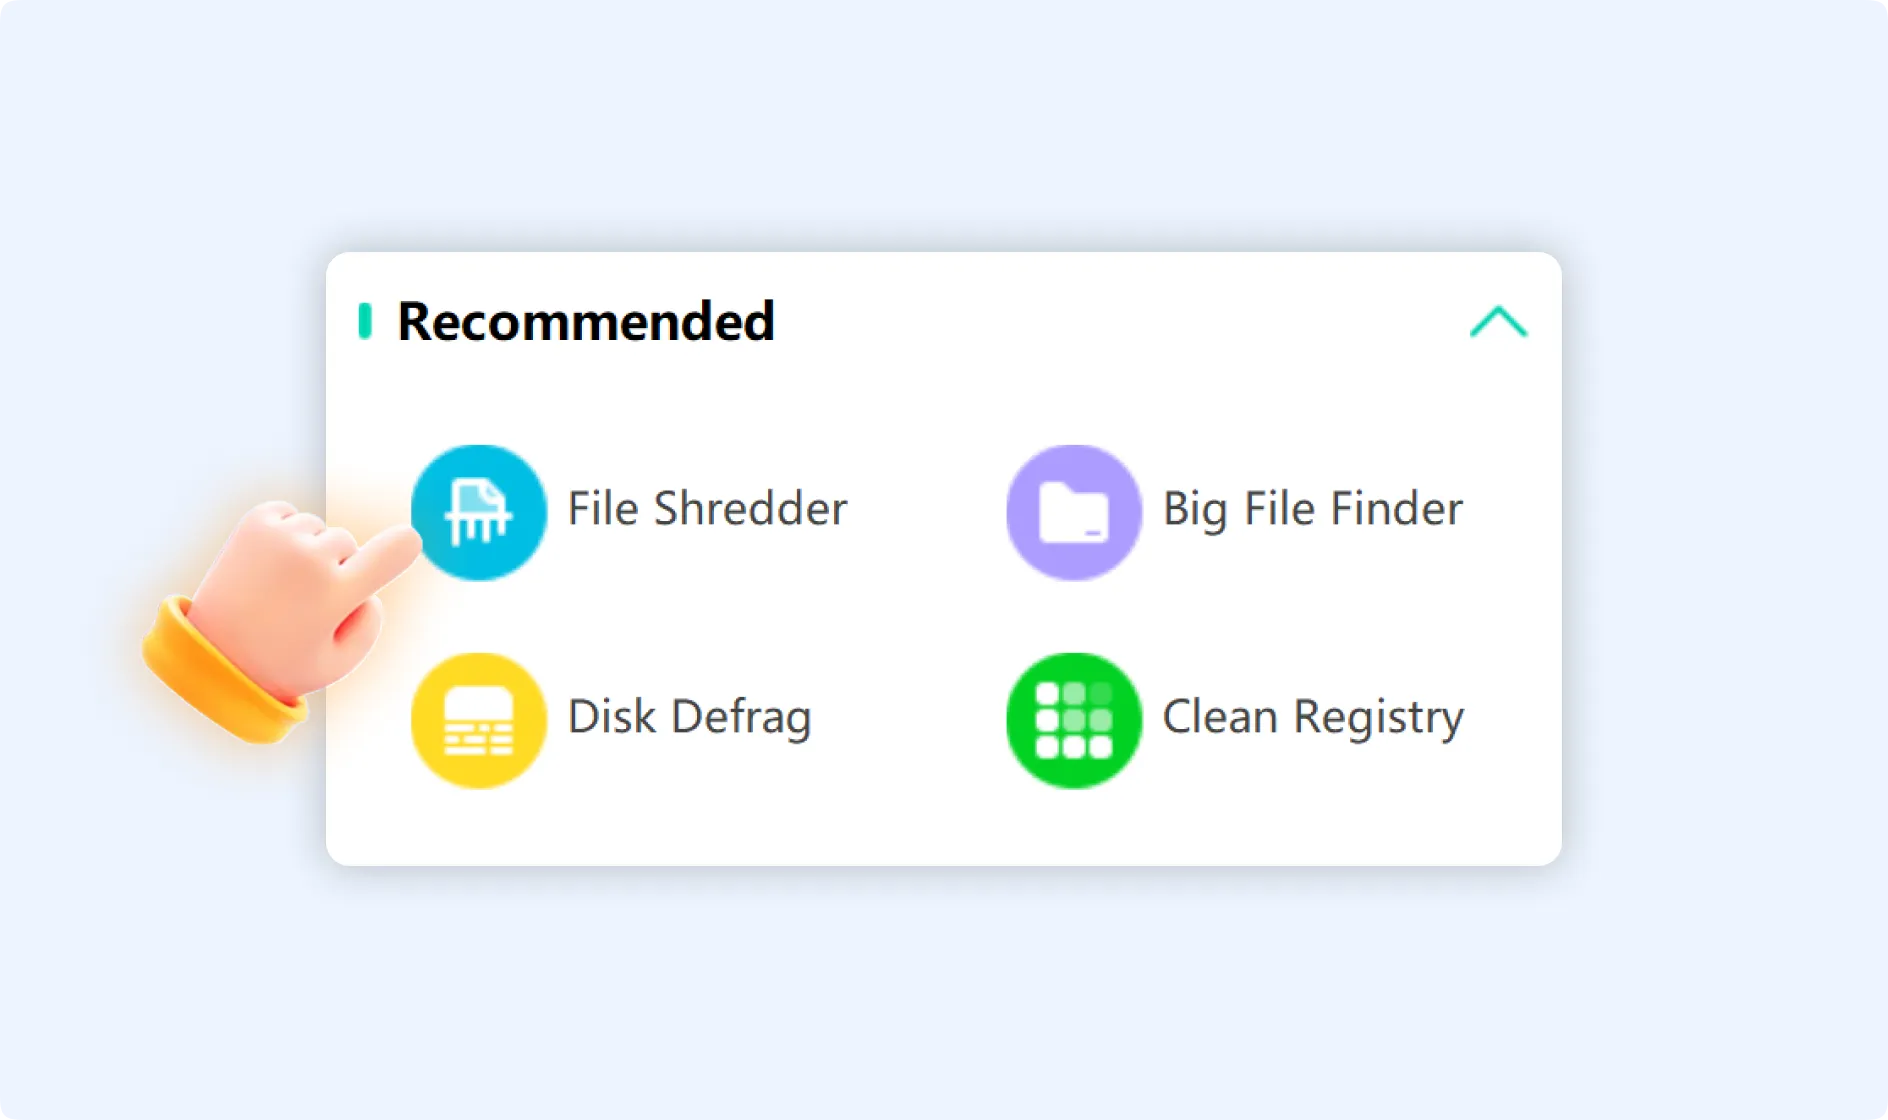
Step 1: Double-click the WMaster Cleanup icon to launch its main interface. In the "Recommended" section, locate the "File Shredder" feature, and then tap on it to open the feature panel.
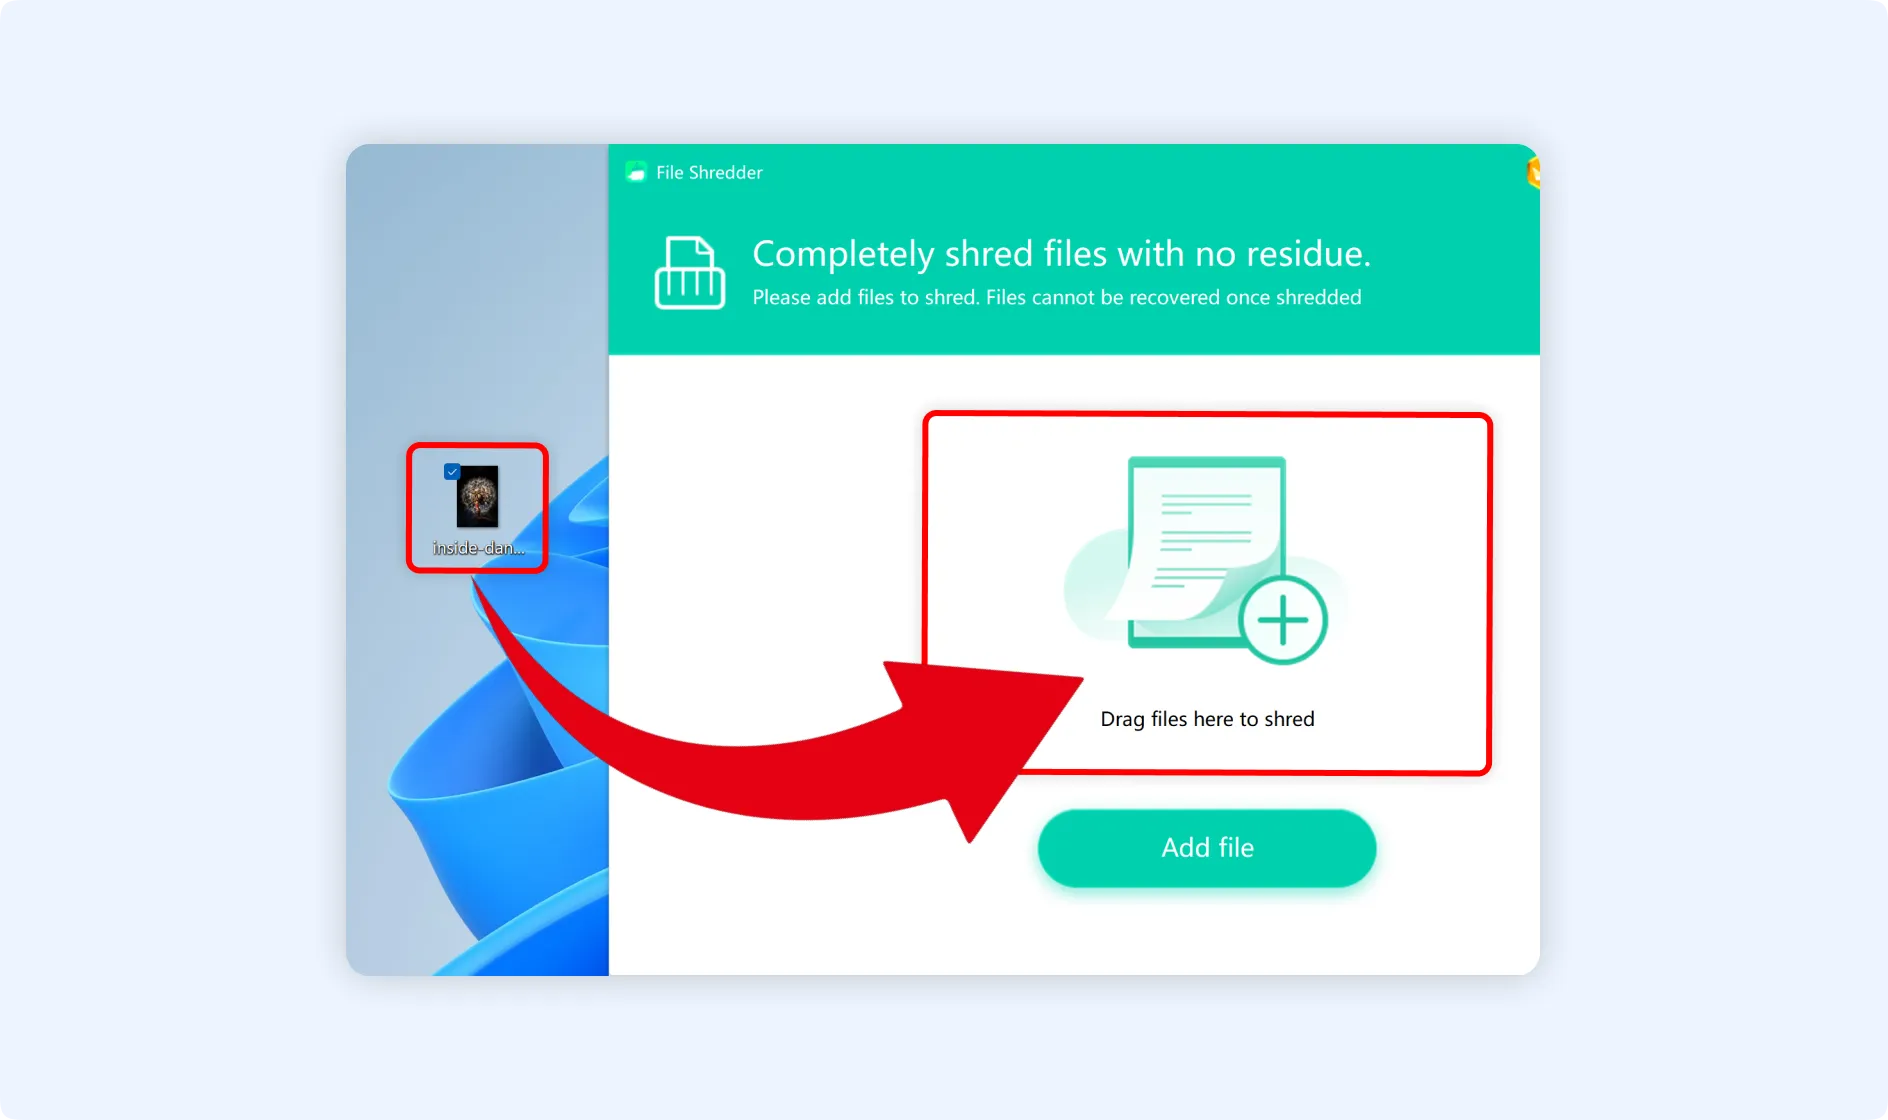
Step 2: Add desired files for shredding using one of the methods listed below. Both methods allow you to add files in batches.
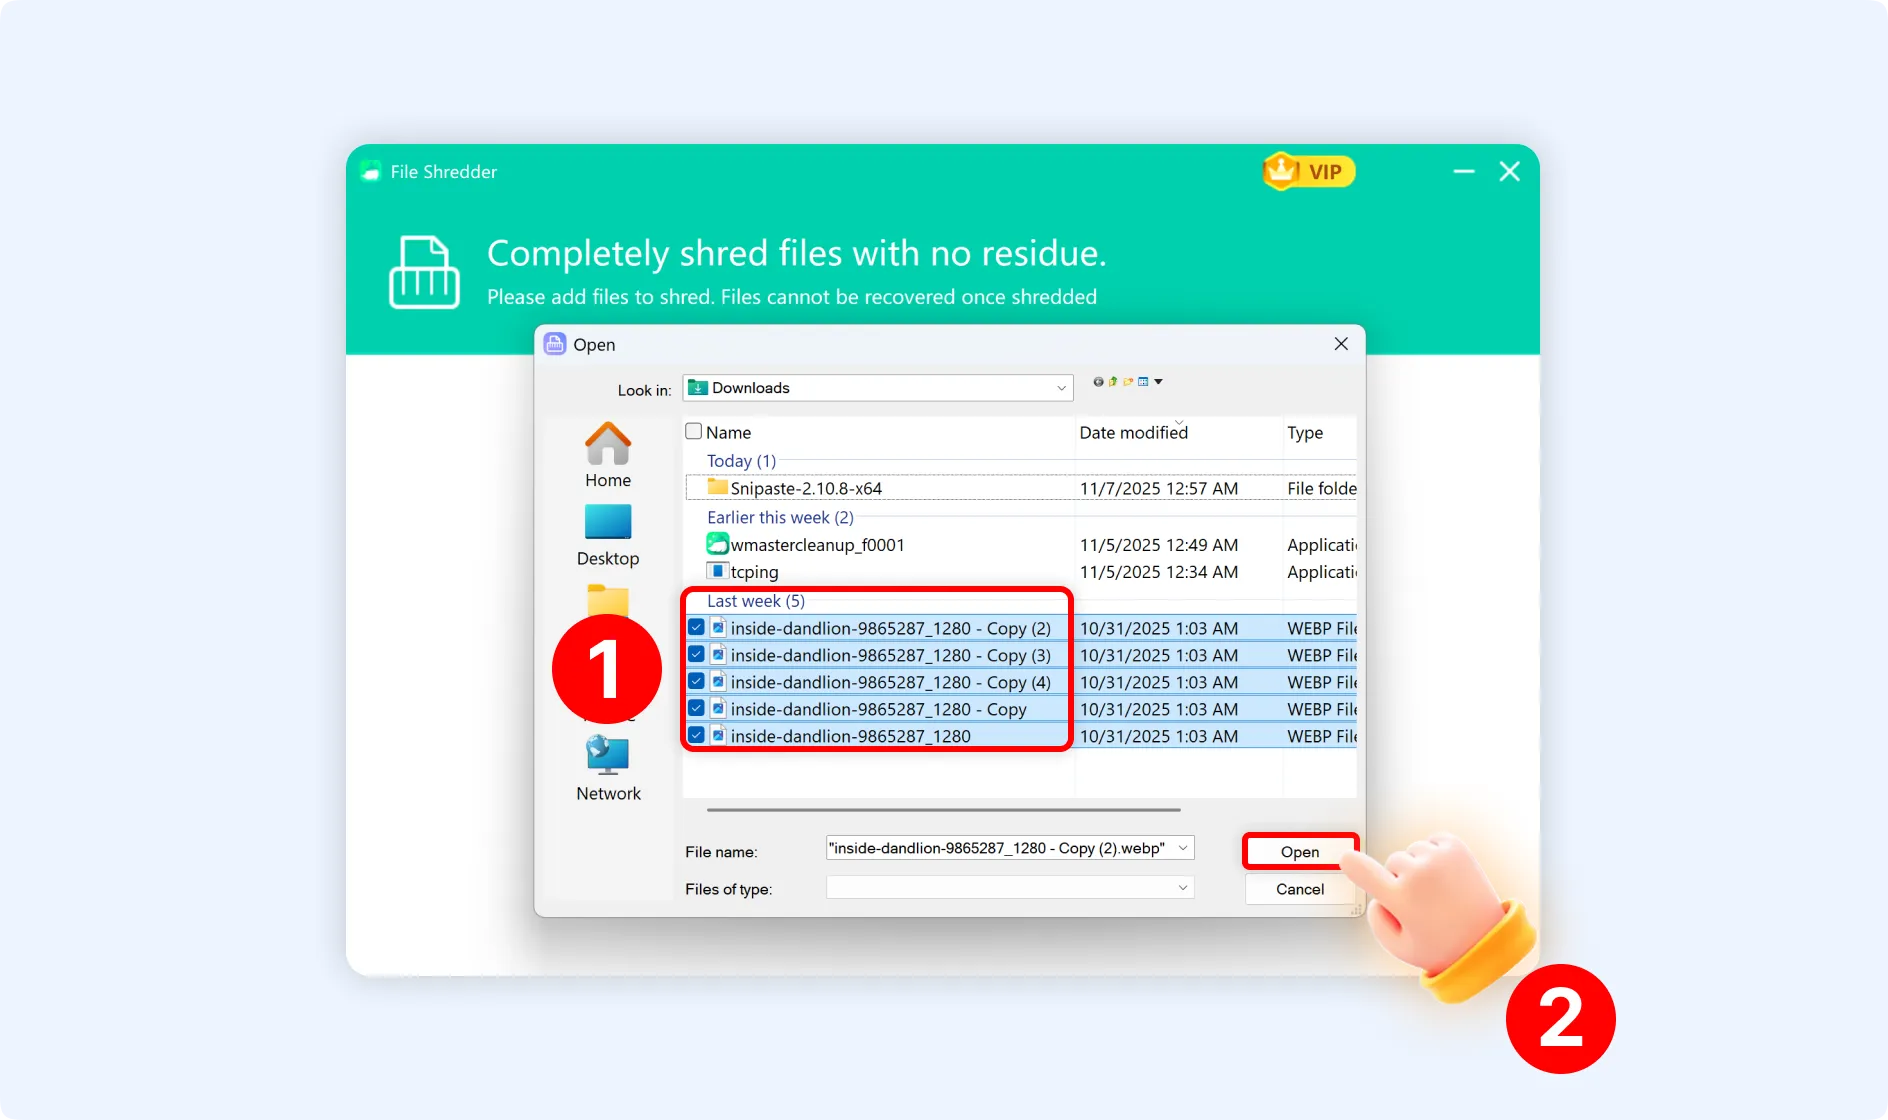
Step 2.1: Click the "Add File" button, then select files from the pop-up window.
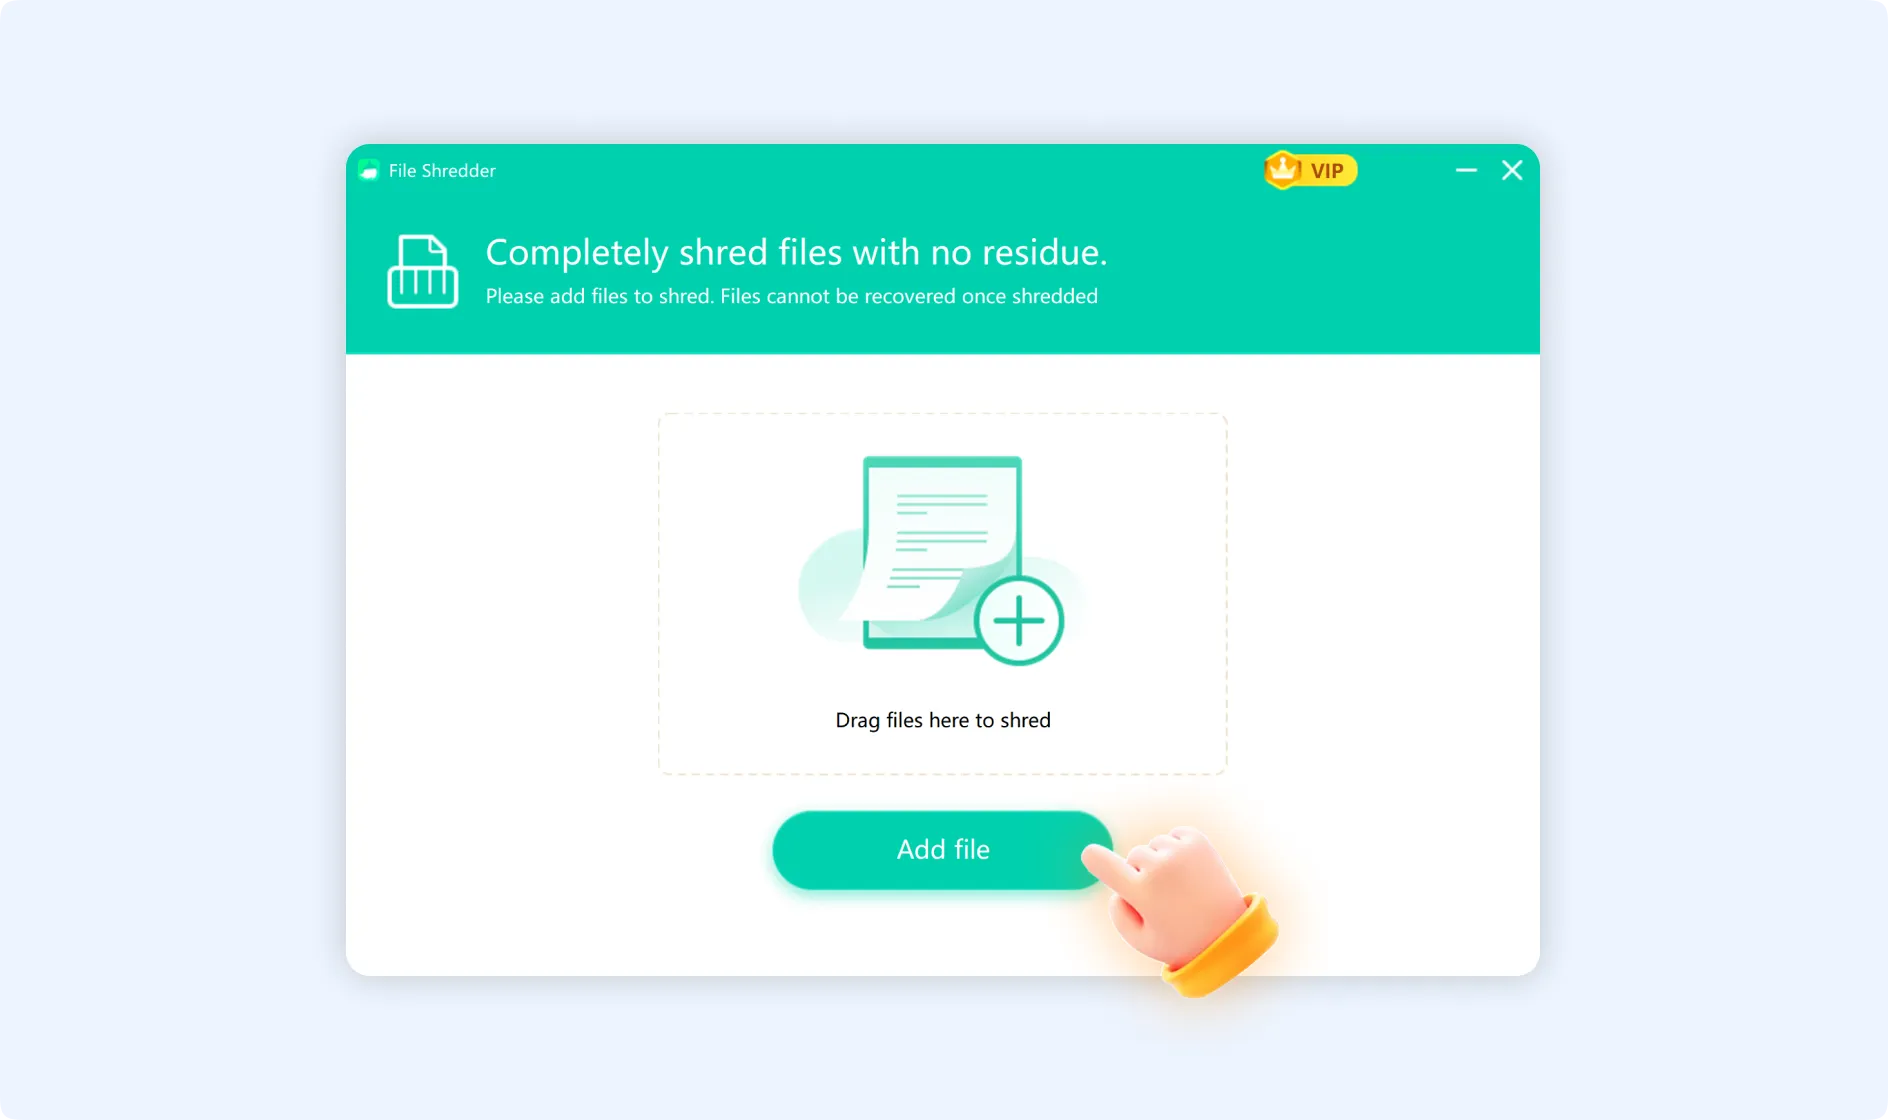
Step 2.2: Drag and drop files directly into the function panel.
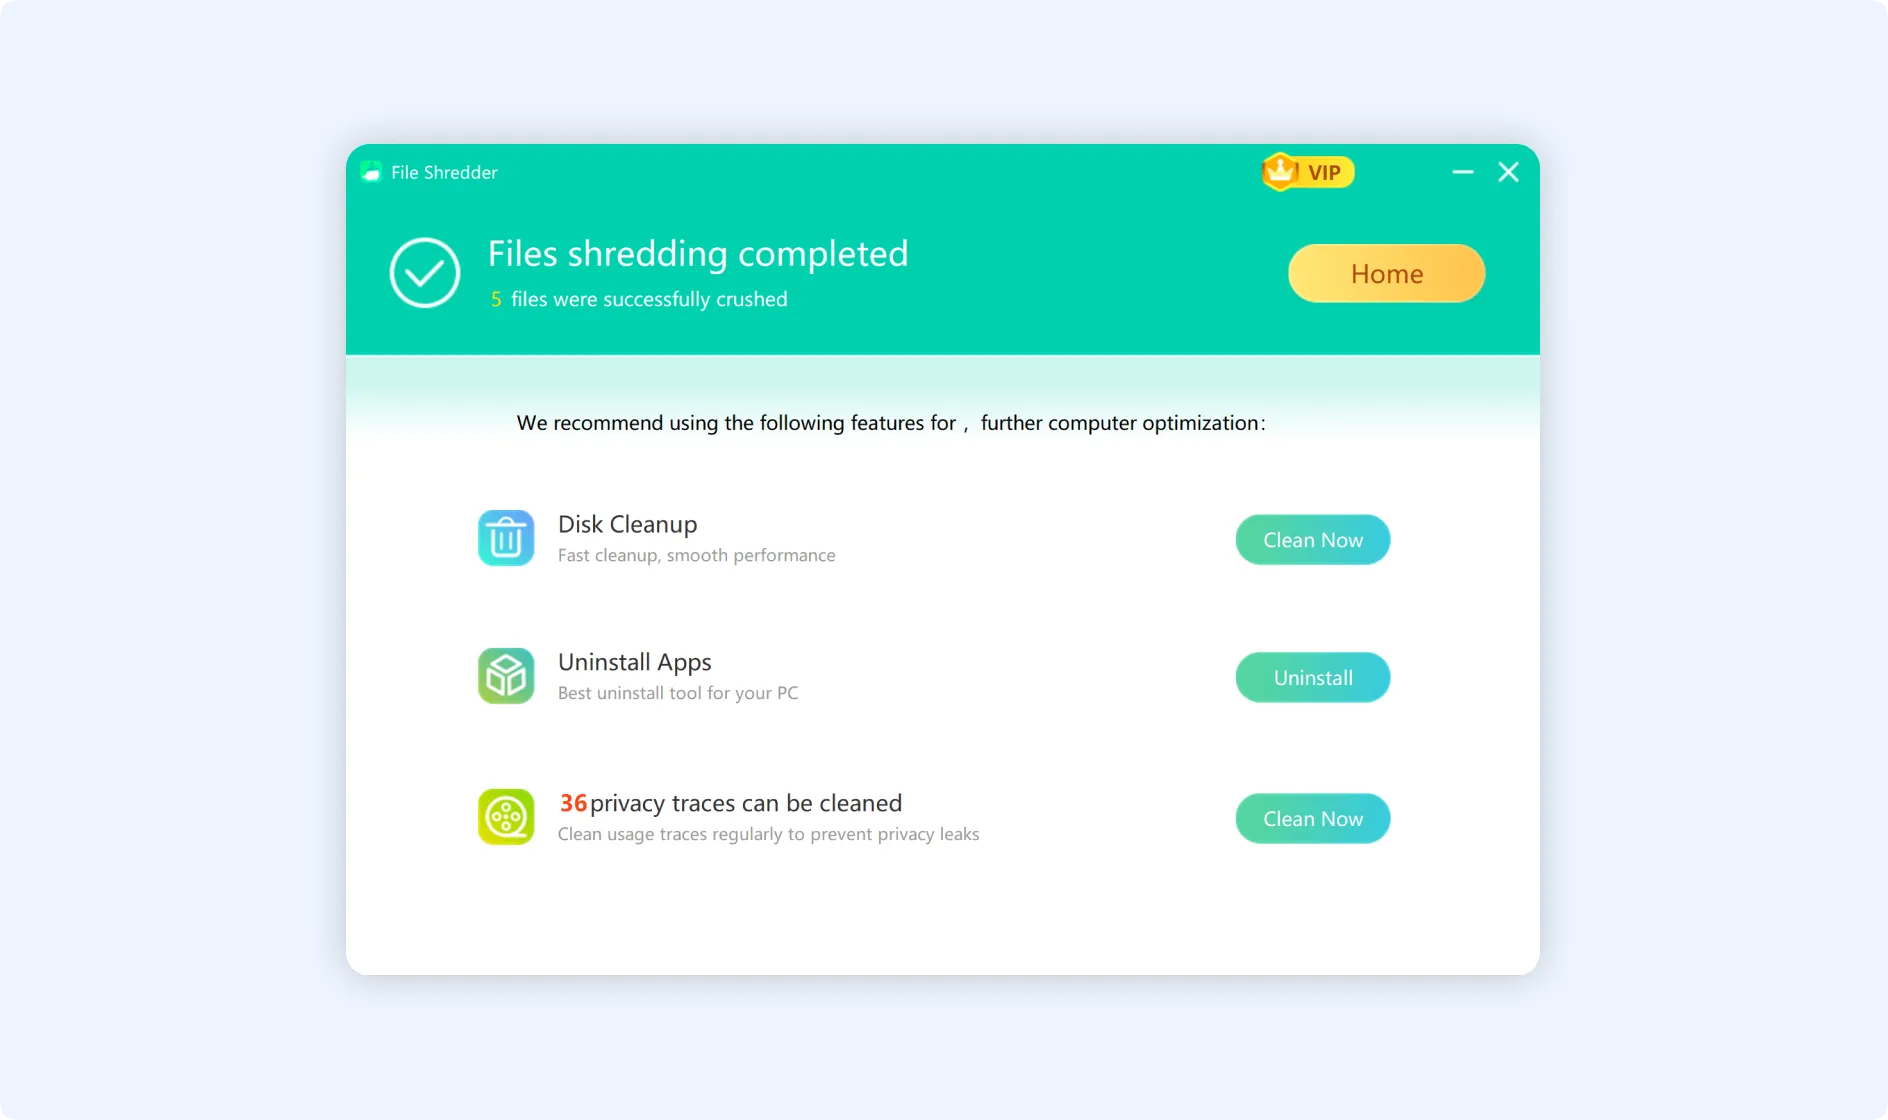
Step 3: After verifying the files, click the "Shred" button. The system will offer a second confirmation window, warning that the shredded files cannot be recovered. Click the "Delete" button for approval, and the files will be permanently deleted.

Method 2: Shred files With the WMaster Cleanup Right-click Menu
Step 1: Navigate to the file that you want to shred. Right-click the file and then select "Completely Shred File" from the context menu.

Step 2: In WMaster Cleanup, navigate to the "File Shredder" function panel. You can just click "Shred" to permanently delete the file.

