The Windows Registry is the main system database, and when you frequently install and uninstall software, it generates a number of residual registry entries. The junk found in the registry not only takes up system resources, but it also makes programs crash and the system unstable.
The Windows Registry is the main system database, and when you frequently install and uninstall software, it generates a number of residual registry entries. The junk found in the registry not only takes up system resources, but it also makes programs crash and the system unstable.
The Clean Registry feature of WMaster Cleanup is an effective way to clean the registry. This feature scans and removes invalid keys, program remnants, and registry entries intelligently. Additionally, it includes a built-in backup and restore option. This will keep the system safe while also boosting its performance—making the registry work better.
Part 1. Core Features of WMaster Cleanup "Clean Registry"
- It automatically finds and organizes several registry issues, such as invalid installs, file associations, startup items, and entries in the context menu.
- Smart recognition algorithms prevent the accidental deletion of critical system registry entries during cleanup.
- It automatically backs up the registry state before cleaning so that you can restore it with only one click.
Part 2. How to Use the "Clean Registry" Feature in WMaster Cleanup
Visit the WMaster Cleanup official web page to download and install WMaster Cleanup before using the Clean Registry feature.
There are some risks that come with clearing the computer's registry. Even though WMaster Cleanup has a safe way to back up your files, we suggest that you carefully look over the scan results before starting the cleanup process to ensure accuracy.
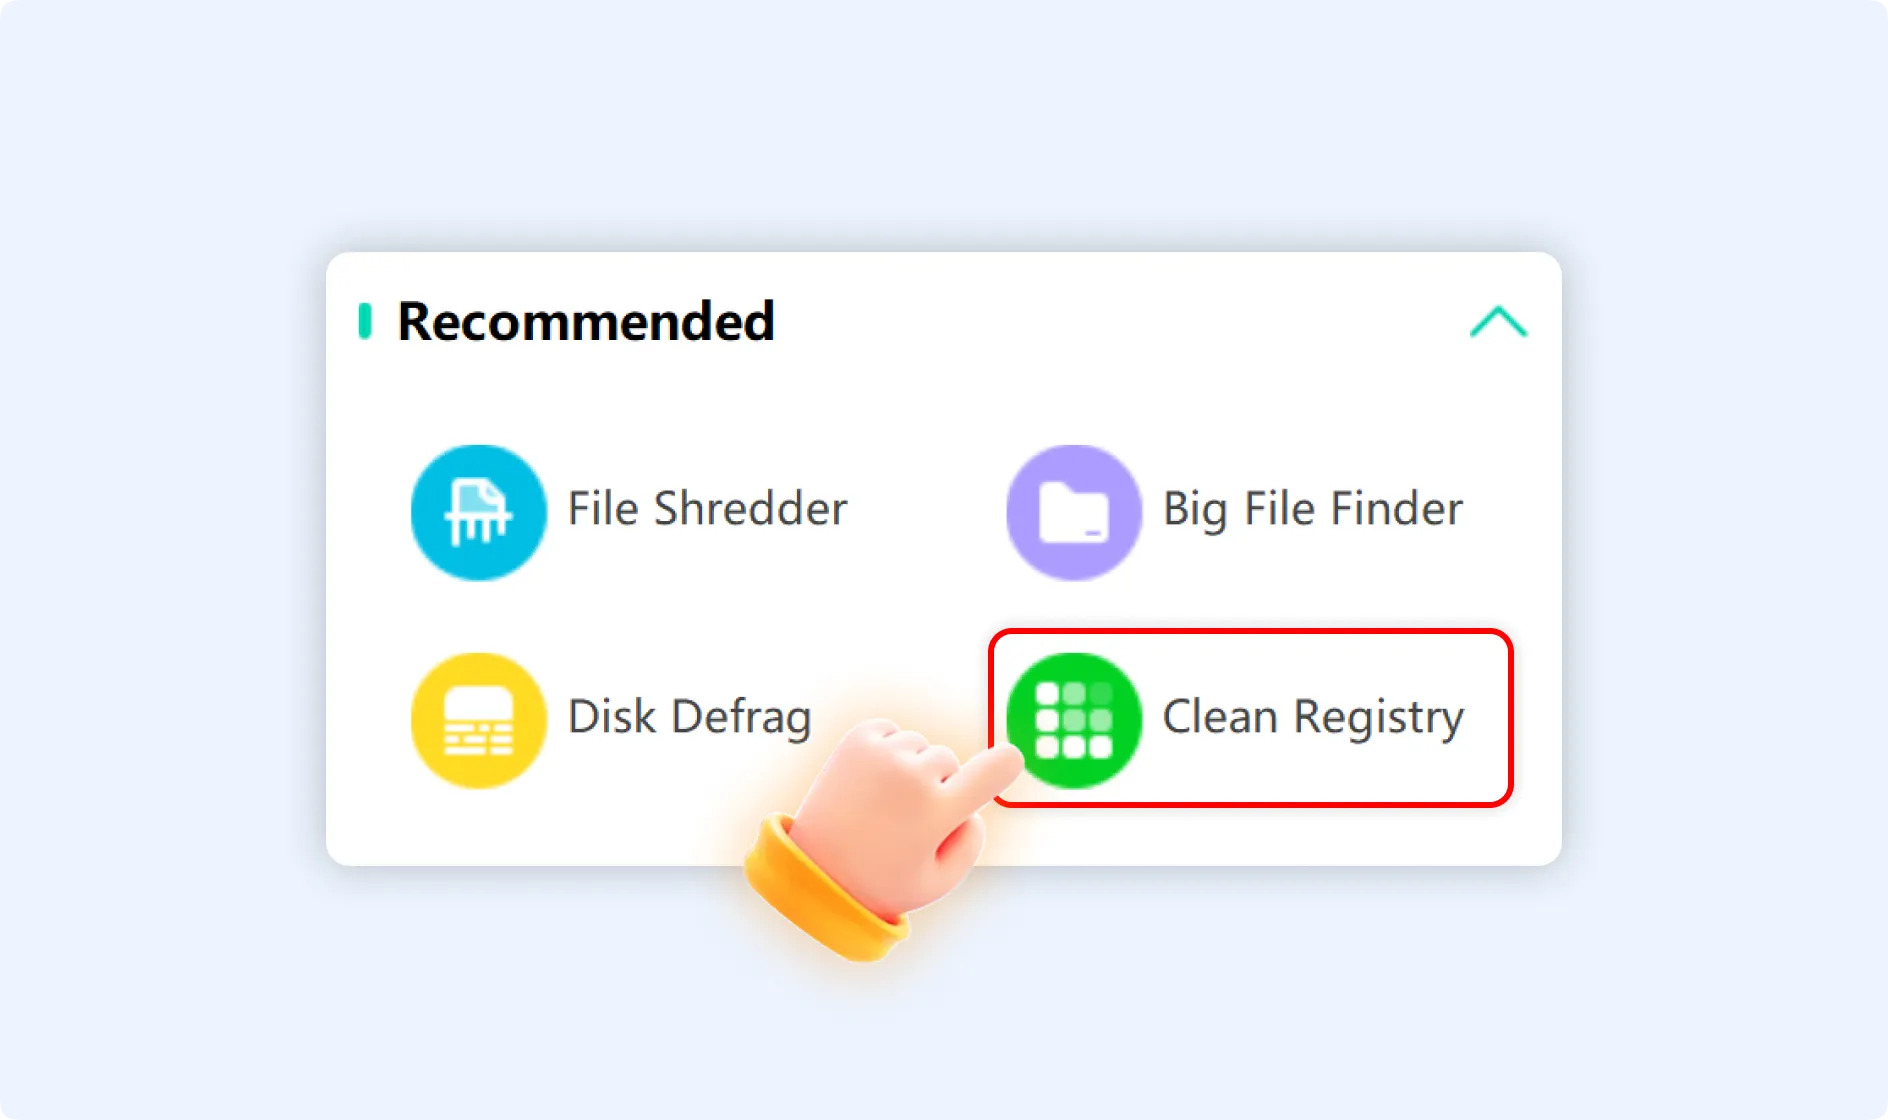
Step 1: After installation, launch the WMaster Cleanup software on your desktop. Look for the "Clean Registry" feature on the main interface and tap on it.
Step 2: Once you are in the Clean Registry interface, click the "Scan" button in the top right corner to begin the scanning process of the registry.
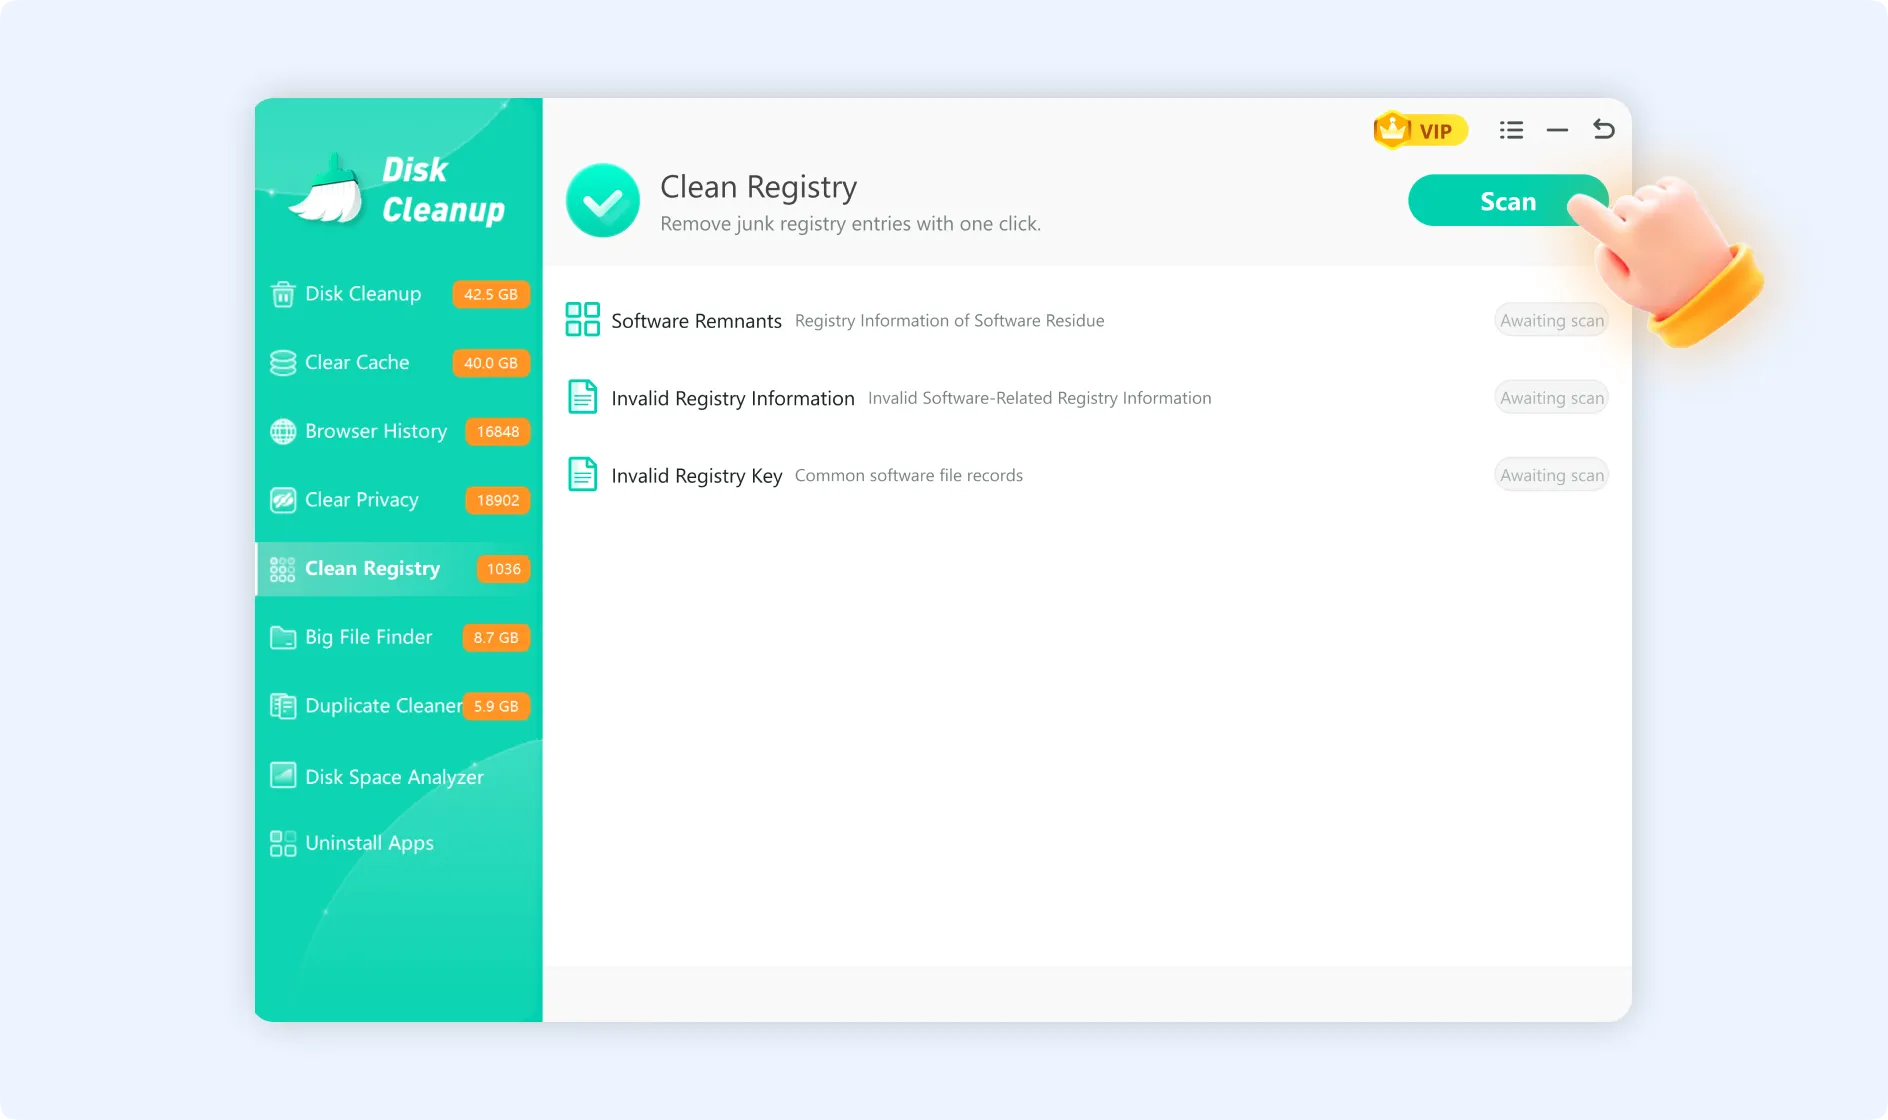
Clean Registry will scan through these three types of registry entries:
- Software Remnants.
- Invalid Registry Information.
- Invalid Registry Keys.
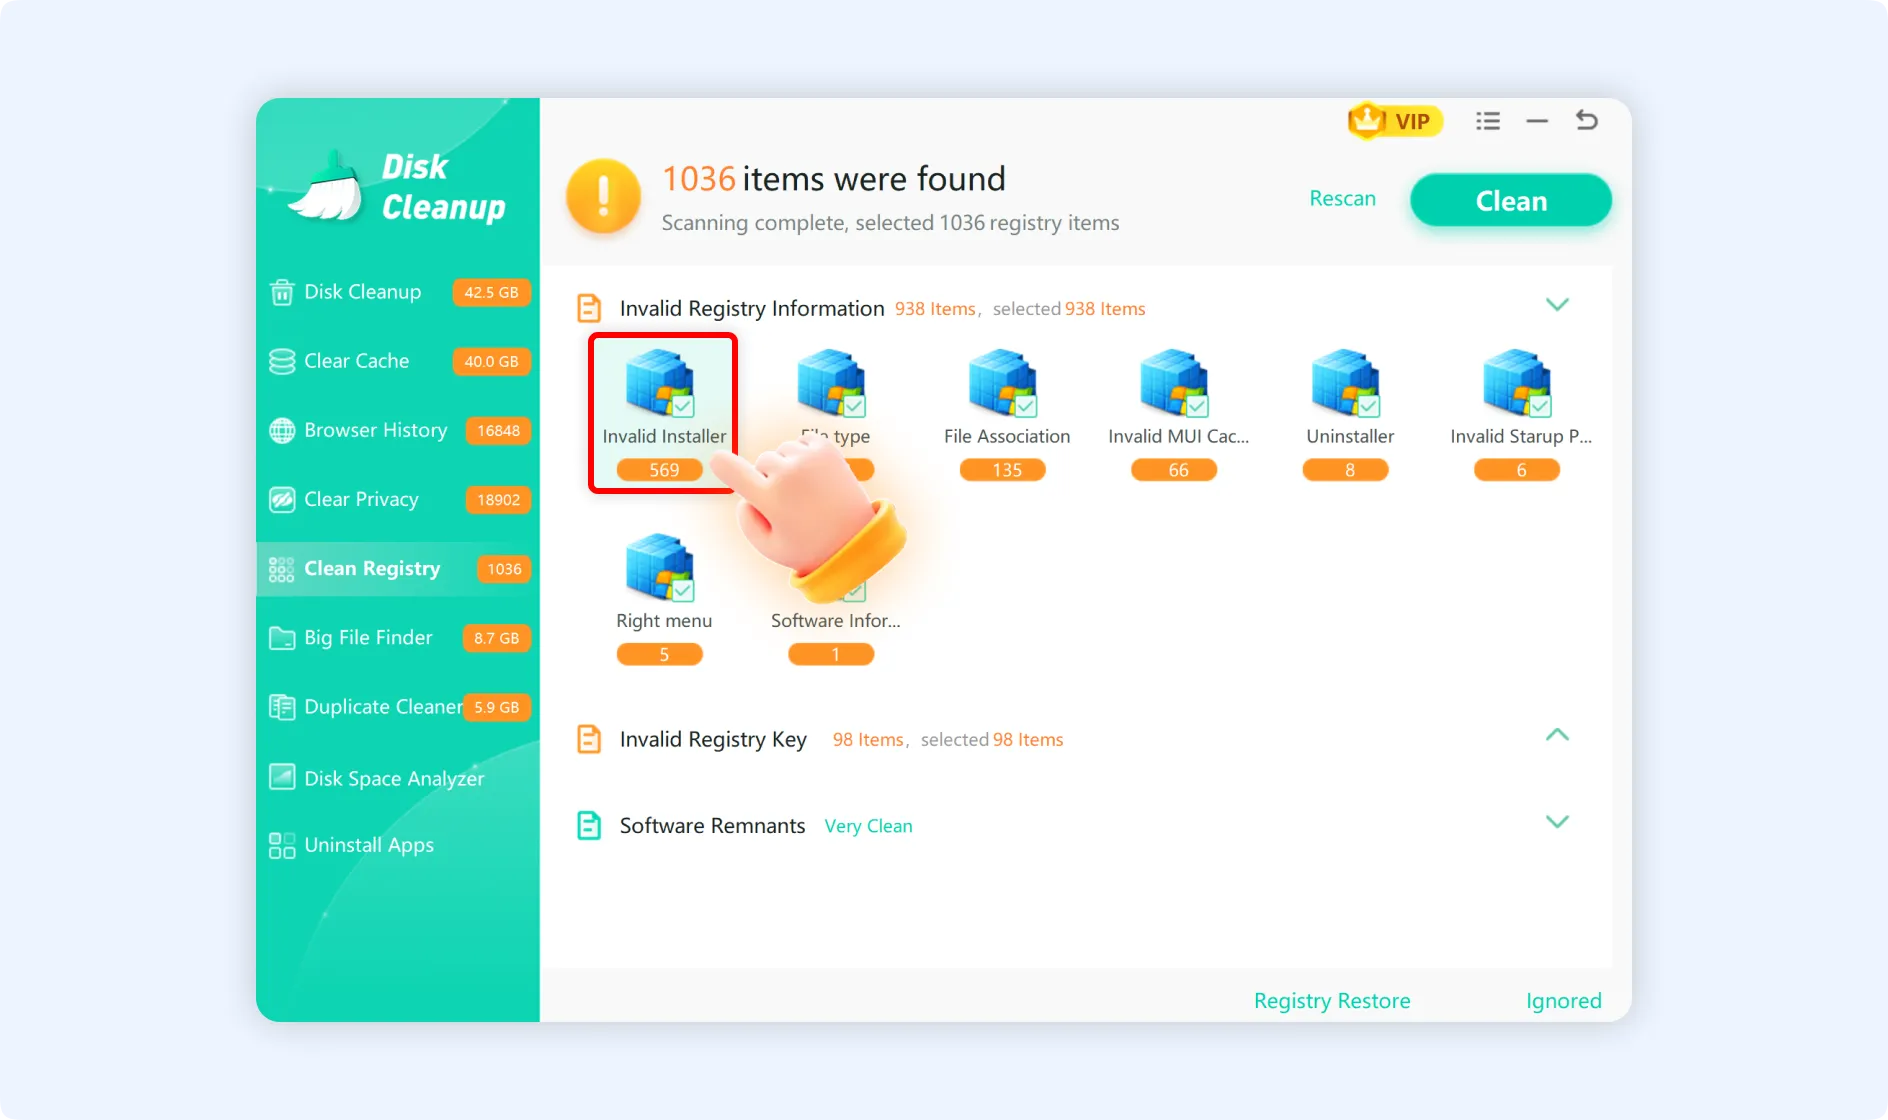
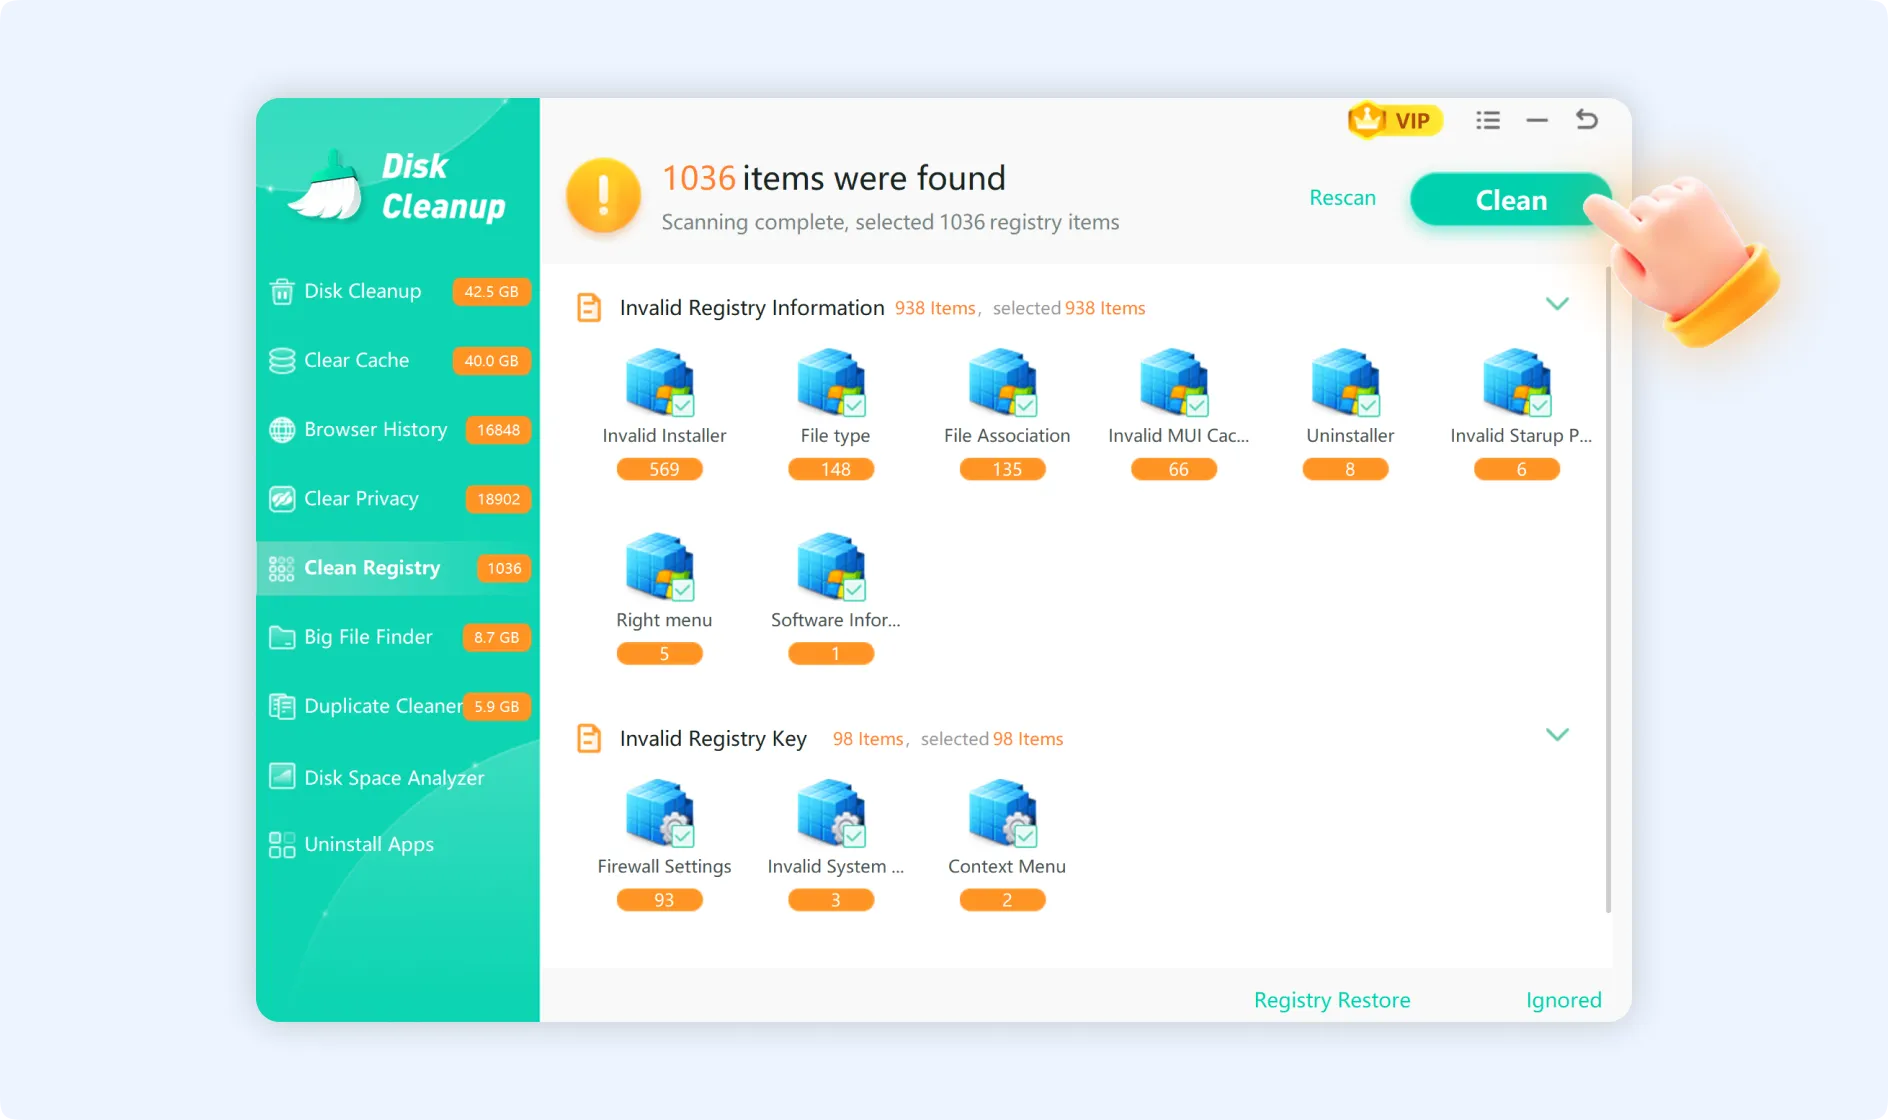
Step 3: Once the scanning of invalid and duplicate entries is completed, you can see detected problematic registry items in real-time at the top of the scan interface.

The scan results are put into categories. Some common types of issues are:
- Invalid Installer: Residual installer data from software that was uninstalled.
- File Type: Associations with invalid file types.
- File Association: Incorrect file extensions.
- Invalid MUI Cache: Keys that are in the multilingual user interface cache.
- Uninstaller: Invalid information about the uninstaller.
- Invalid Startup Program: Startup entries which link to applications that don't exist.
- Right-click Menu: The right-click menu has options that are inoperative.
- Software Information: Records of software information that is outdated.
- Firewall Settings: Settings for the firewall that are not legitimate.
- Invalid System: Invalid key values related to the system.
- Context Menu: The context menu has invalid file extensions.
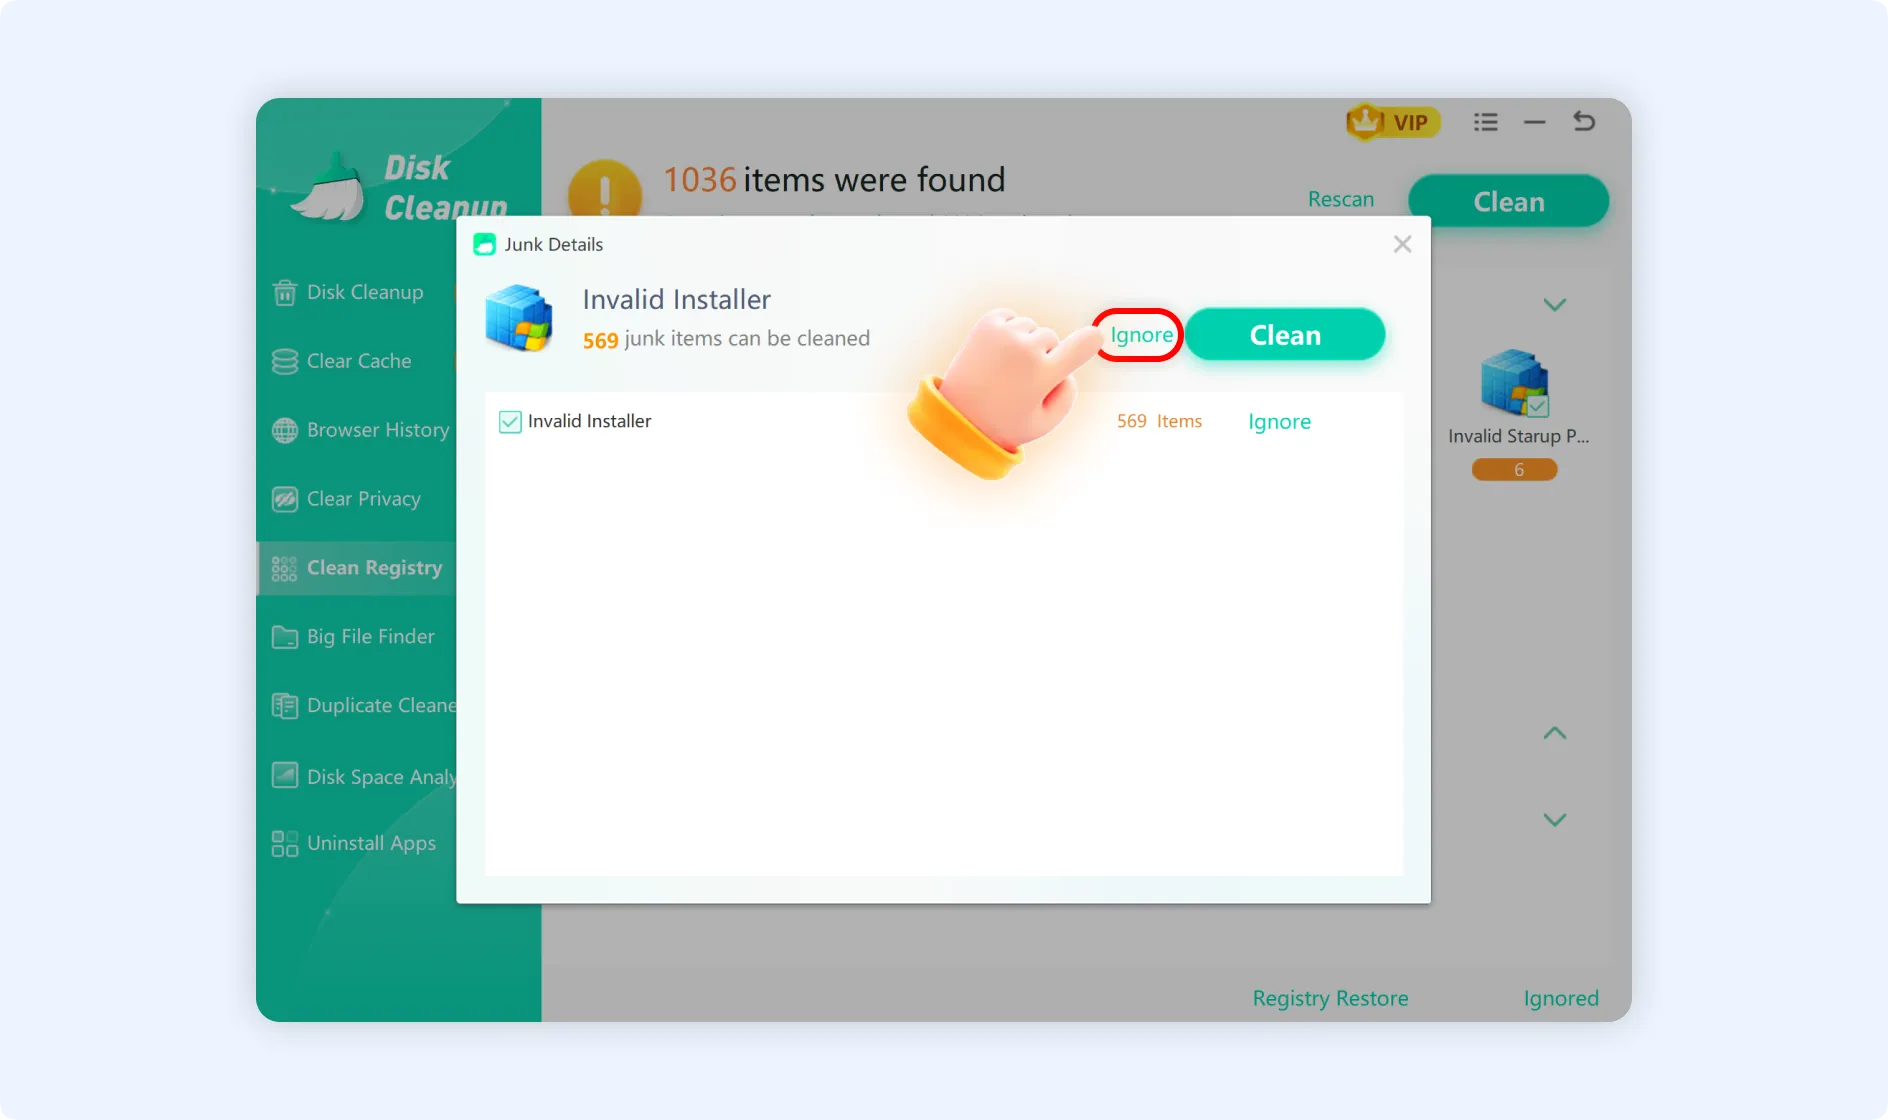
Step 3.1: Click on any category of interest to see more information about it. The "Junk Details" window will pop up on the screen.
In the details window, you can:
- Click “Clean” to clean all problematic items in that category.
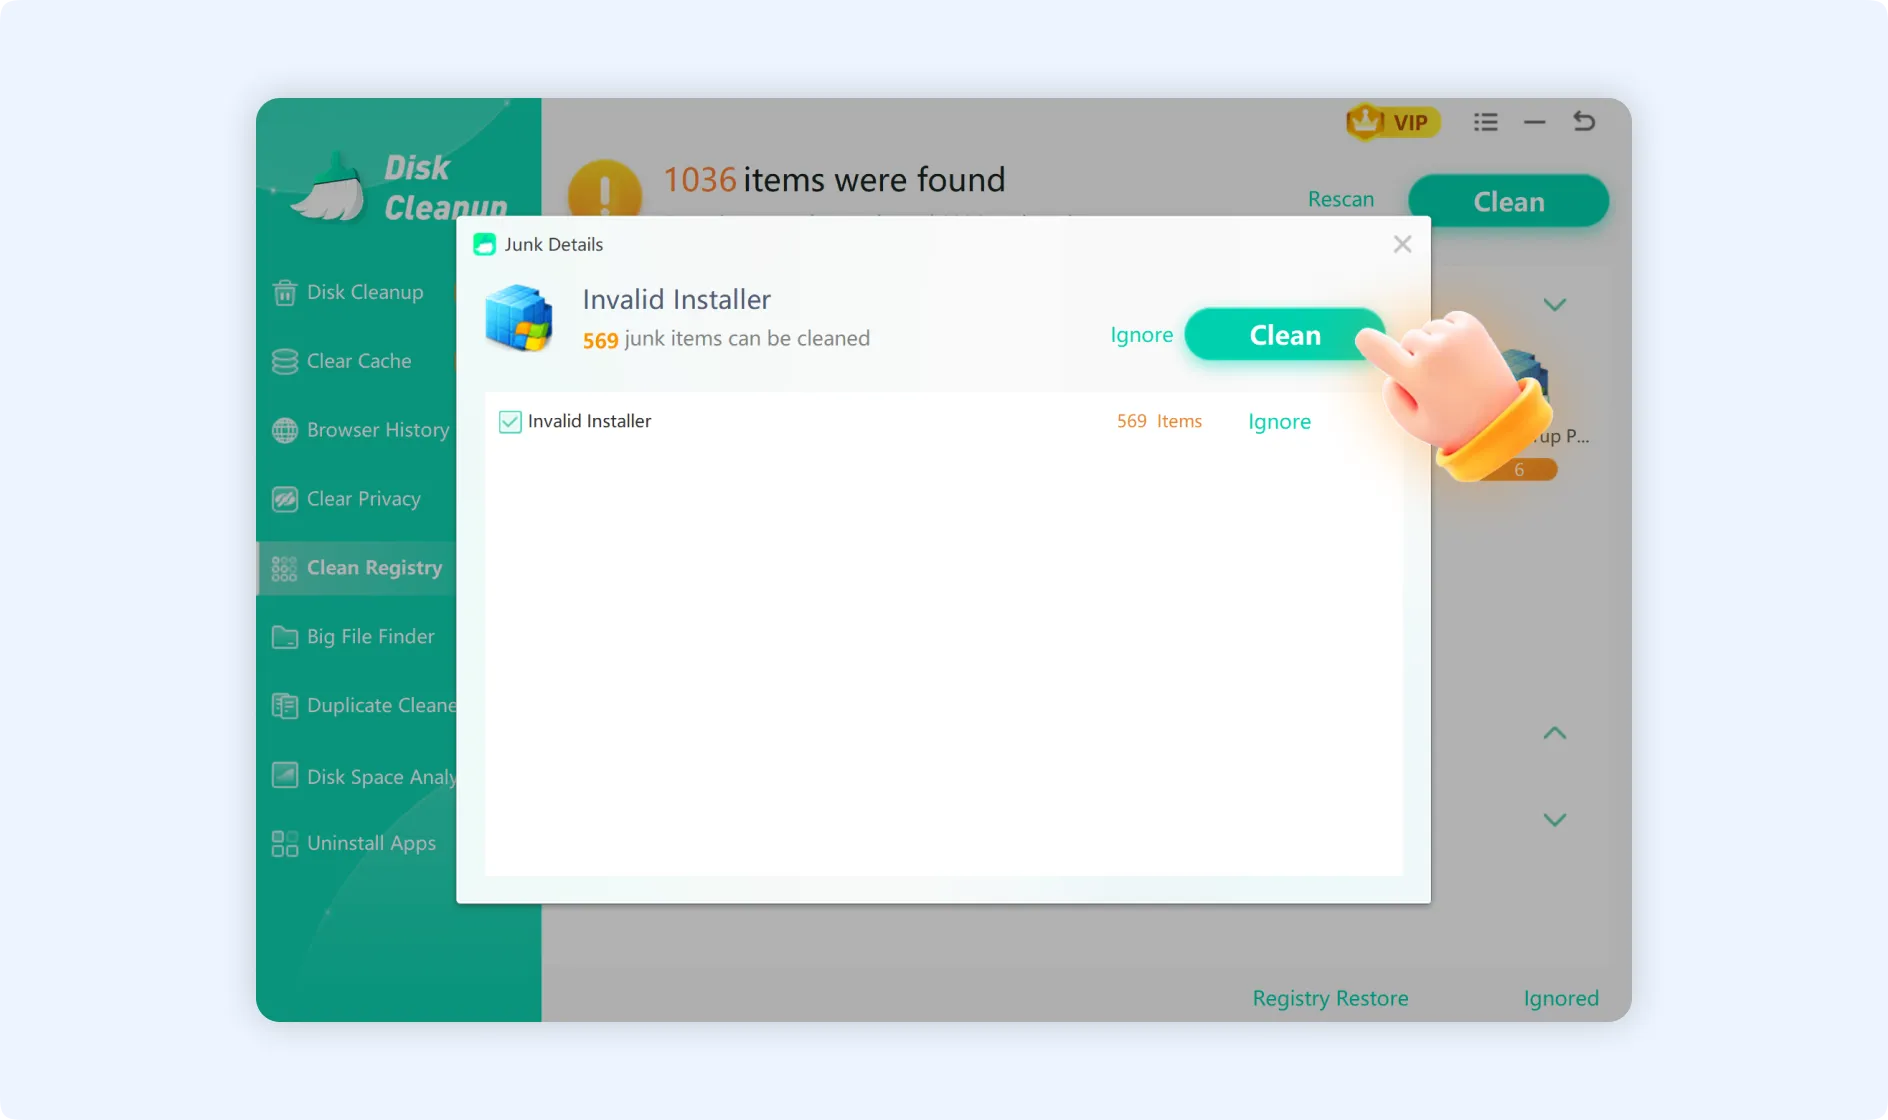
- Click “Ignore” to mark that category as ignored and skip cleaning.
Step 4: After you confirm that the scan results are correct, click “Clean,” available in the upper right corner of the interface. “Clean Registry” will start removing all of the selected invalid registry entries.
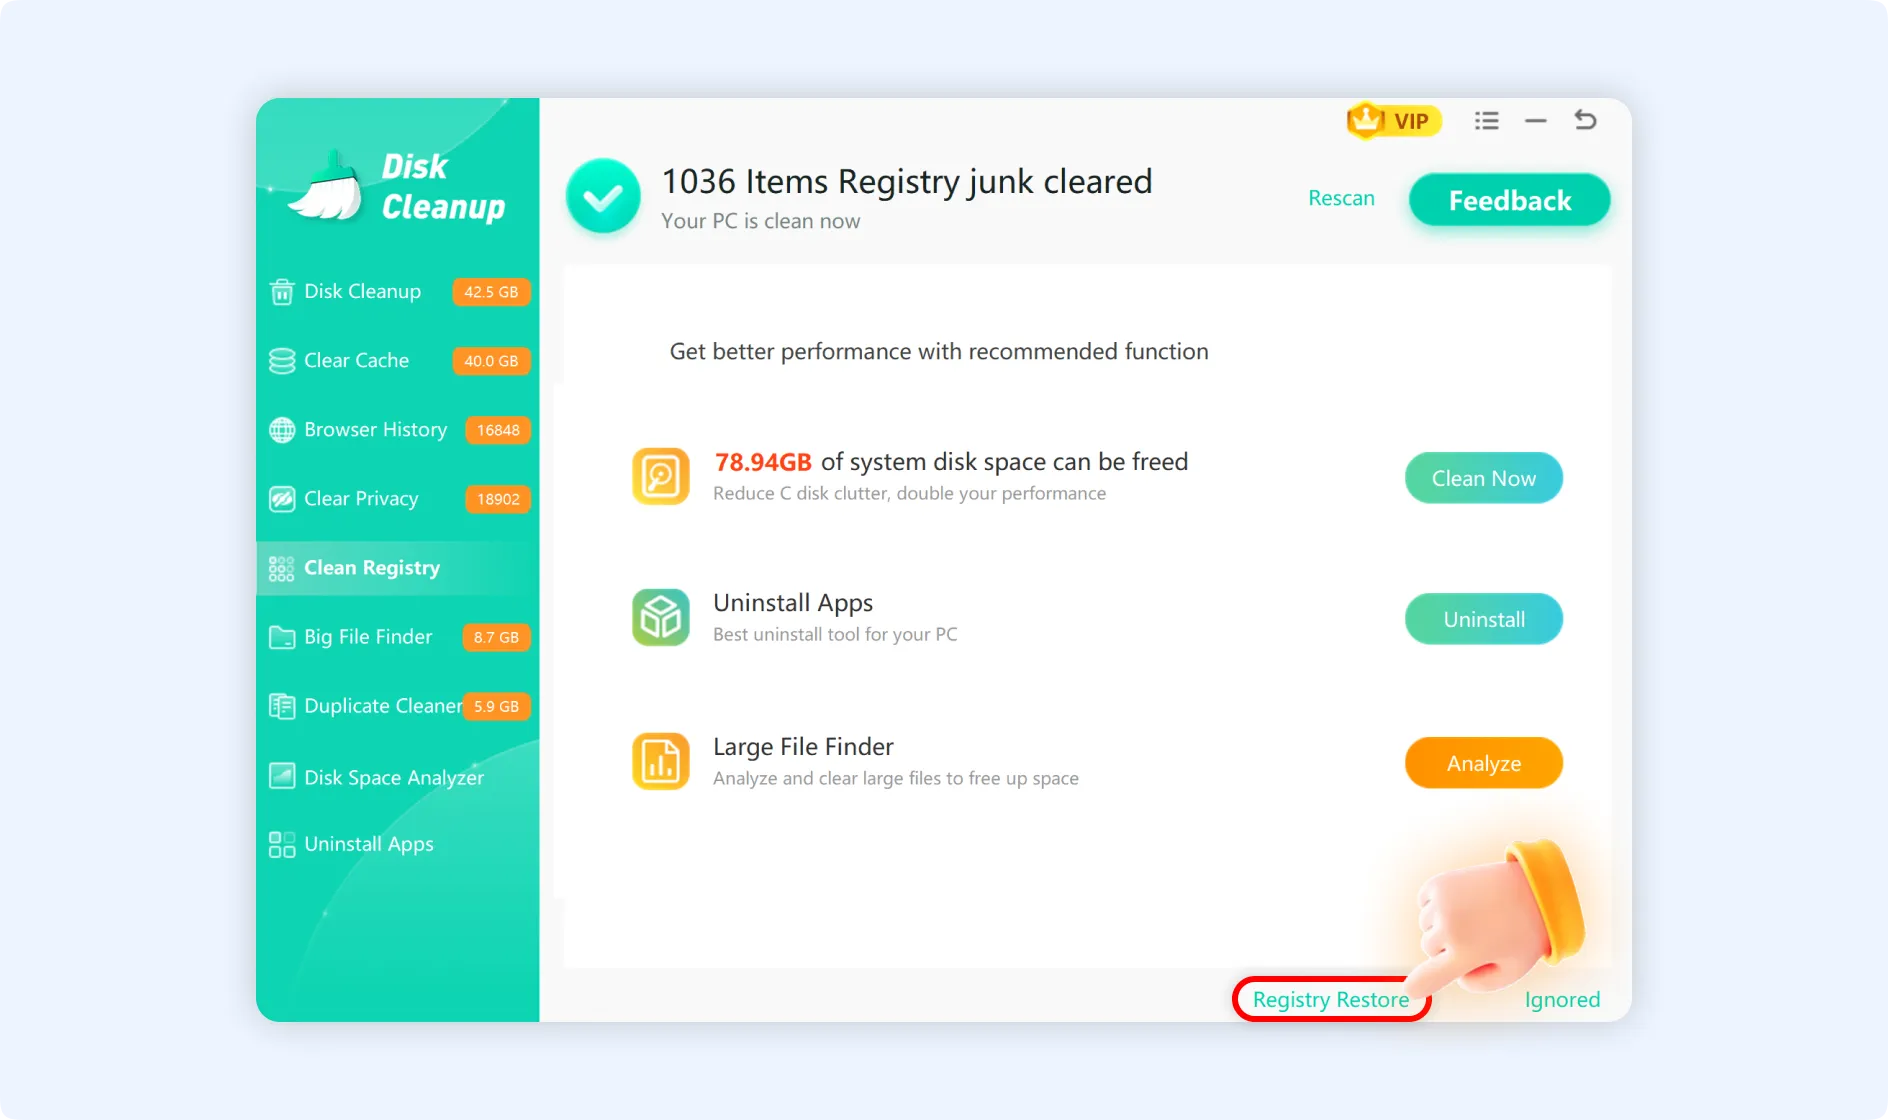
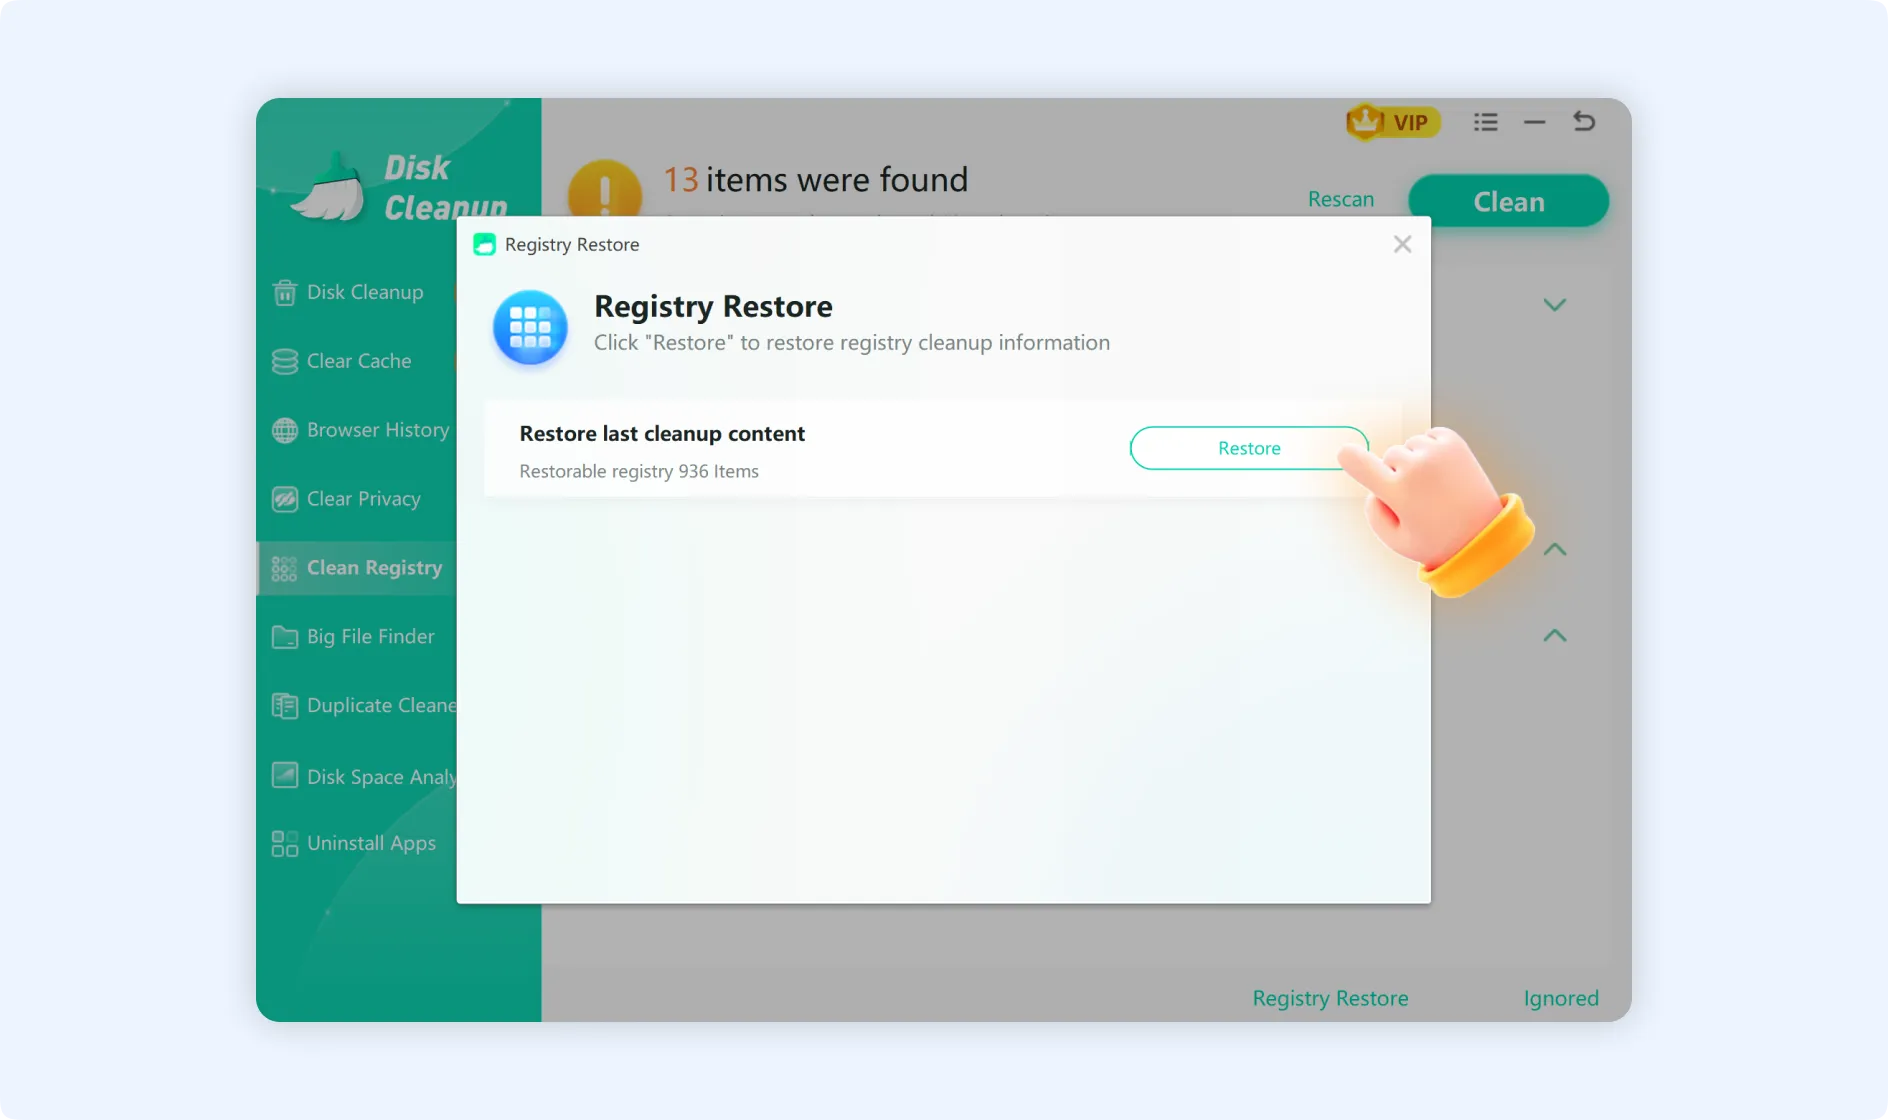
💡Tips:The cleaning operation makes a backup automatically. If you find any issues after the cleaning process, click the “Registry Restore” button below to go back to the registry to its state as it was before the last cleanup.
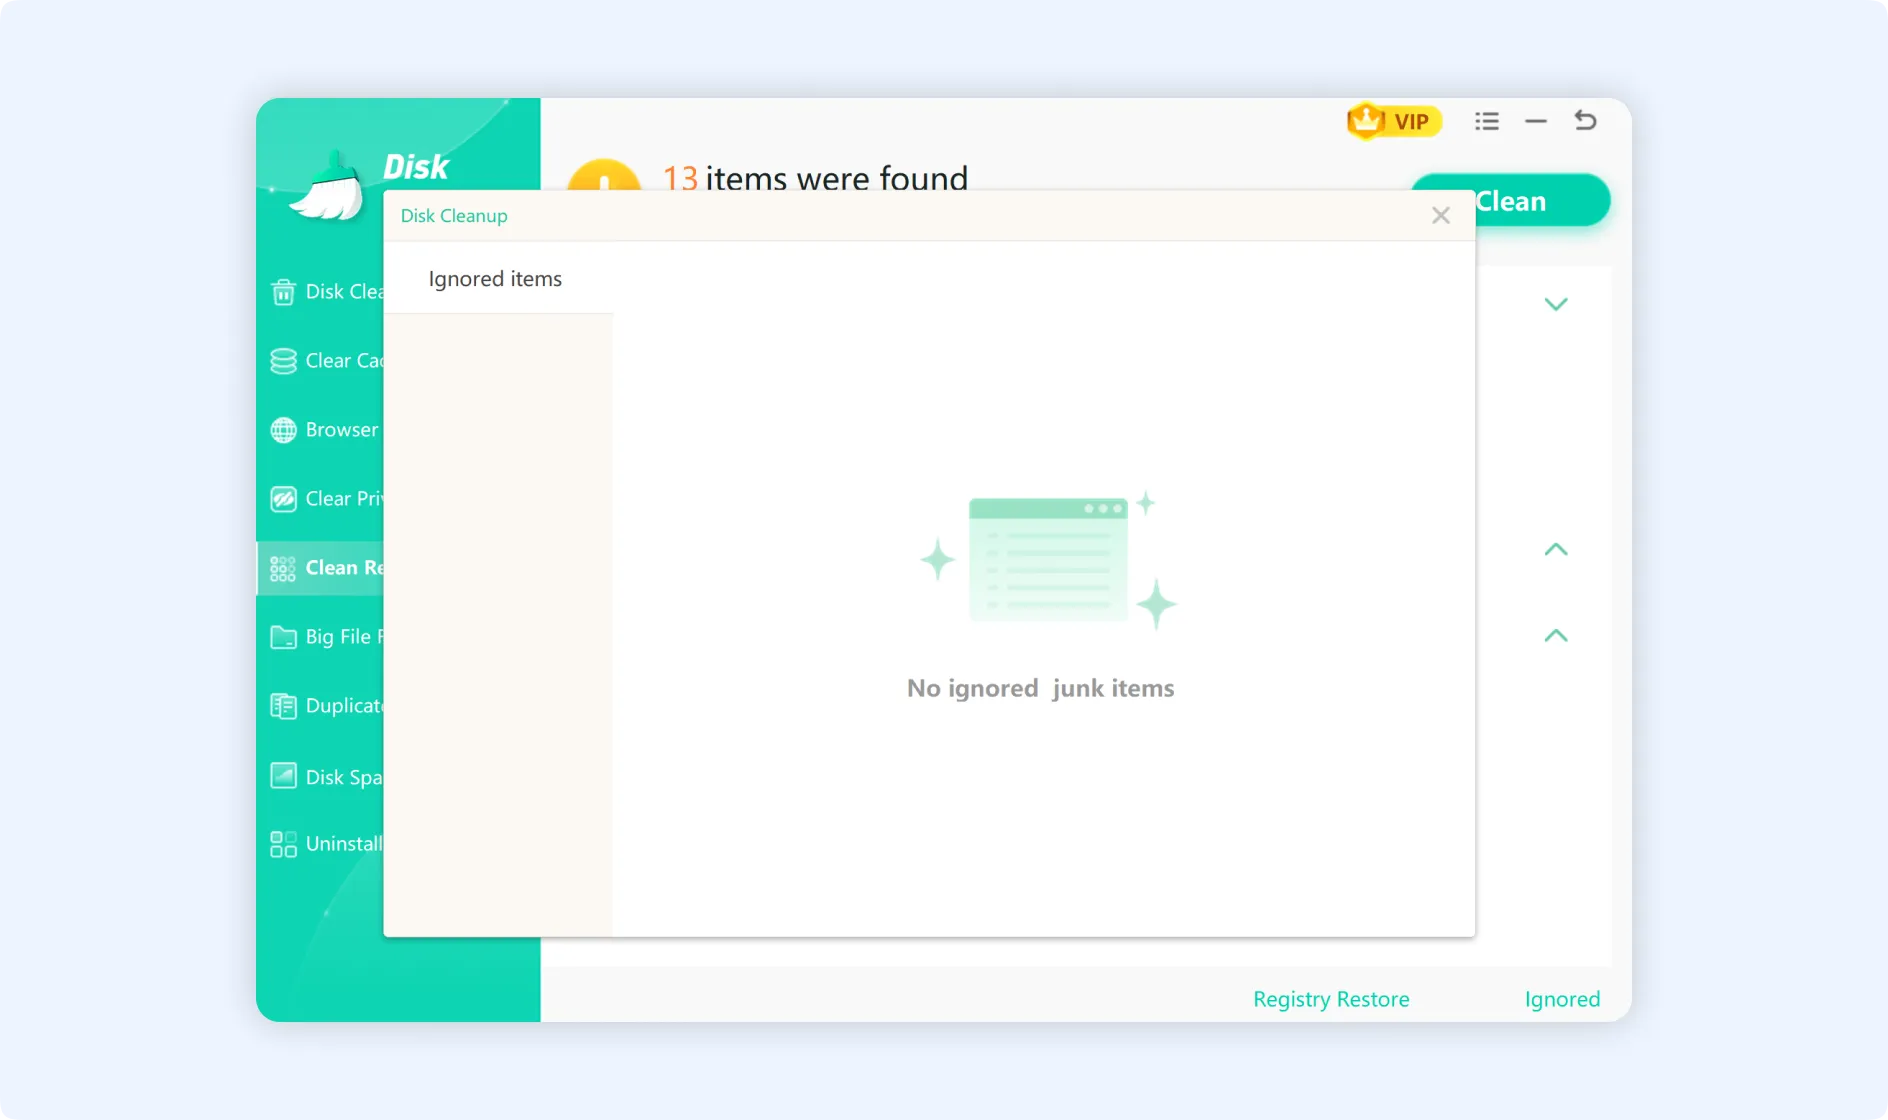
💡Tips 1:If you have marked certain items as ignored, you can manage them through the "Ignored" feature. At the bottom of the Clean Registry main interface, click the "Ignored" button to view or cancel ignore settings. If "No ignored junk items" is displayed, it means there are no items that you have ignored right now.