When we use Windows on a daily basis, we often have to use system tools such as Notepad, Calculator, Control Panel, and Command Prompt. Opening these tools usually involves browsing through numerous menu layers or searching, which can be time-consuming and inefficient.
The Discovery panel in WMaster Cleanup serves as a unified, quick-access hub for system tools and software features. It allows custom setup, allowing users to take control of frequently used tools for one-click quick launch, greatly enhancing daily operations efficiency.
Part 1. Features of WMaster Cleanup's "Discovery" Panel
- Combines the system tools of Windows and cleanup functions of WMaster Cleanup into a single panel for easy access. By clicking on a software icon, you can quickly access the appropriate tool or function.
- You can make your own area by adding system tools (Tool) and personal software (My Software).
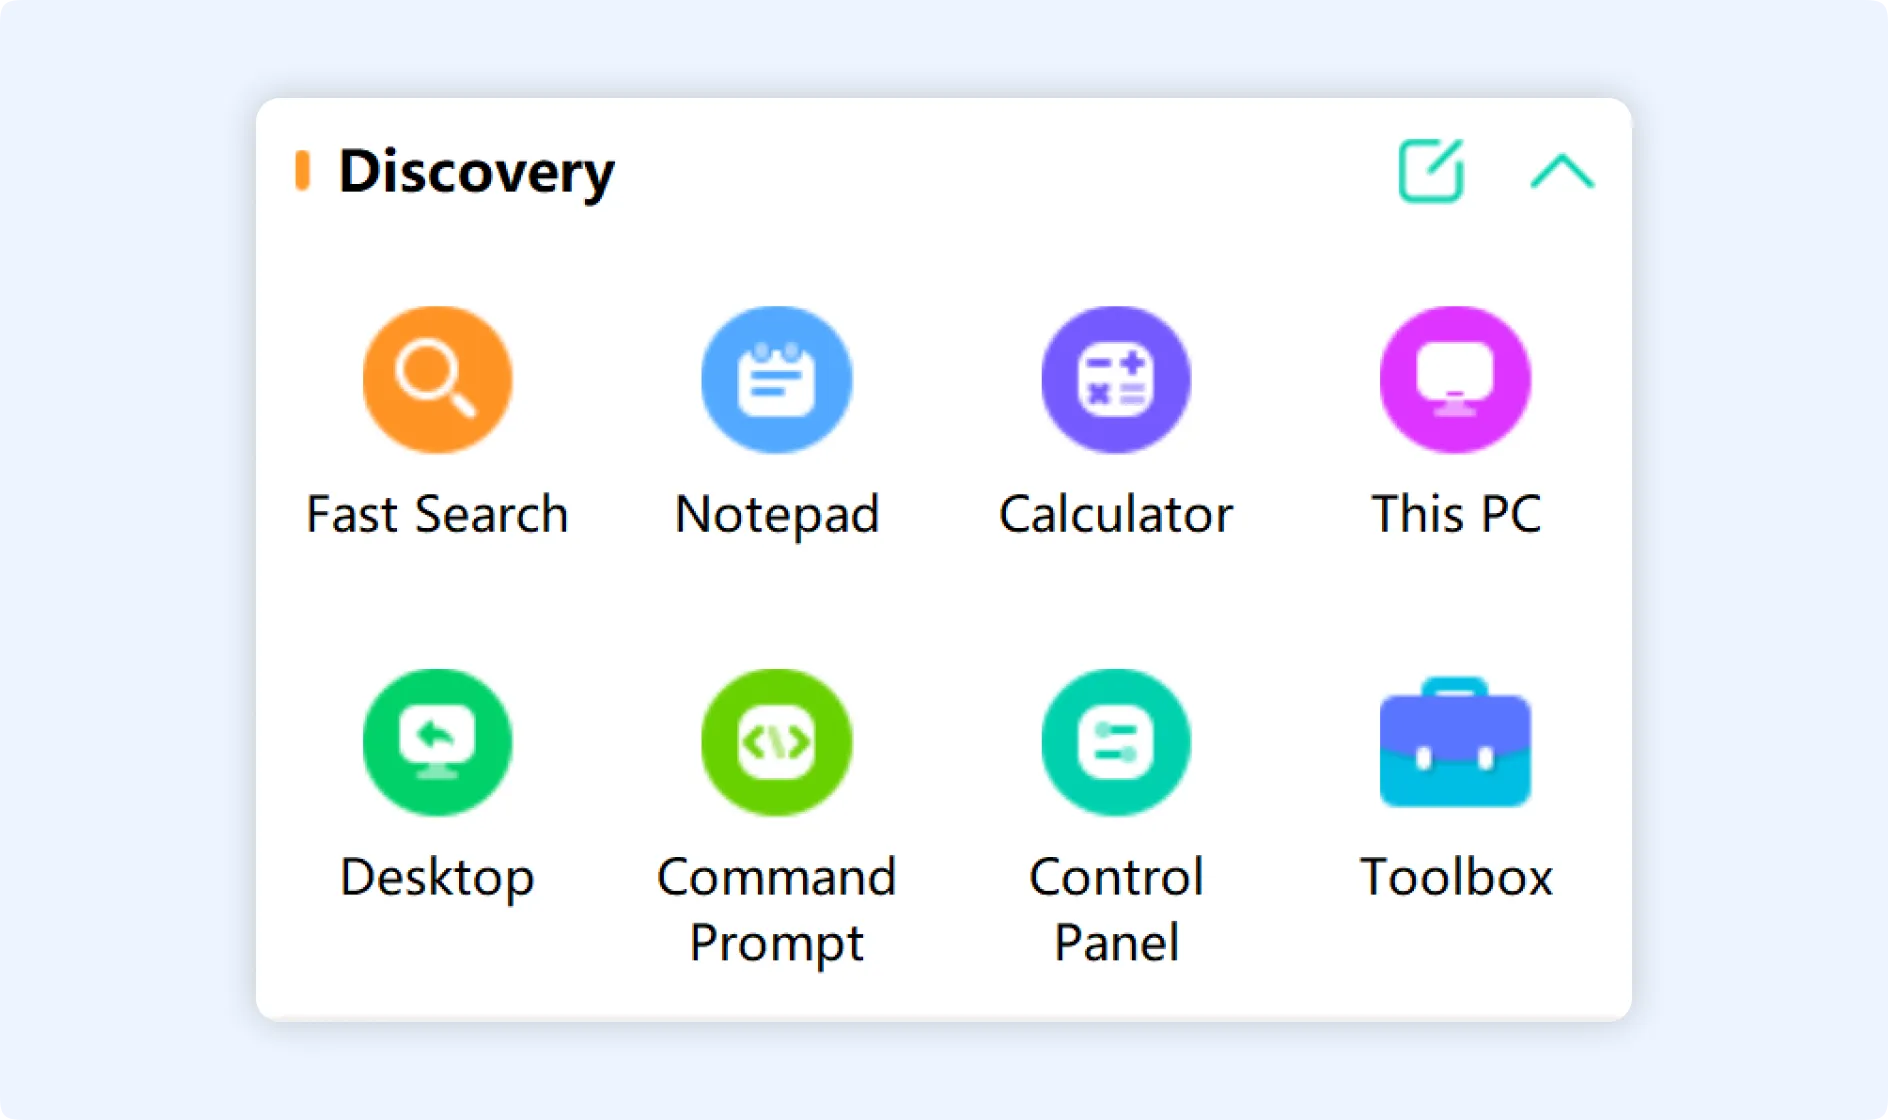
💡Tips:Fast Search (WMaster Cleanup), Notepad (Windows), Calculator (Windows), This PC (Windows), Desktop (Windows), Command Prompt (Windows), Control menu (Windows), and Toolbox (WMaster Cleanup) are all displayed by default in the "Discovery" menu area.
Part 2. WMaster Cleanup “Discovery” Panel User Guide
To explore the “Discovery” panel module in WMaster Cleanup, first download and install WMaster Cleanup on your computer from the official website.
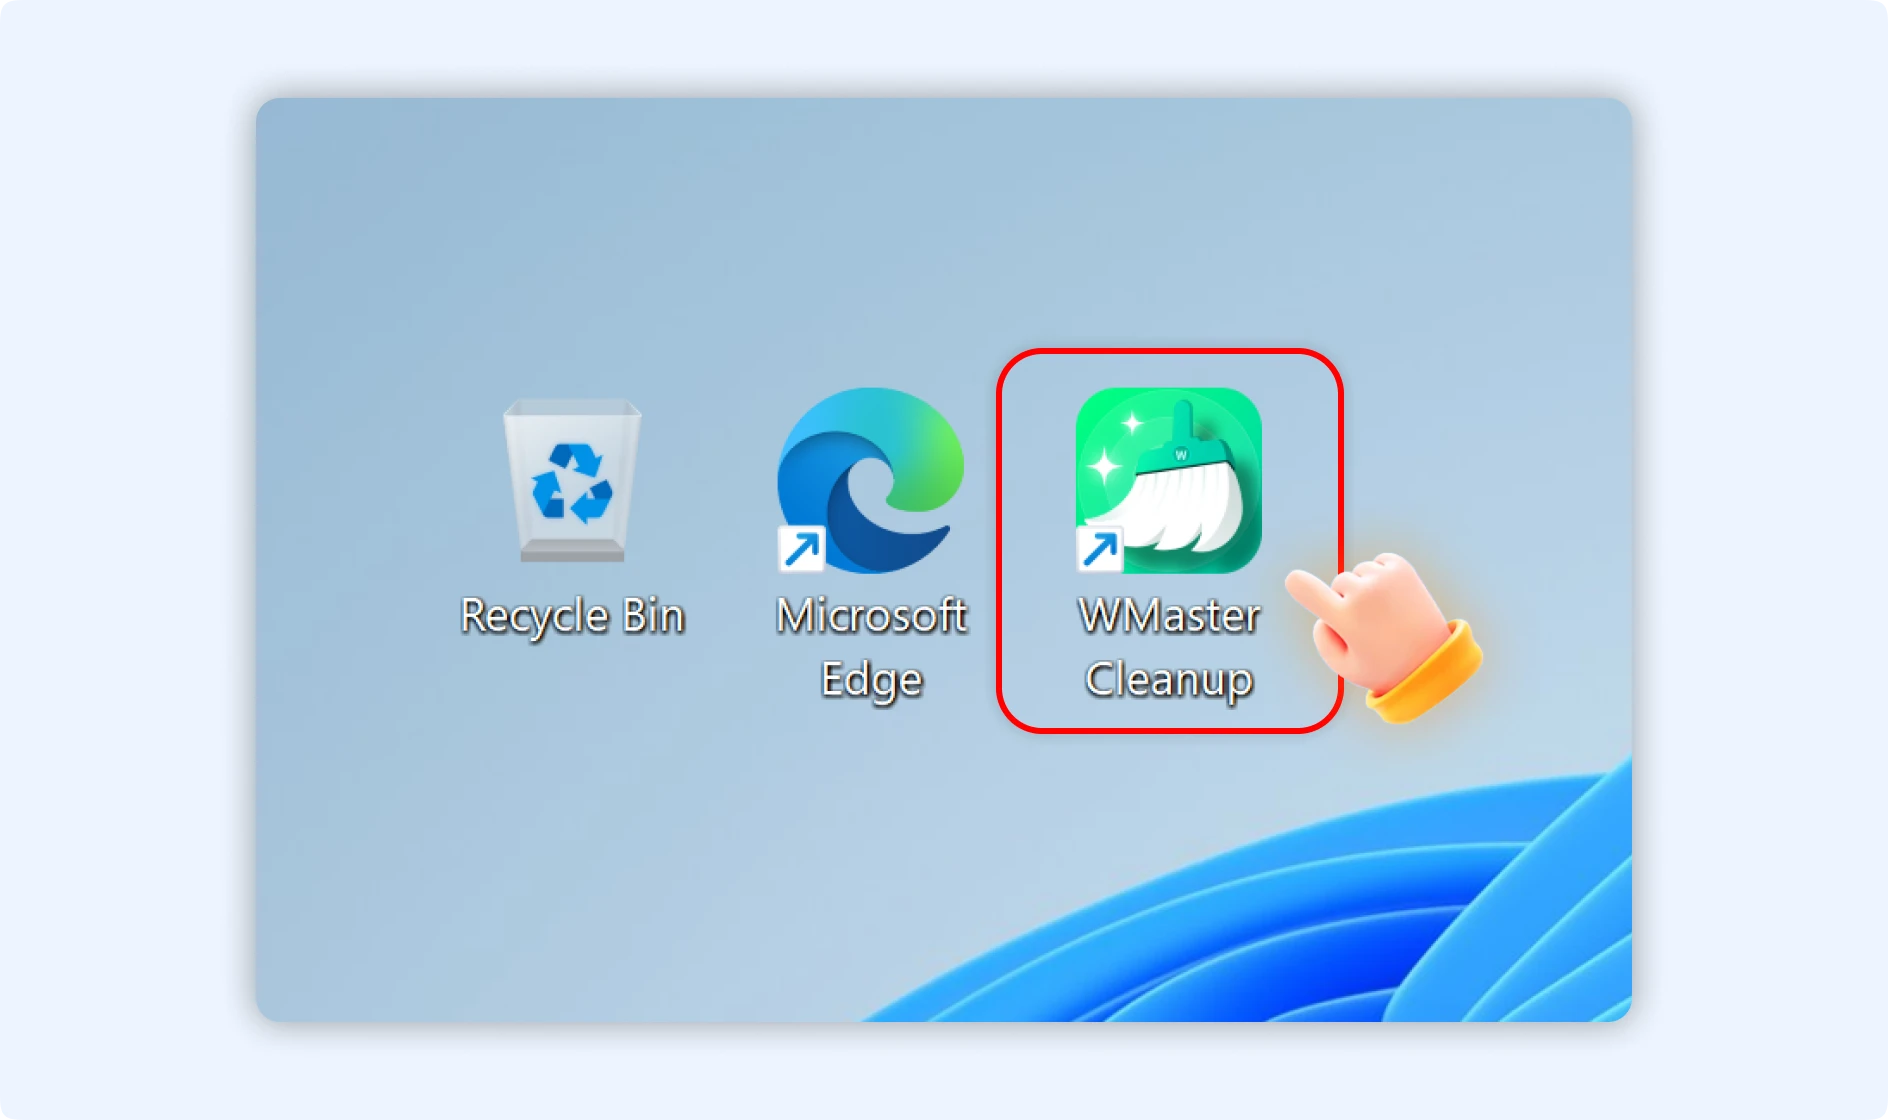
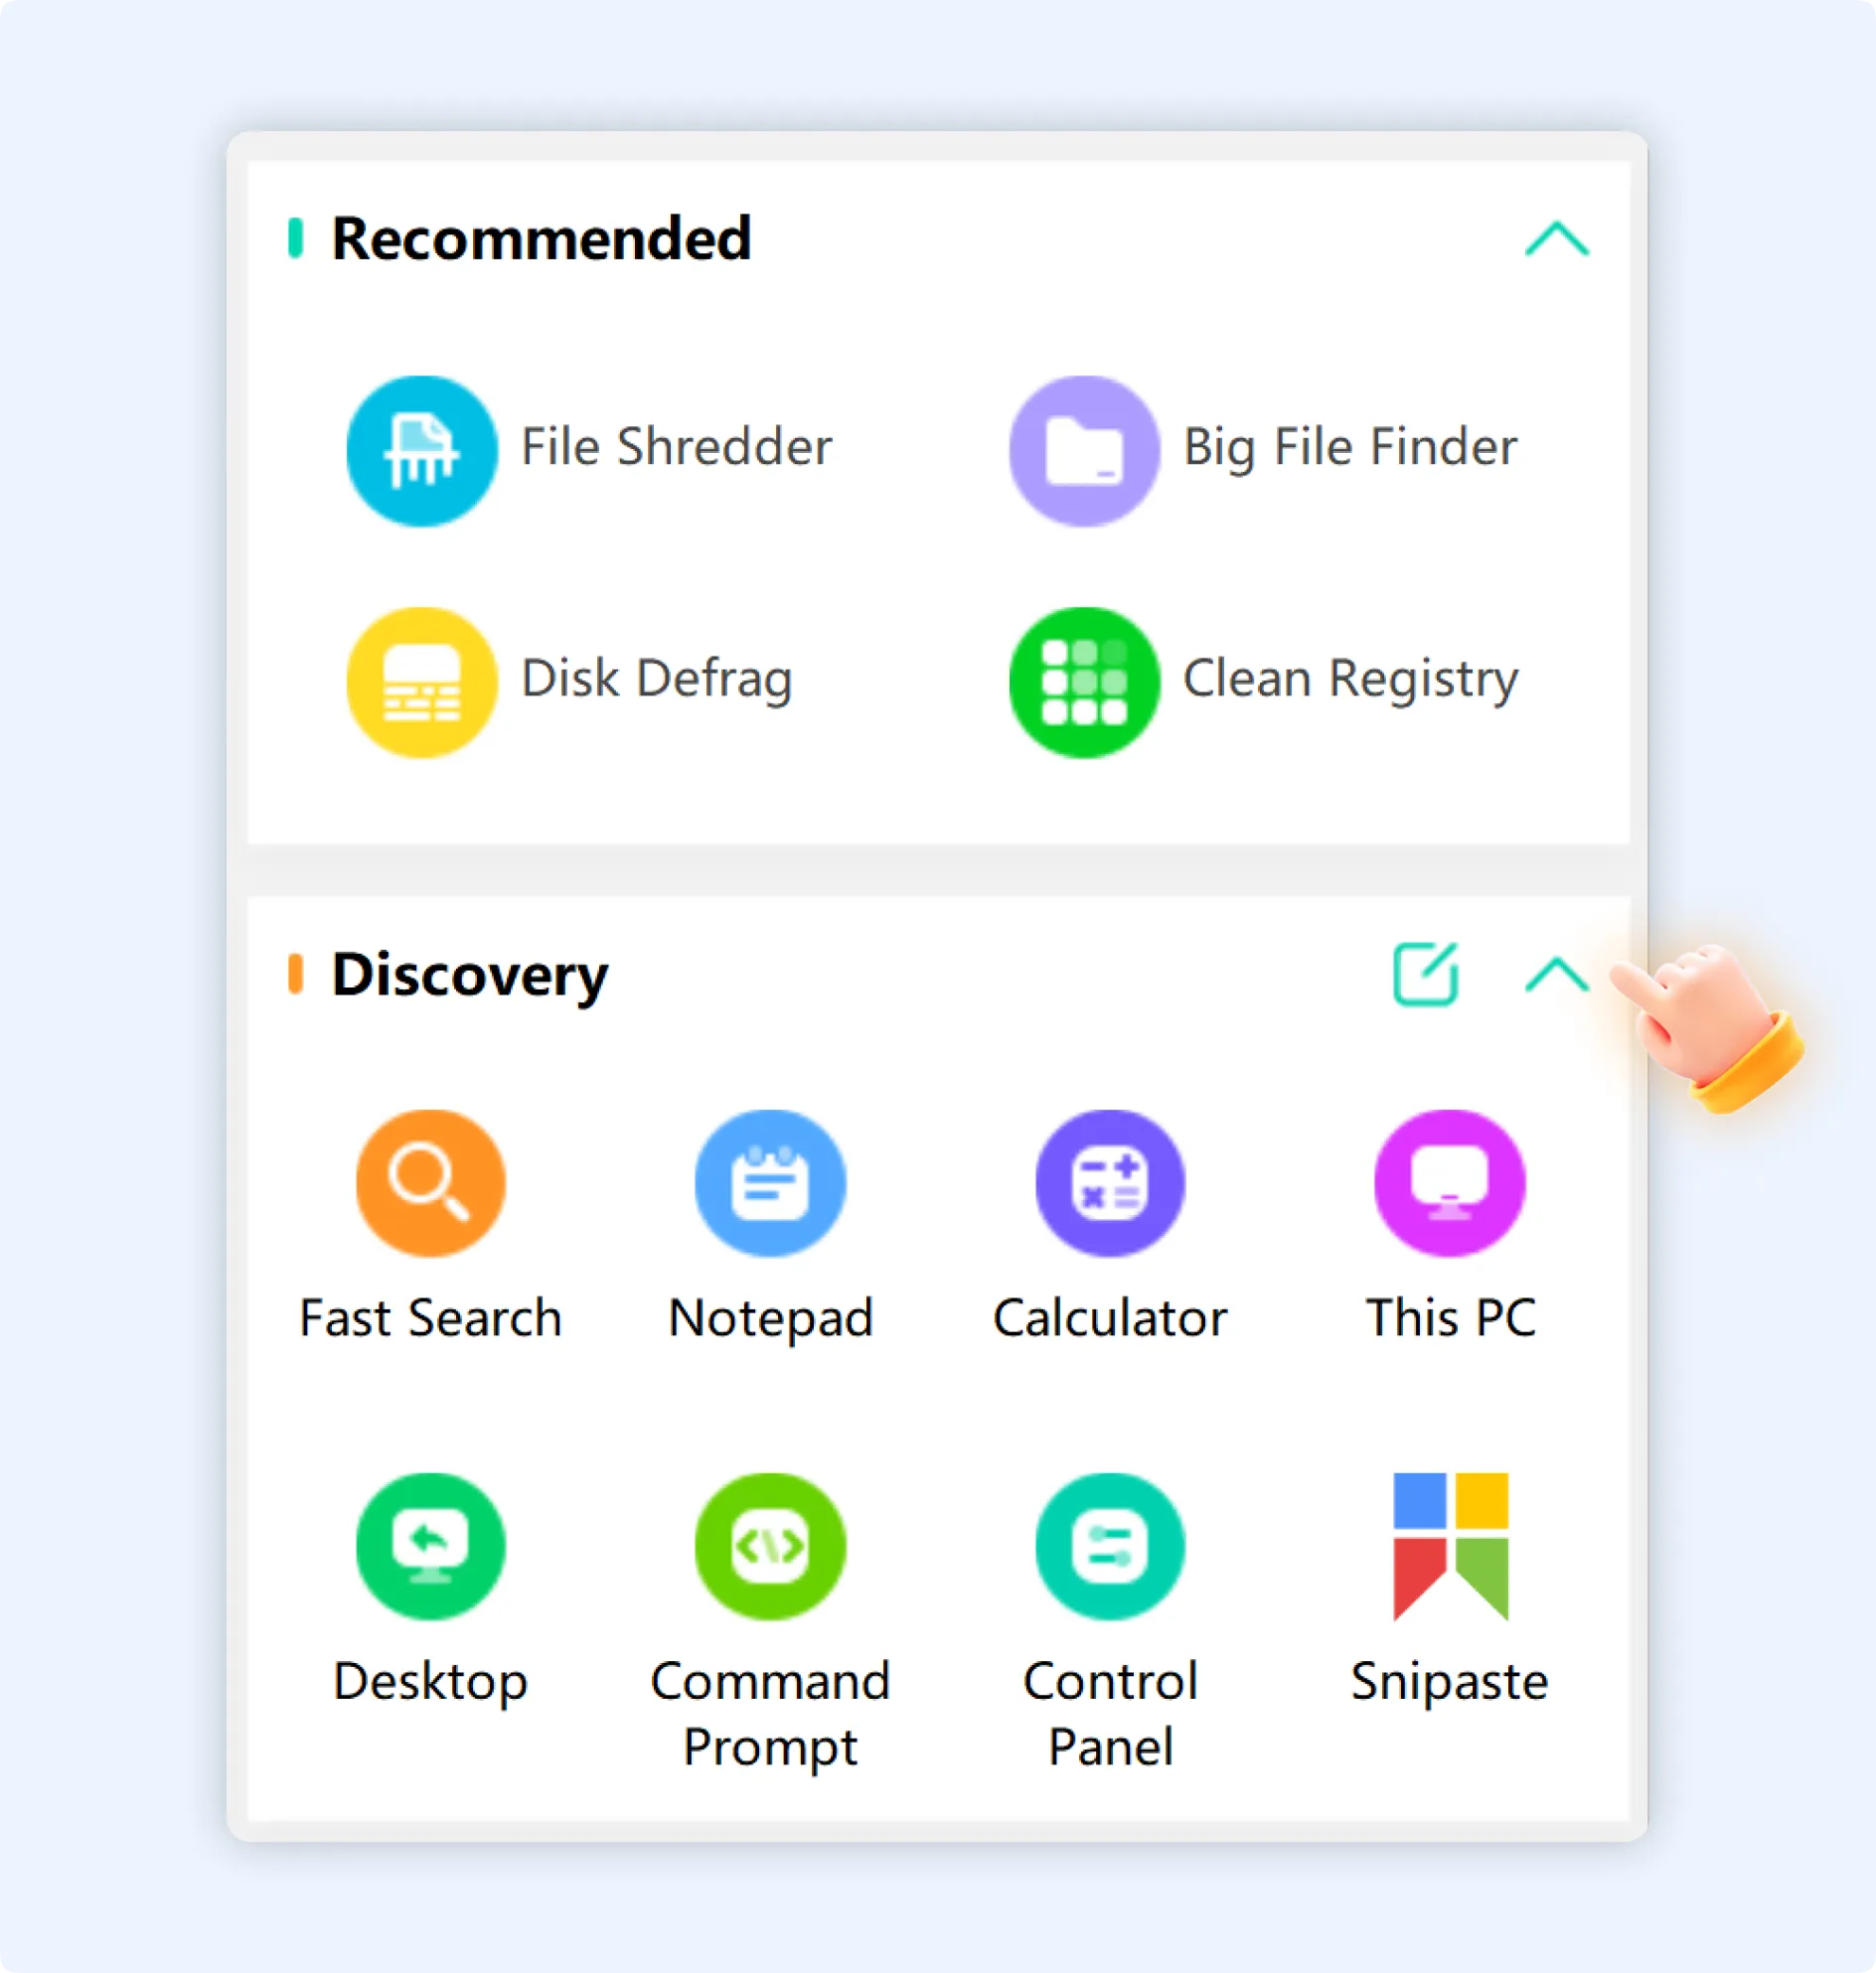
Step 1: Launch the WMaster Cleanup application on your desktop and scroll down on the main interface to locate the “Discovery” section. This section appears below the “Recommended” section, displaying multiple office tool icons in a grid layout.
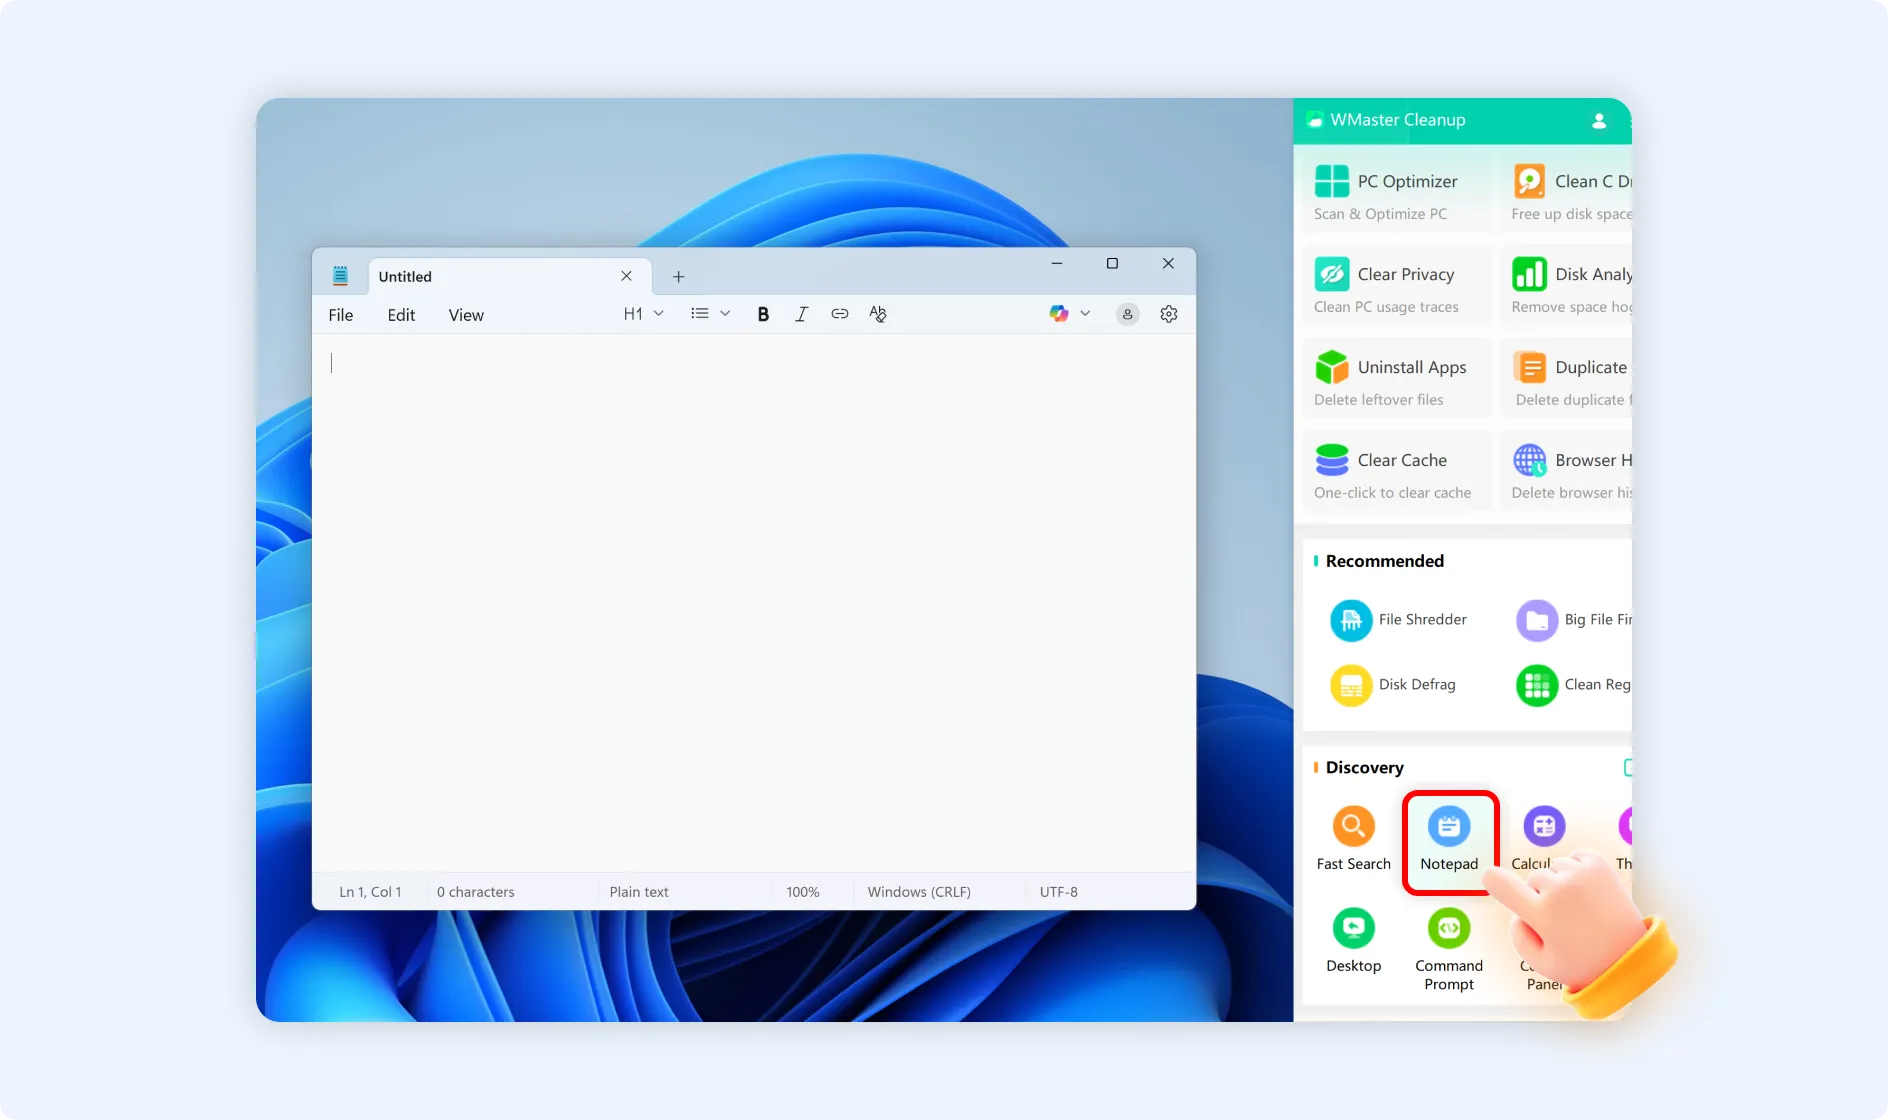
Step 2: Tap on any tool icon directly to instantly launch the corresponding tool or function. For example:
- Clicking the “Notepad” icon opens Windows Notepad right away.
- If you click the “Calculator” icon, it will launch the system calculator instantly.
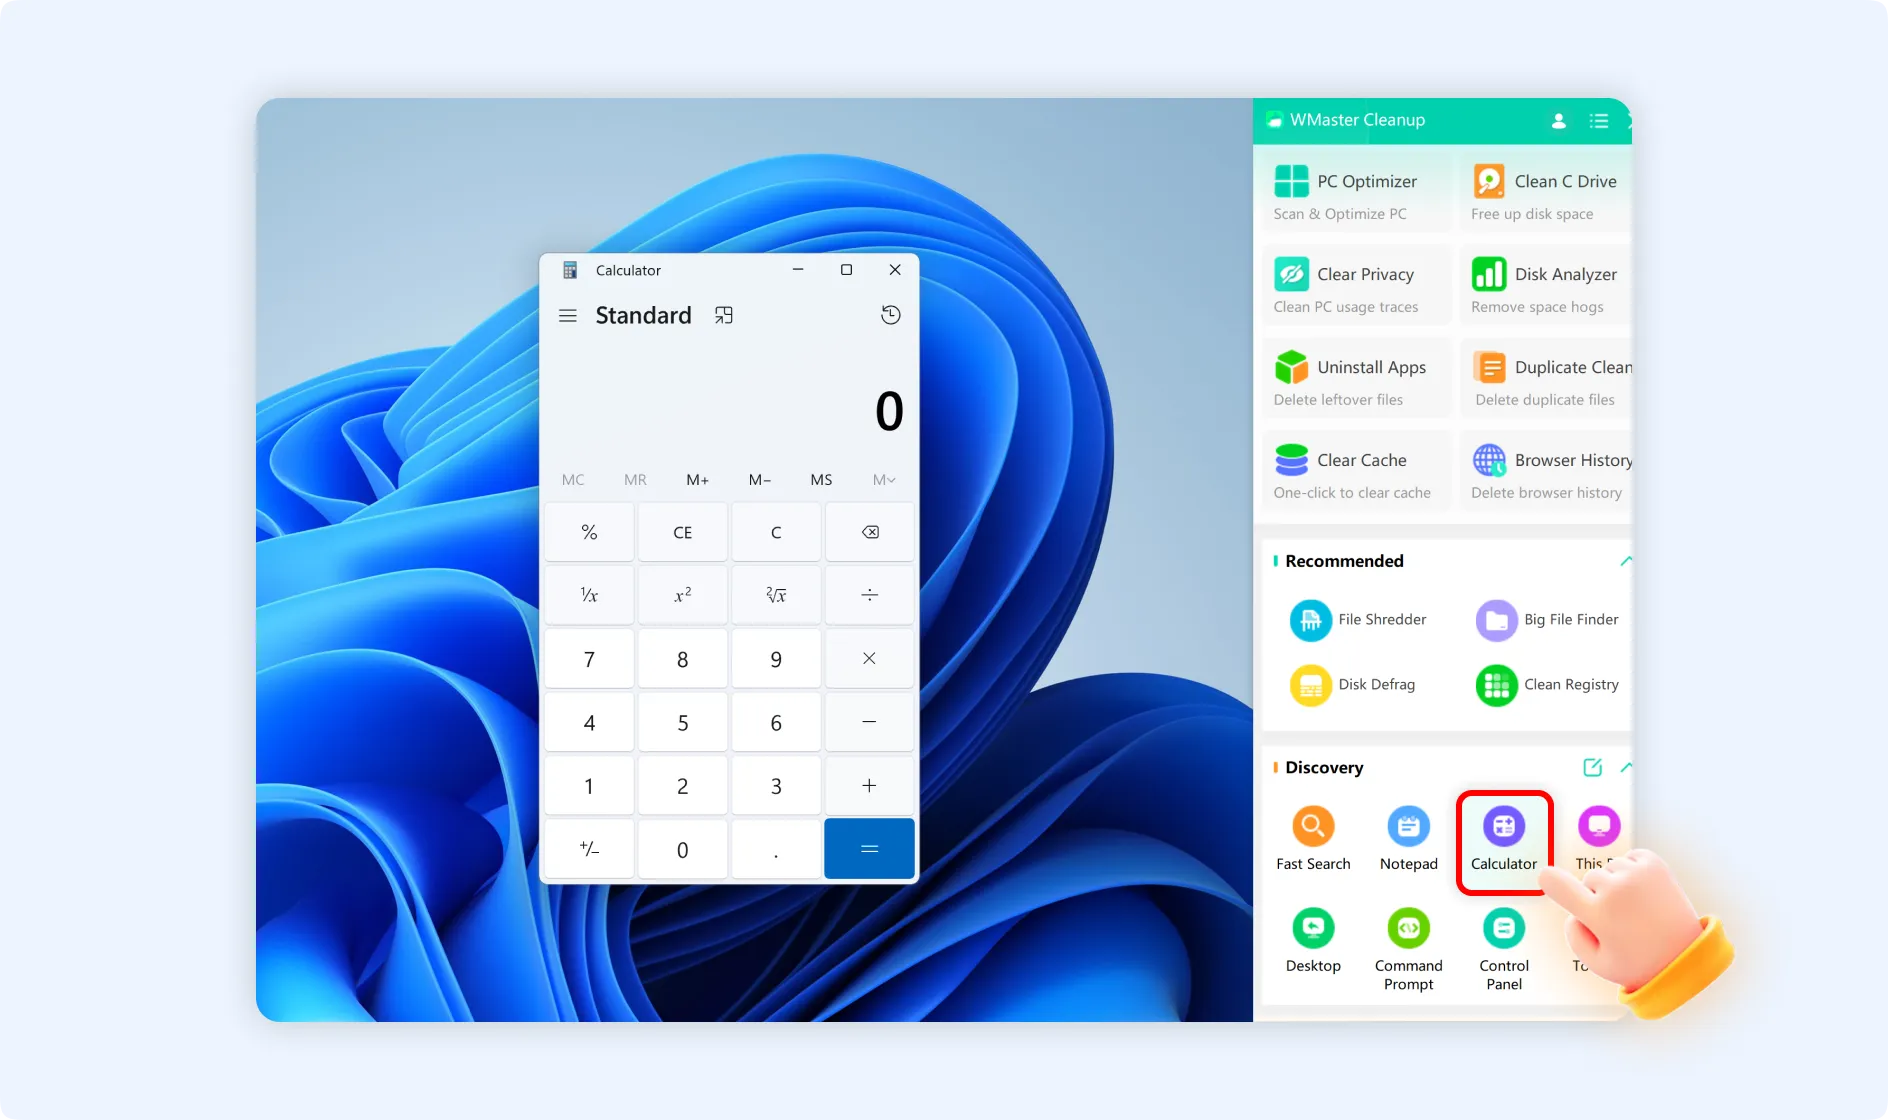
- When you hit the “Control Panel” icon, you directly enter the Windows Control Panel.

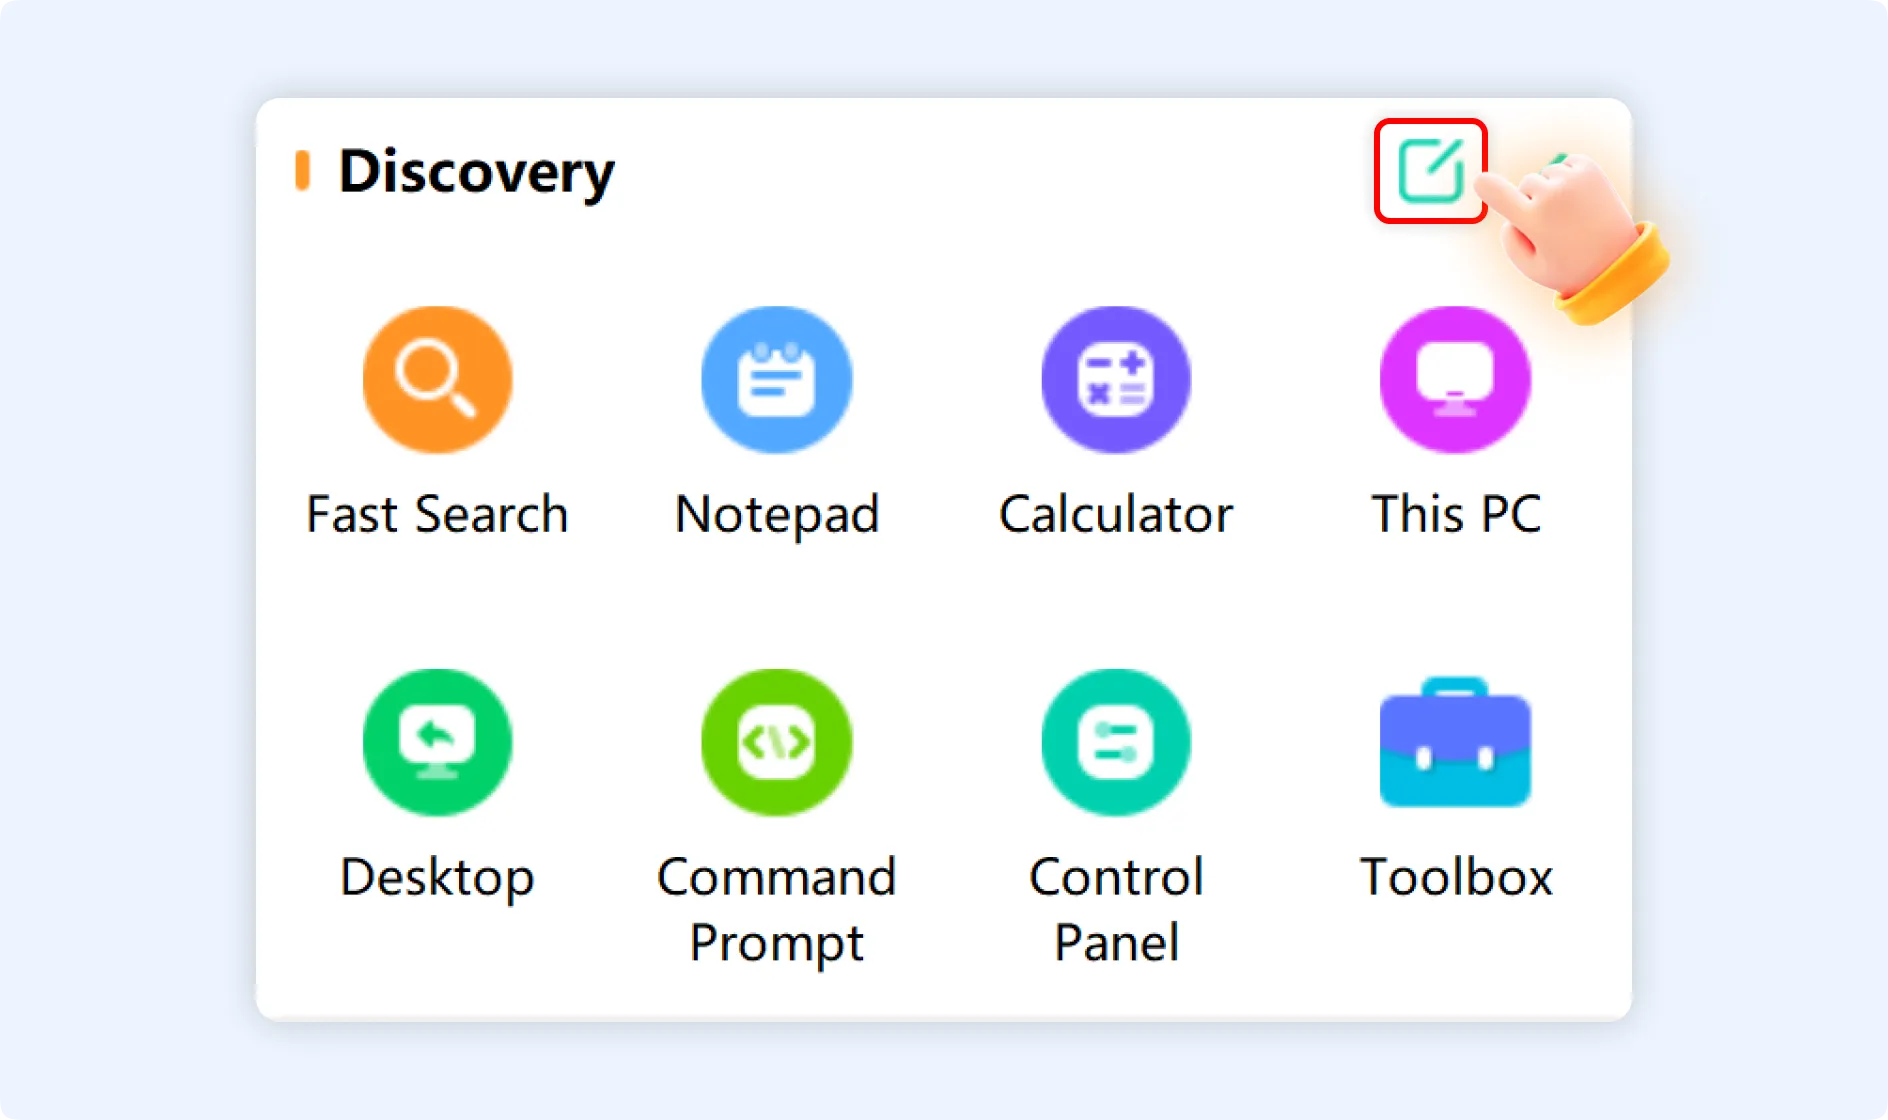
Step 3: To add desired tools in the “Discovery” section, click the ‘Edit’ icon to the right of the “Discovery” title. This will let you enter edit mode.
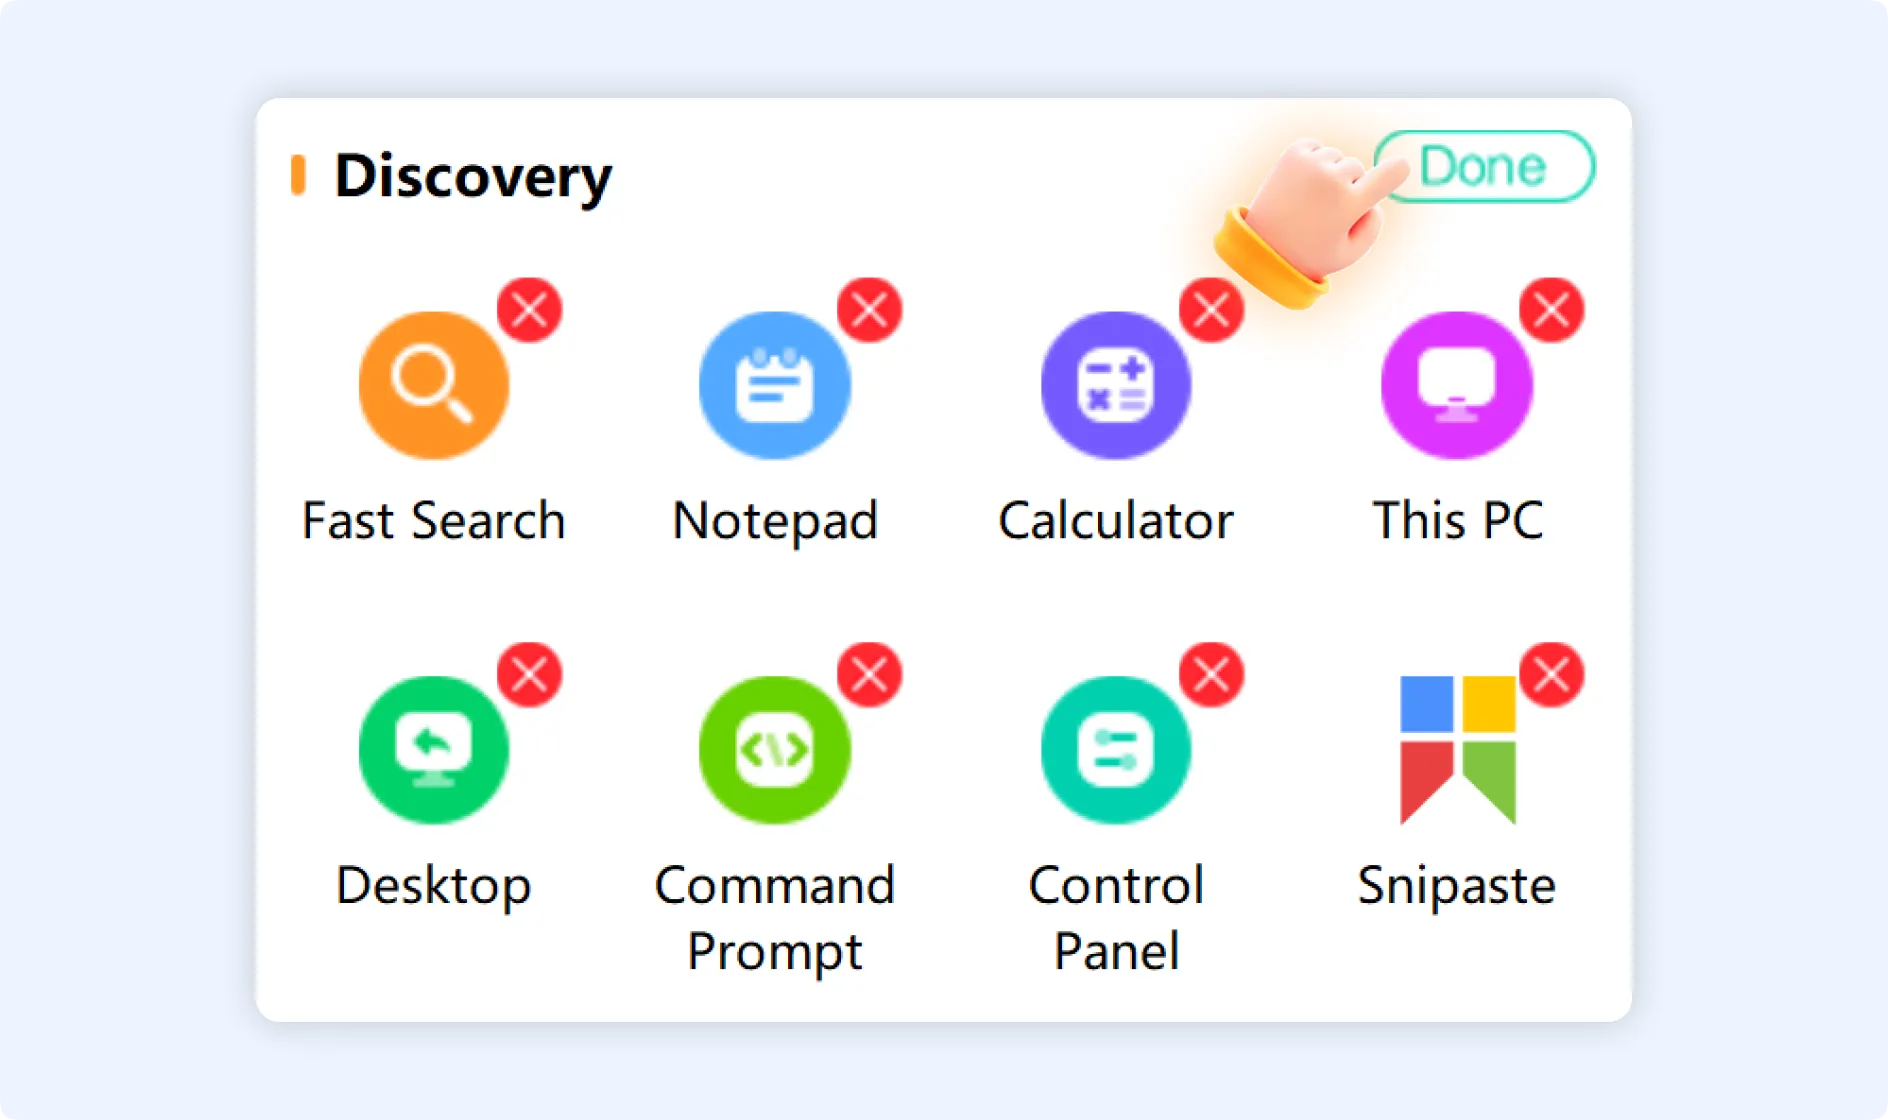
Step 3.1: In edit mode, click the red “×” button in the top-right corner of any infrequently used or unwanted tool to remove it from the “Discovery” section.
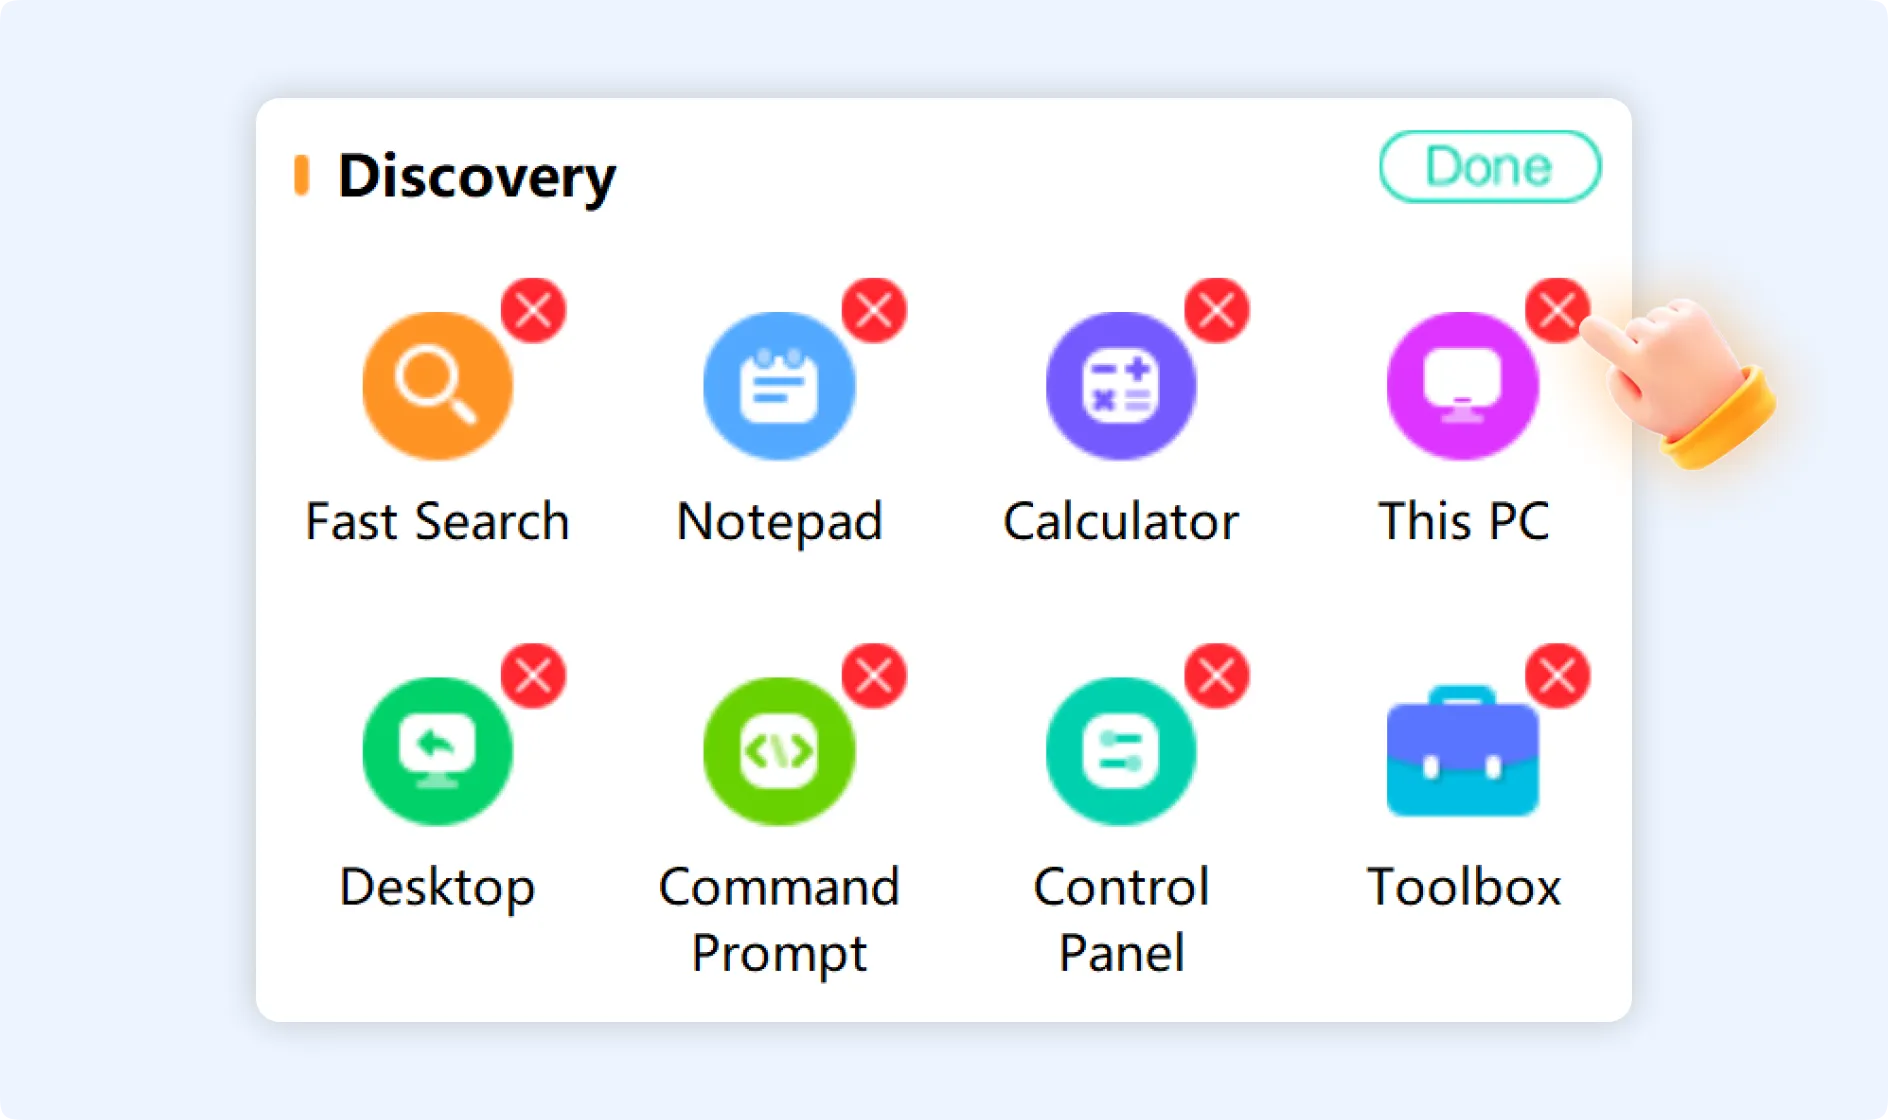
💡Tips: Removing an unwanted tool only deletes from the shortcut entry; it does not uninstall or delete the actual application or system tool.
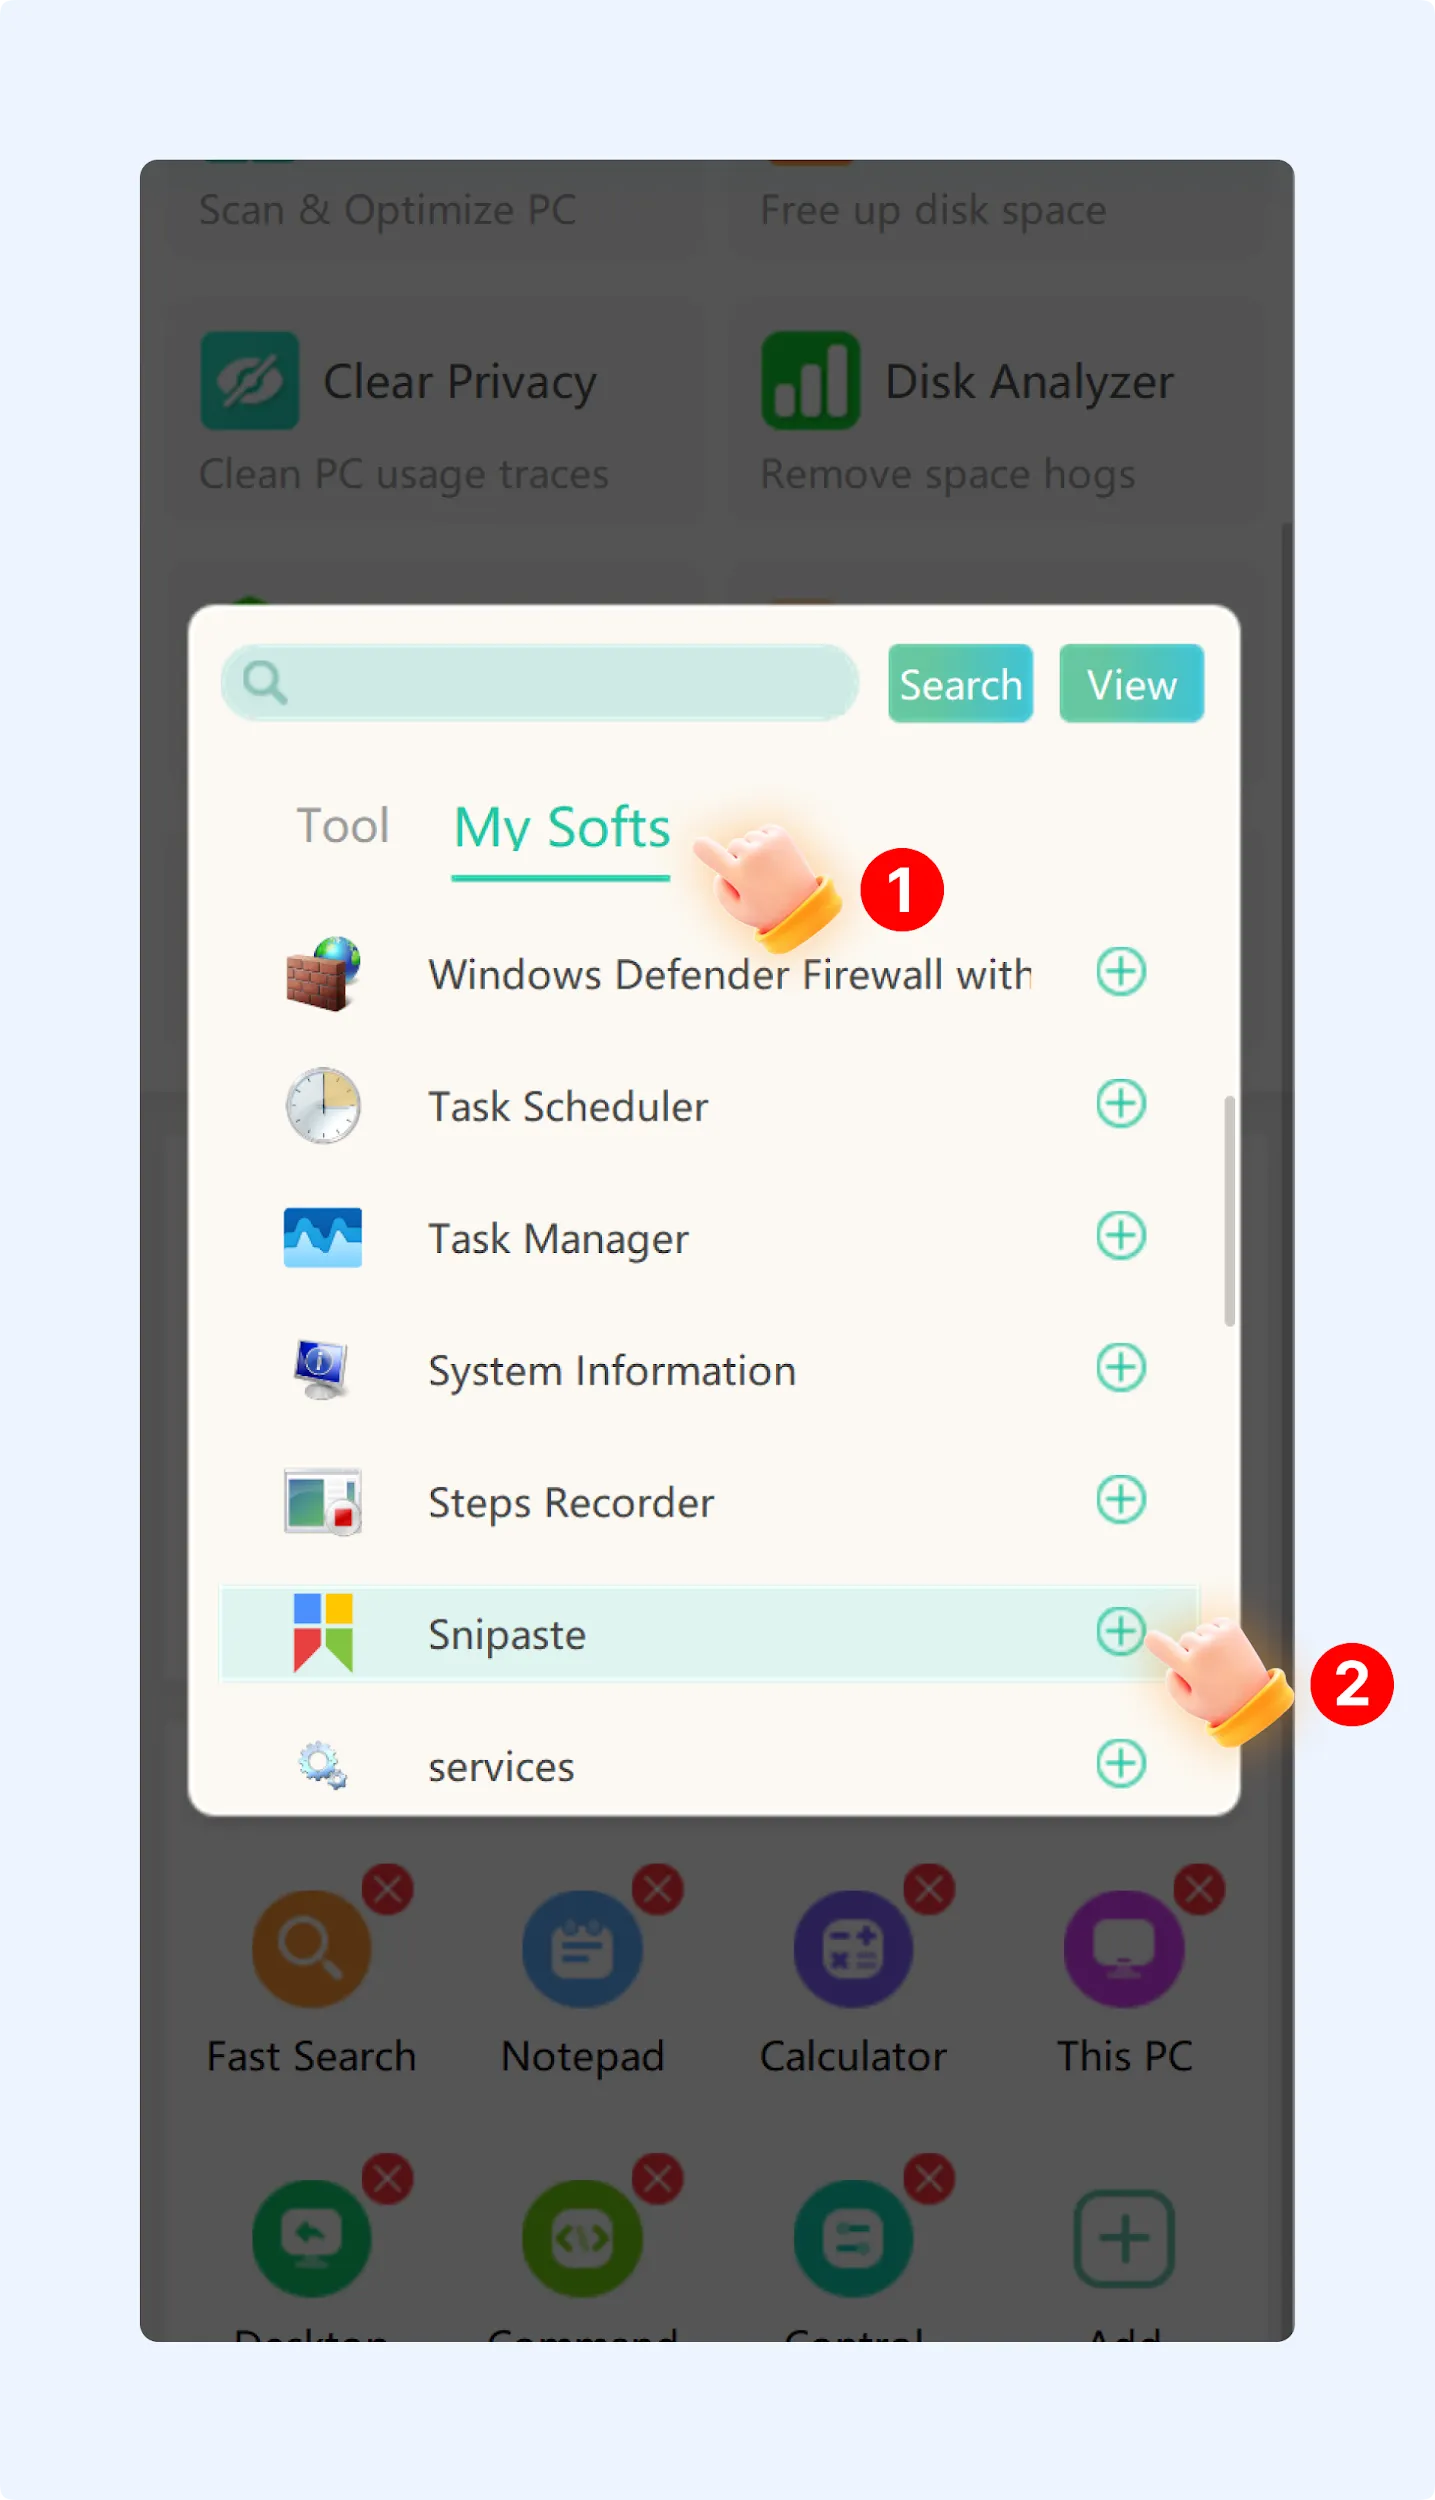
Step 3.2: In edit mode, click the “+” icon in an empty space. The system will pop up the “Tool Selection” window that lets you add the “tool” you need to the panel.
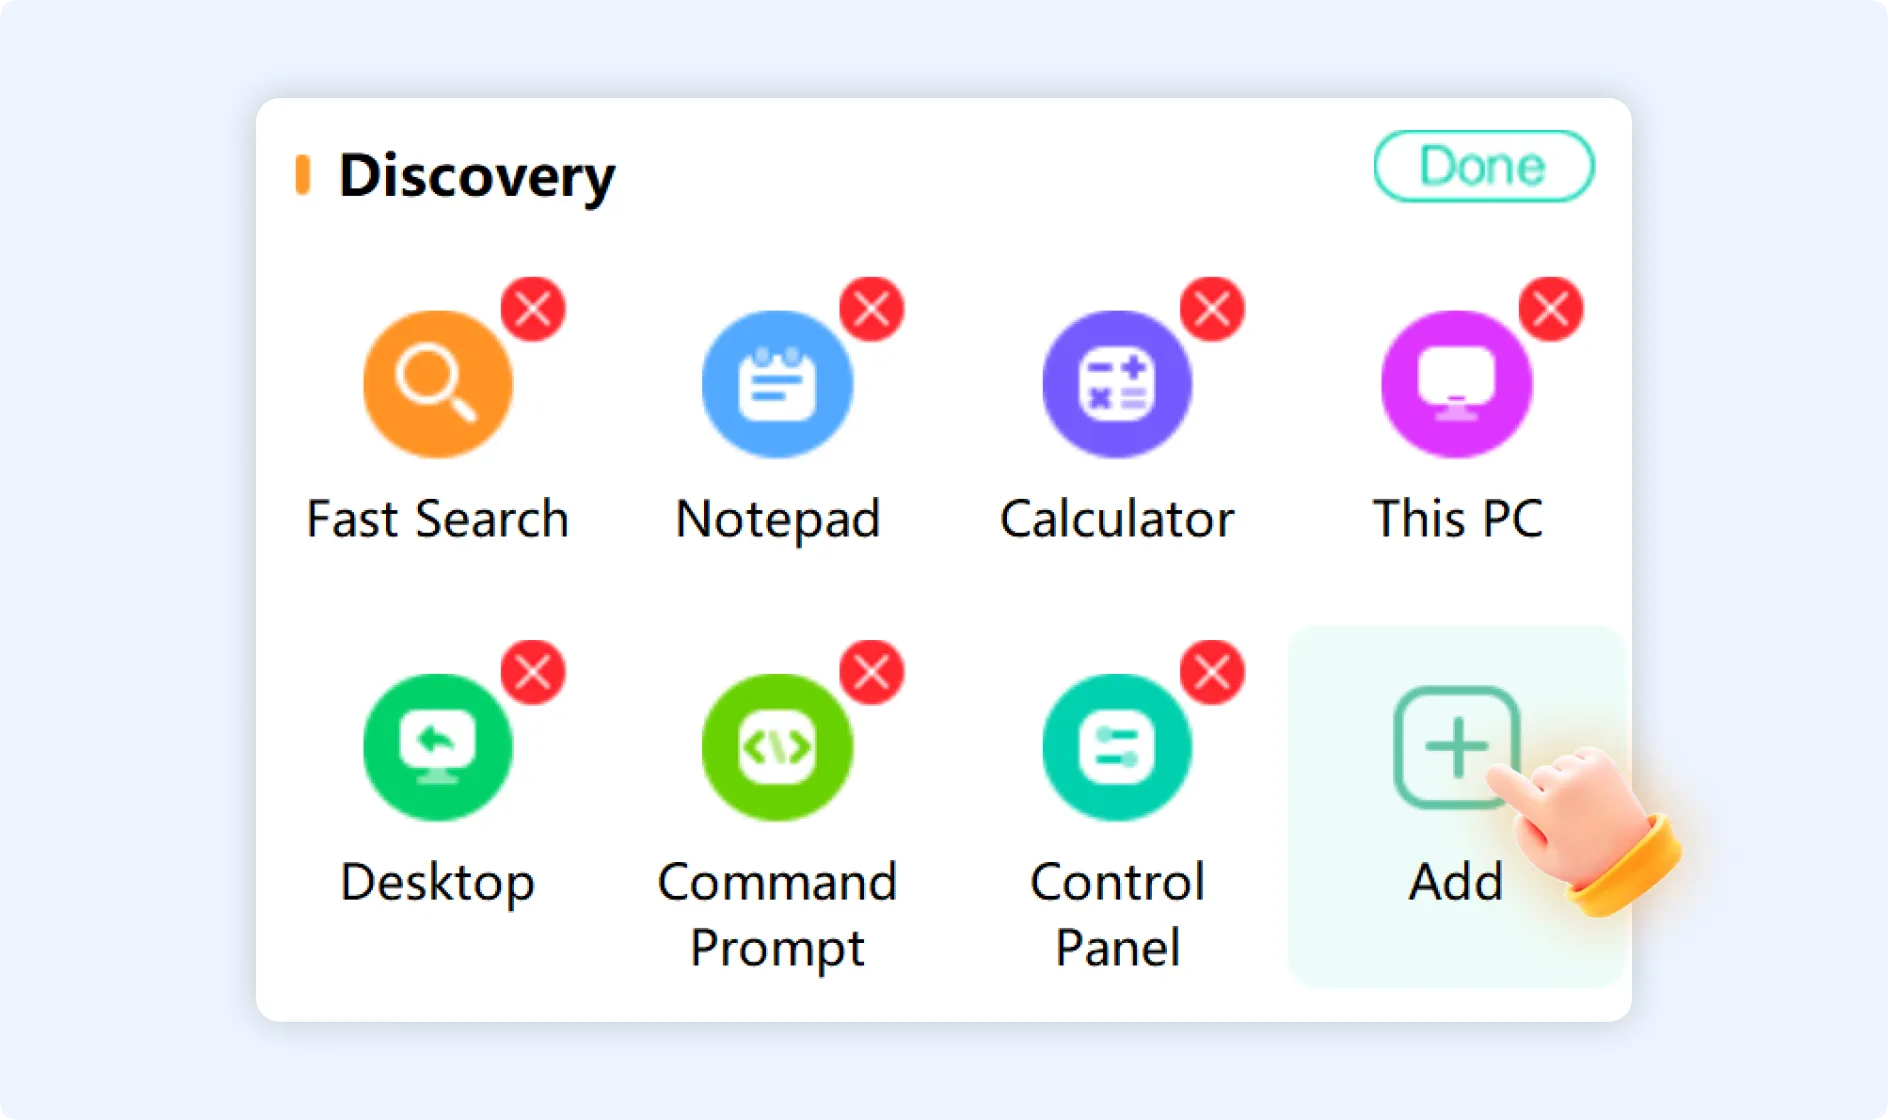
Step 3.3: Switch to the “My Software” tab in the ‘Add’ window. Here, you can integrate frequently used third-party applications or custom shortcuts into the “Discovery” section.
Step 3.4: After adding or removing tools, click the “Done” button in the top-right corner to exit edit mode. The “Discovery” section will display icons according to the new layout.
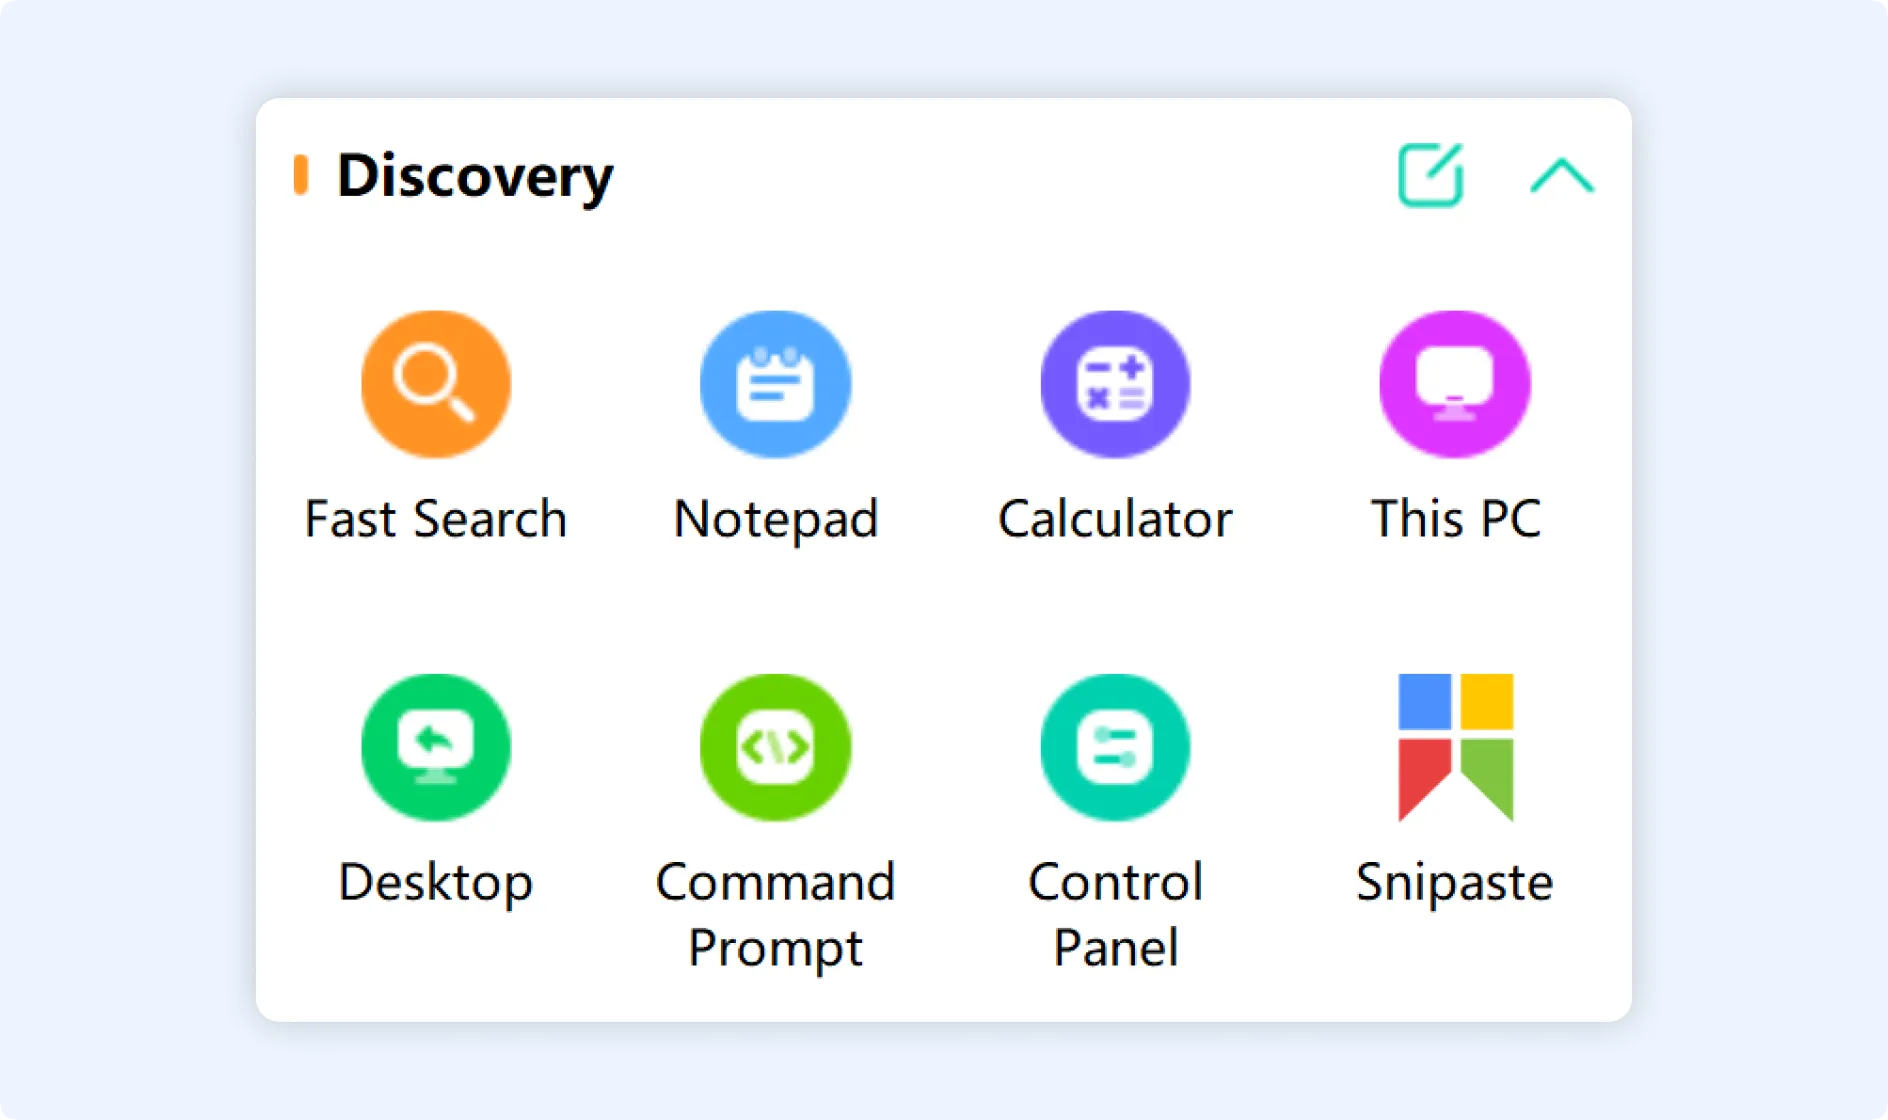
💡Tips:To temporarily hide the Discovery section, click the collapse icon (▲) to the right of the “Discovery” title. The section will retract, displaying only the title bar. To reopen it when needed, click the expand icon (▼).