
Have you observed a noticeable slowdown in your computer after prolonged use? Over time, the files on your disk become scattered and disorganized, leading to this issue. The continuous buildup of file fragments makes disk read and write operations much less efficient, extends startup times, and slows down the speed of loading programs.
The "Disk Defrag" function of WMaster Cleanup smartly analyzes disk fragmentation distribution. Using defragmentation algorithms, it organizes files that are spread out into a contiguous, organized storage area. This process significantly improves disk read/write speeds and makes the operating system run better overall.
Part 1: Core Functions of WMaster Cleanup's Disk Defrag Feature
- Quickly scans all disks and finds the exact location and number of fragmented files.
- Shows the status of disk fragmentation using an easy-to-understand color-block diagram, which gives an intuitive overview of disk health.
- It displays key metrics, such as the number of fragments, fragment size, and fragmentation percentage, in real time.
- Uses intelligent algorithms to assure that disk defragmentation is safe and effective without causing data loss.
Part 2: WMaster Cleanup Disk Defrag User Guide
To use the Disk Defrag feature, go to the official website of WMaster Cleanup and download the application on your computer.
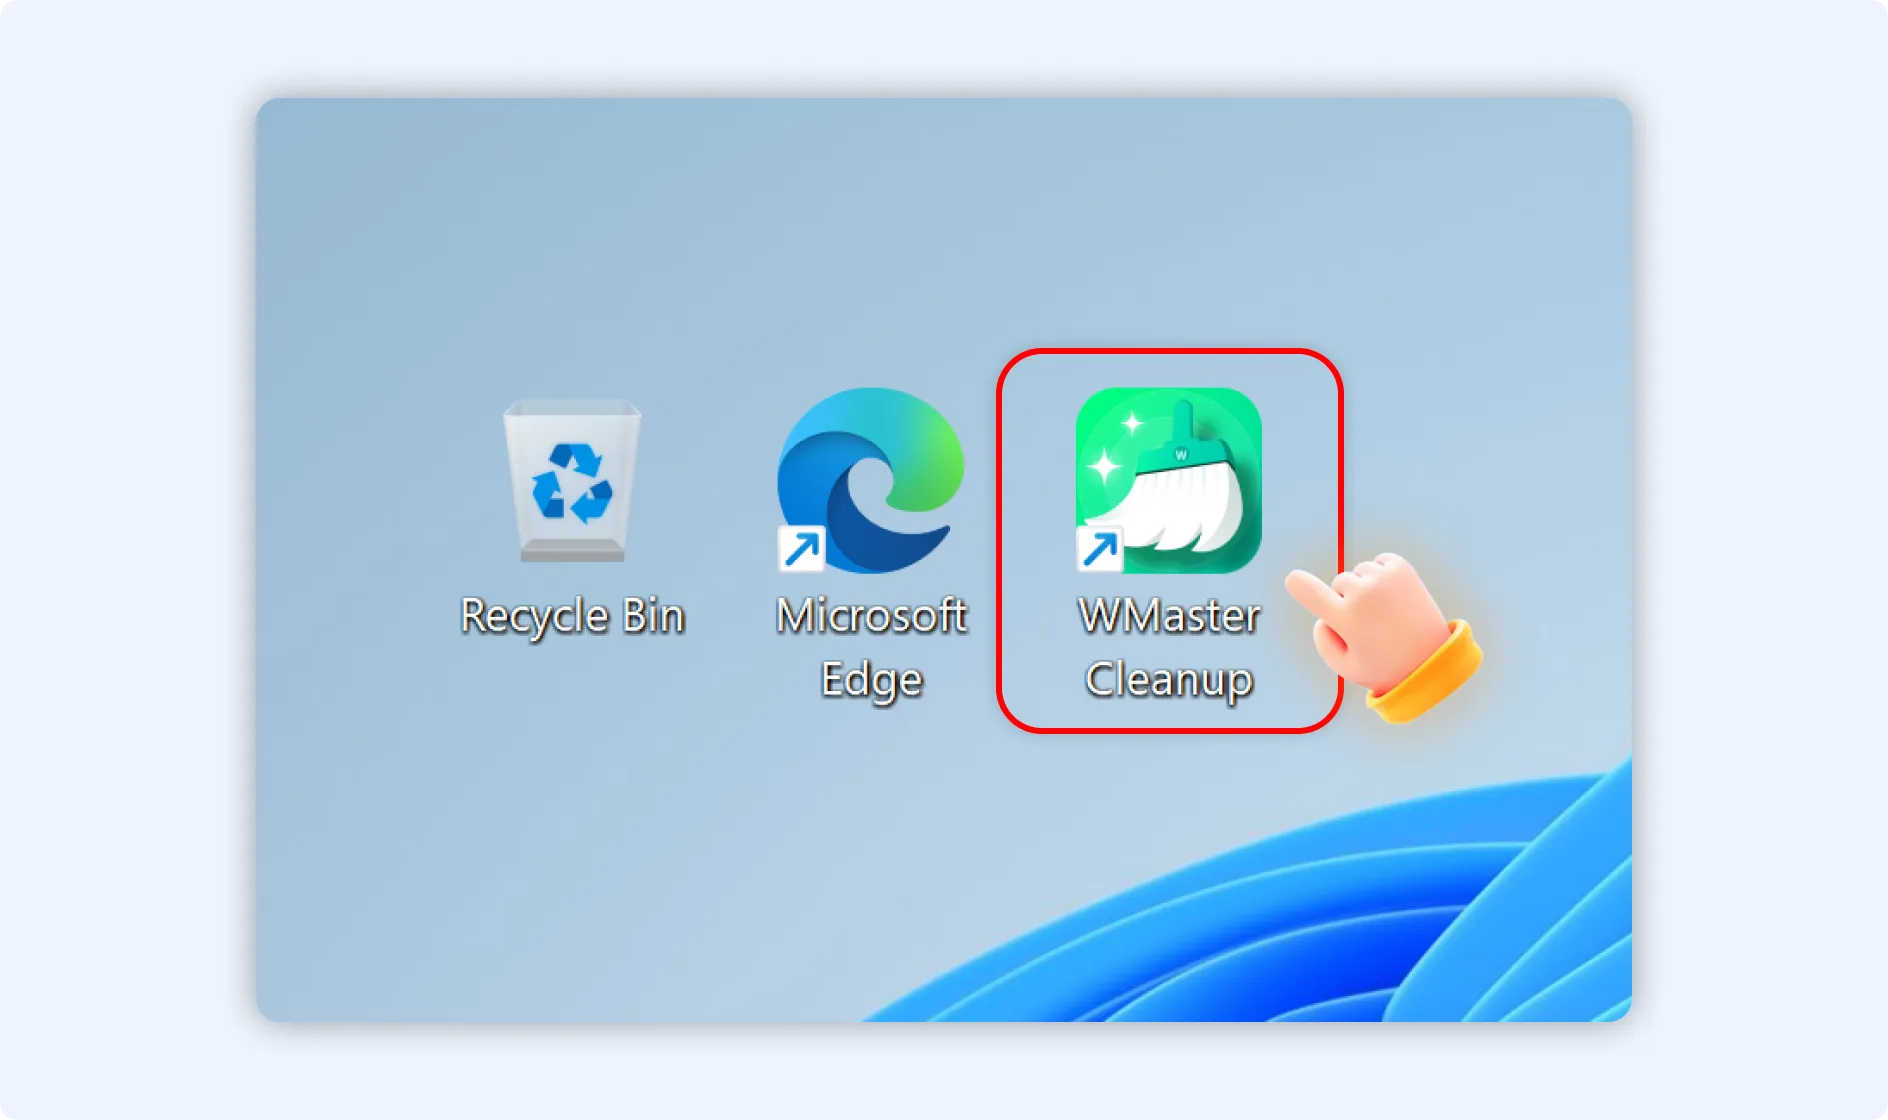
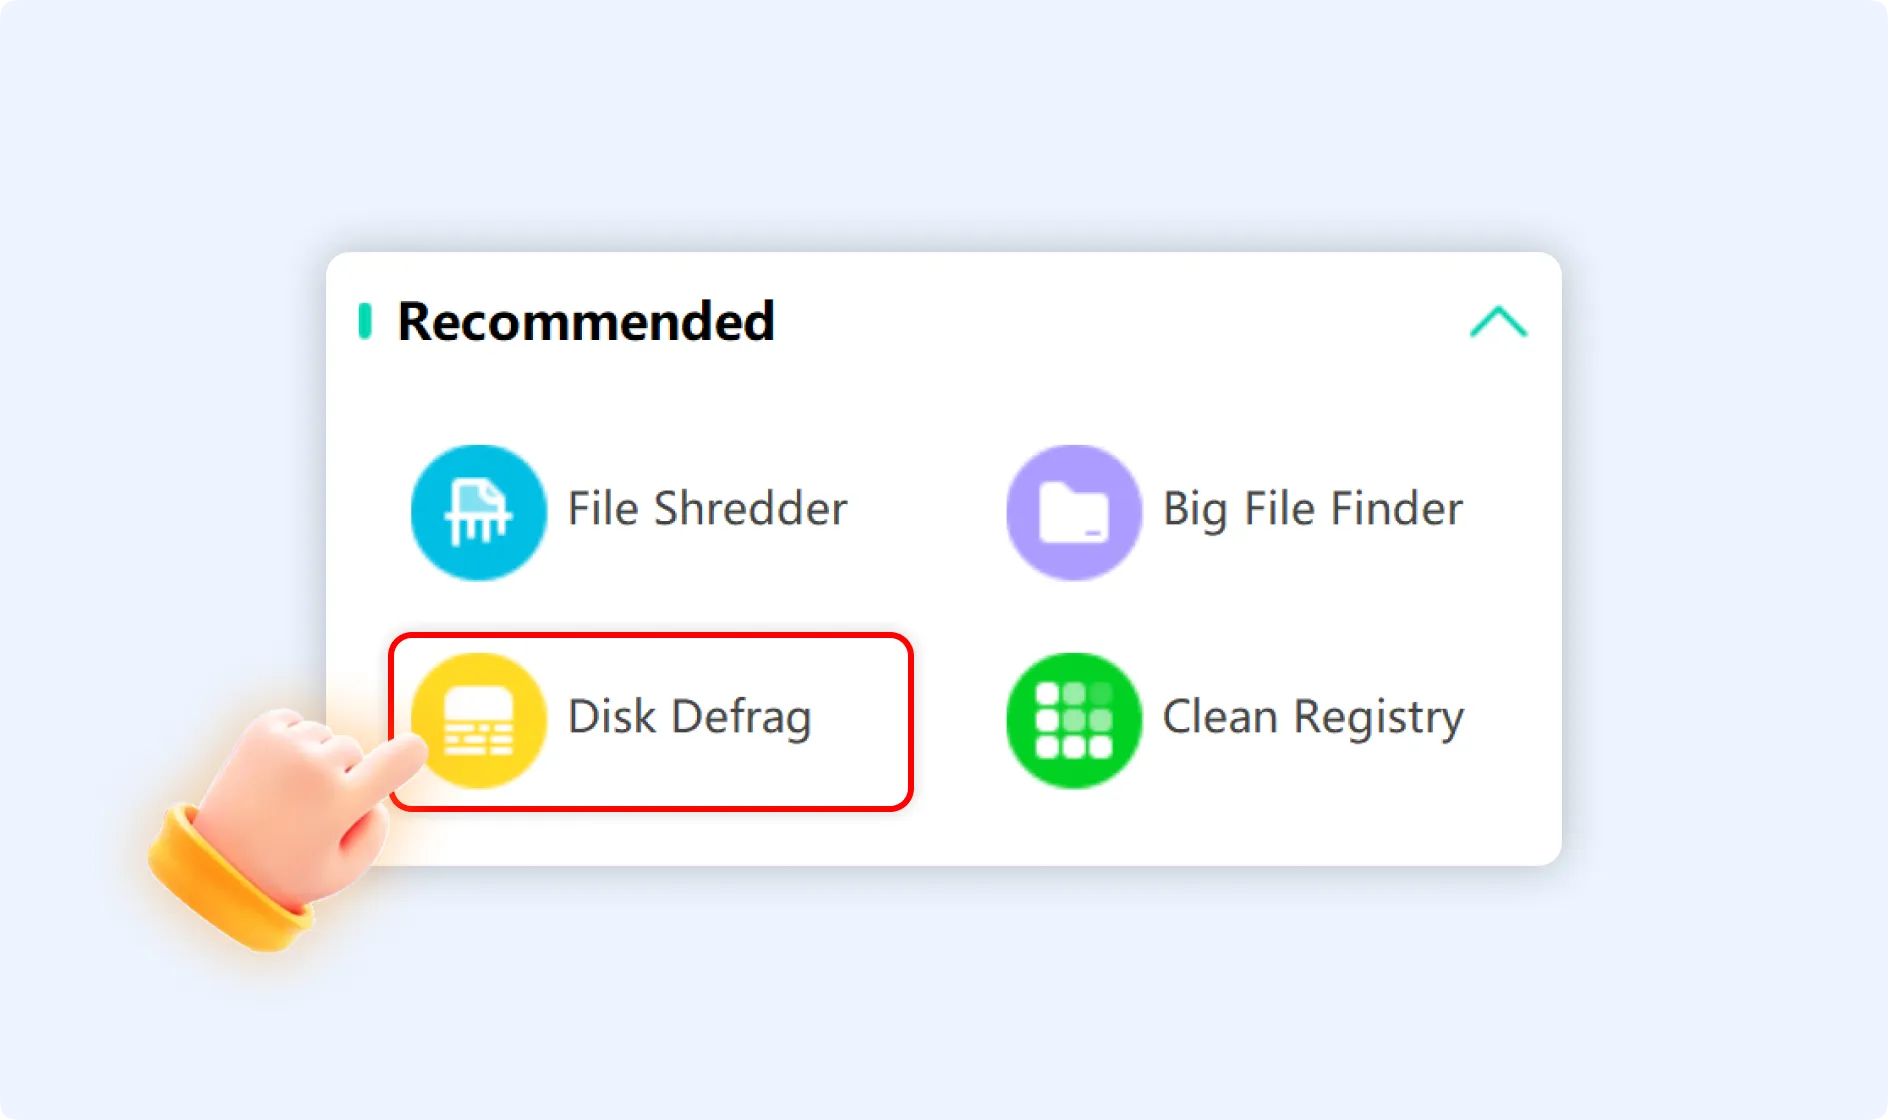
Step 1: Navigate and double-click the WMaster Cleanup icon to launch the application on your desktop. In the “Recommended” section on the main interface, click the “Disk Defrag” feature.
Step 2: Once you enter the Disk Defrag interface, press the “Clean Now” button to initiate the defragmentation scan.

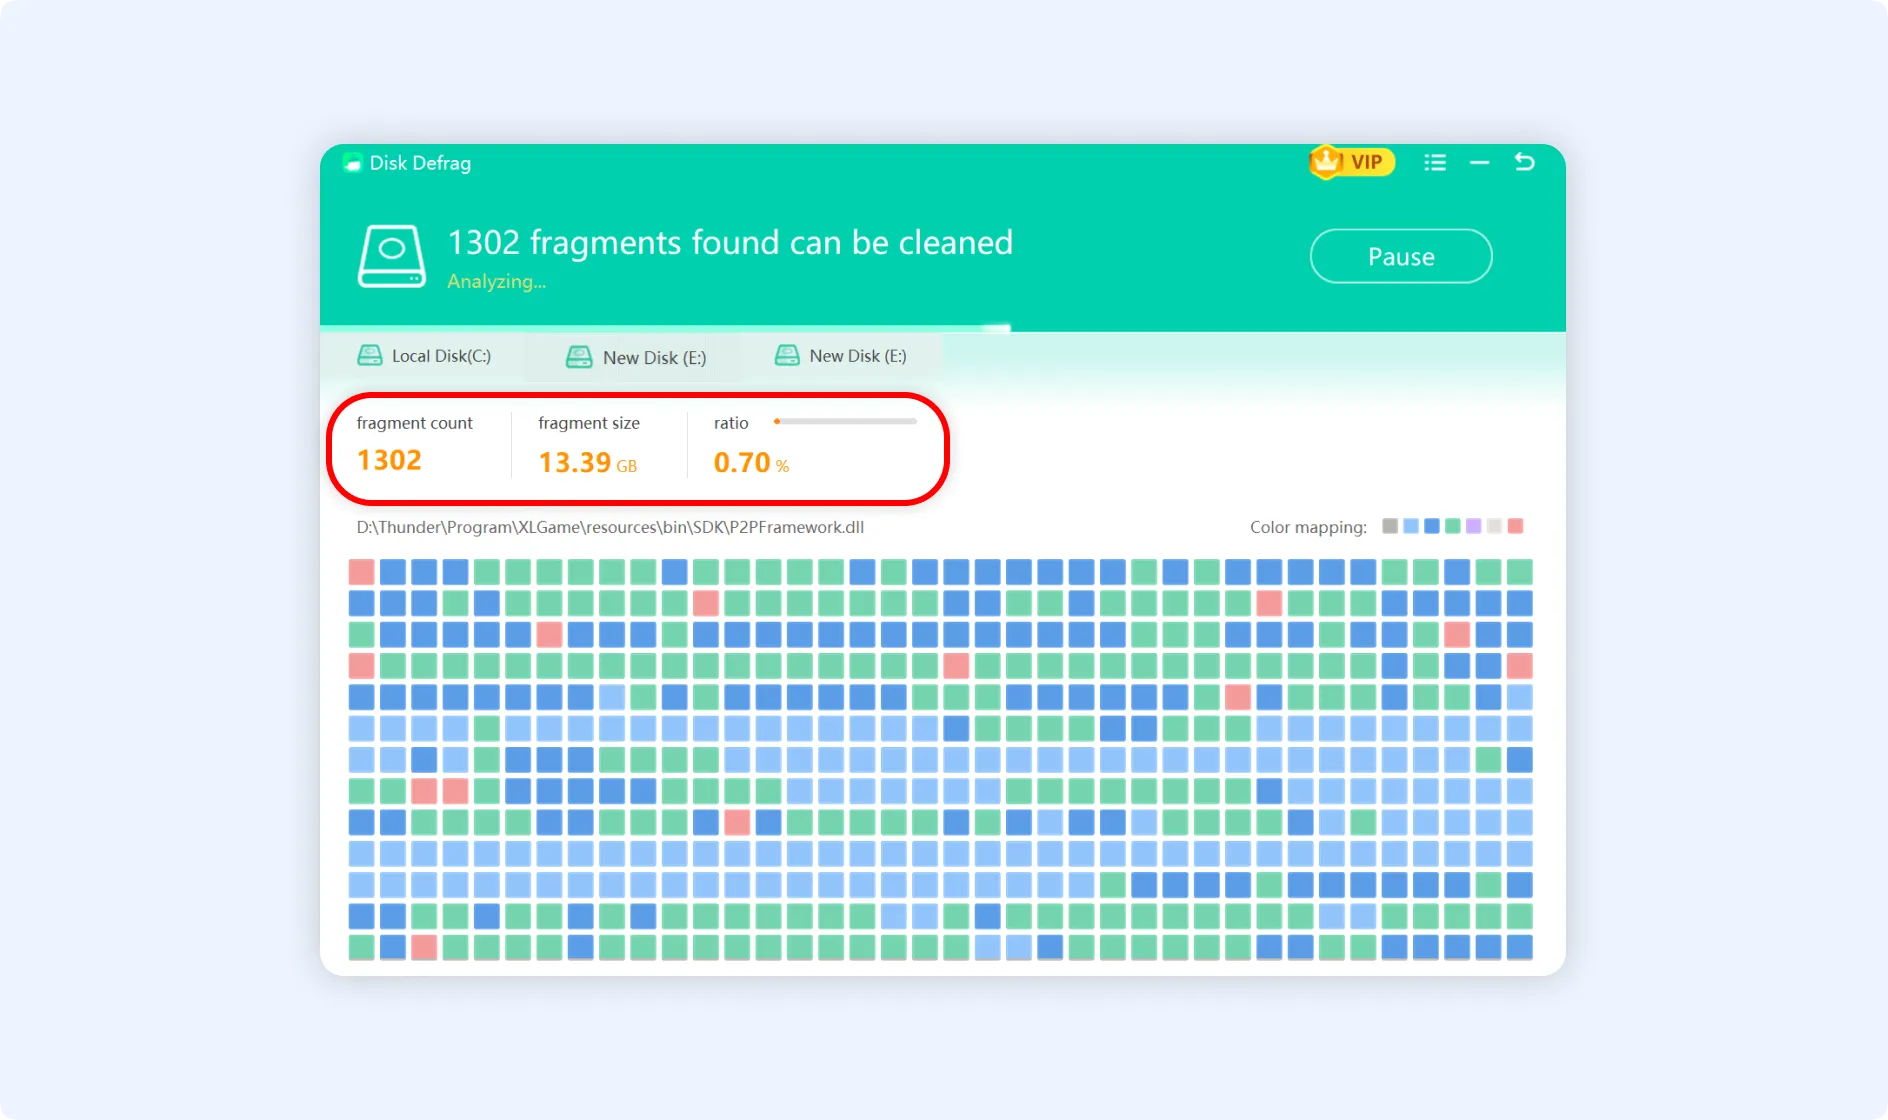
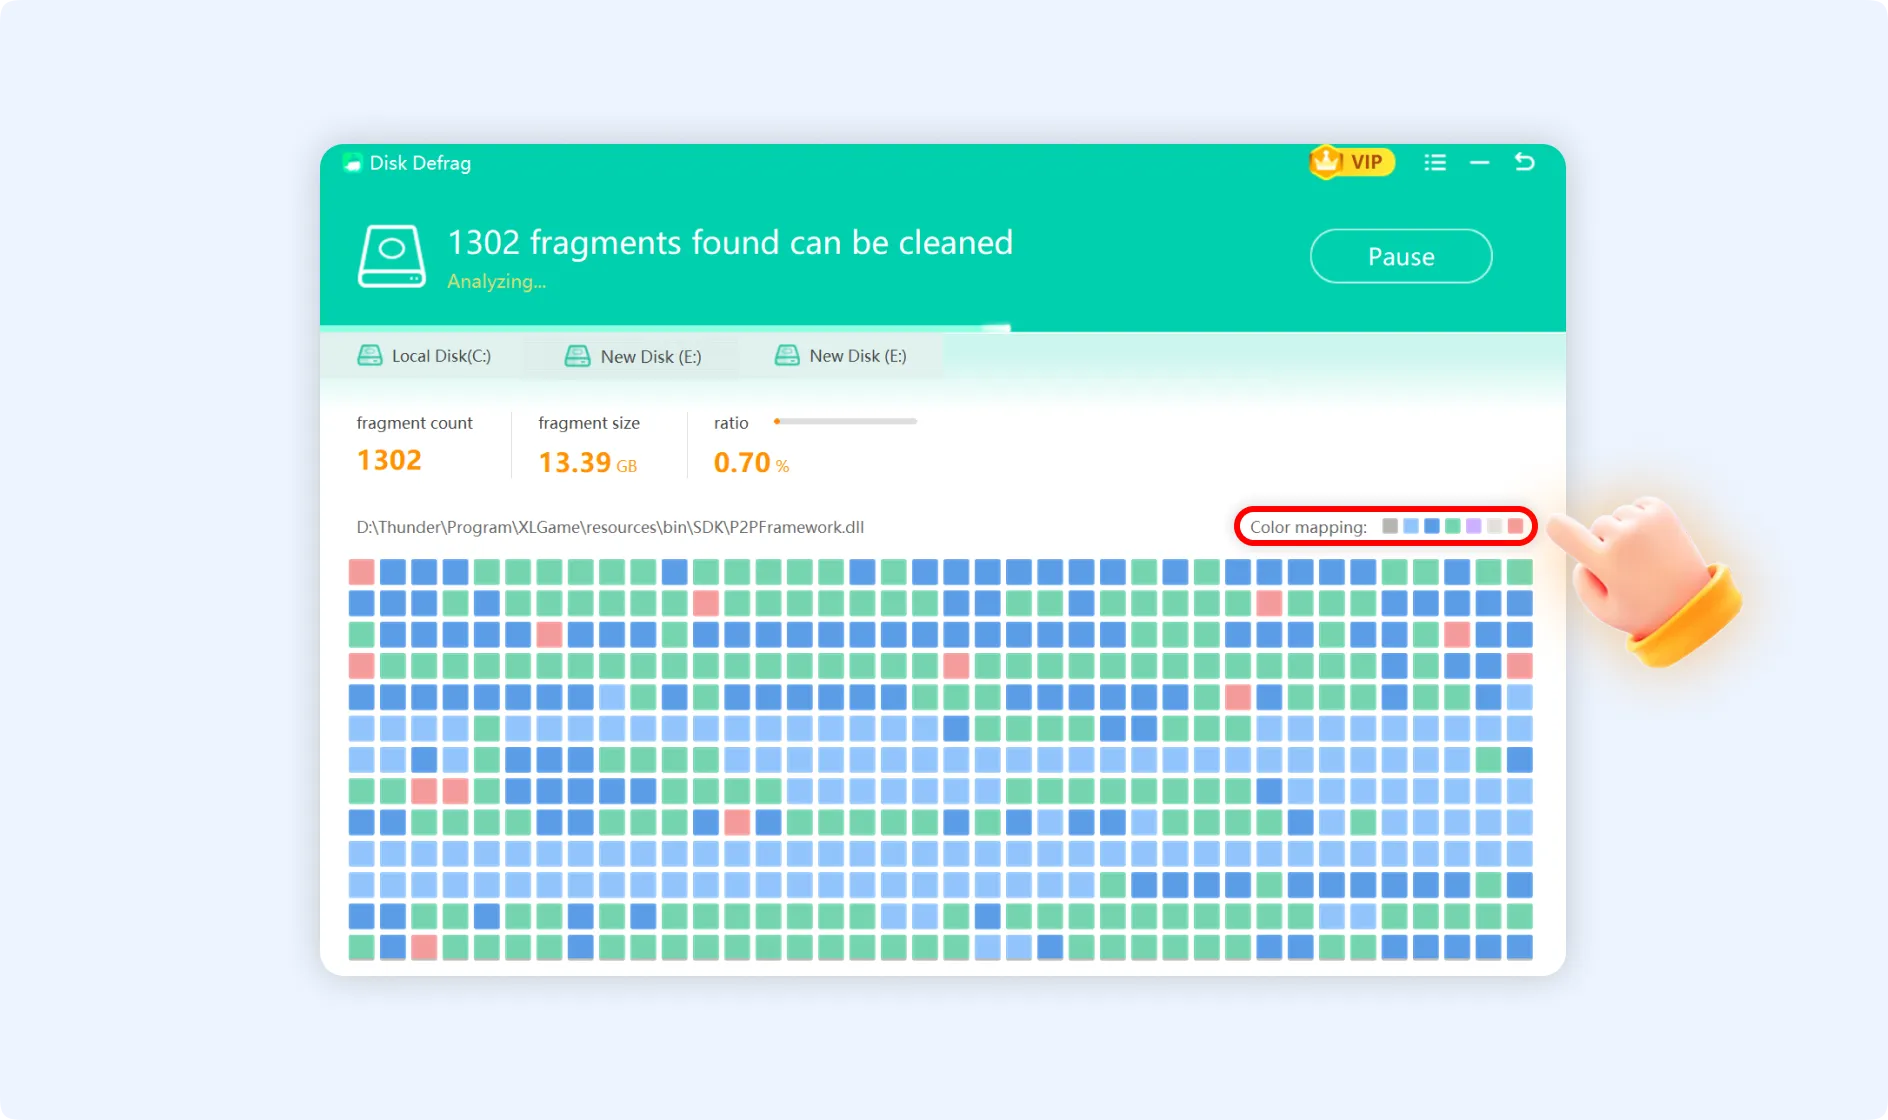
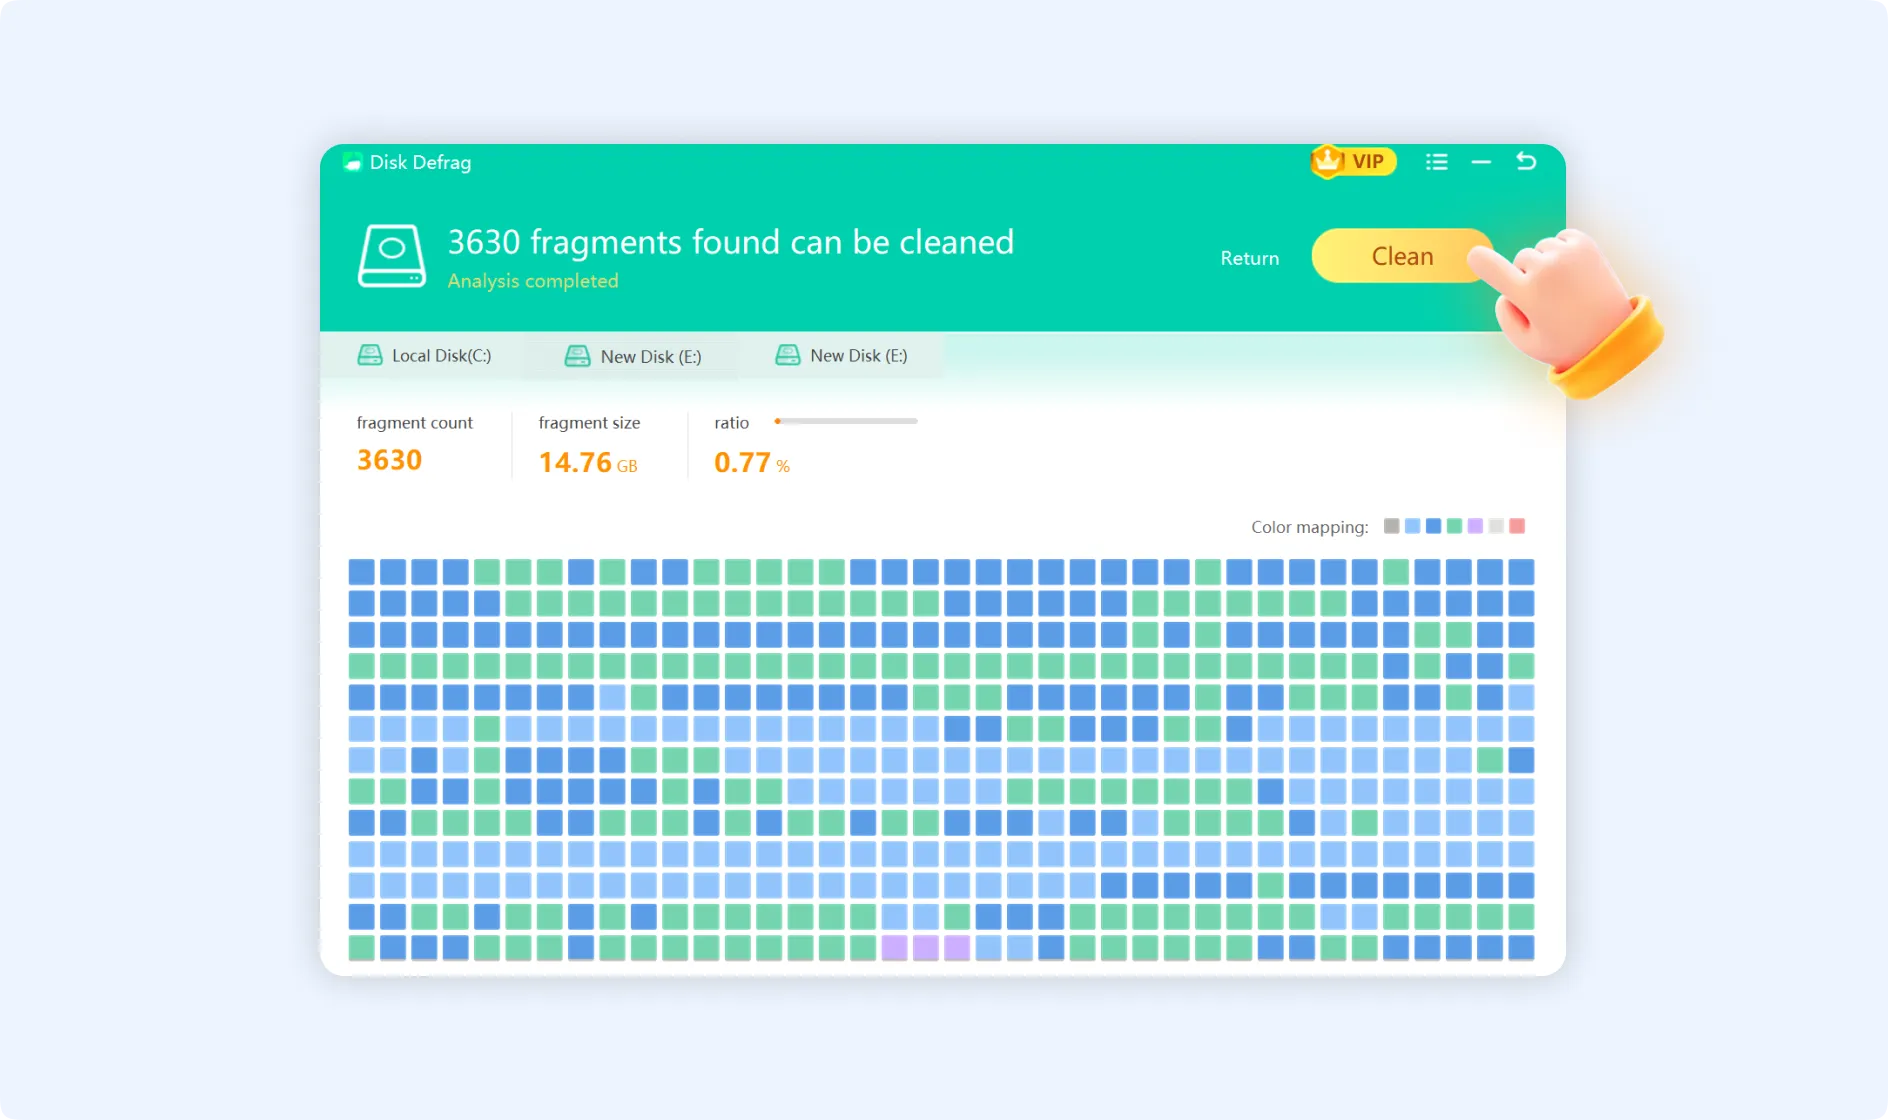
Step 3: Disk Defrag will begin scanning all disk partitions on your computer. The scan interface displays real-time fragmentation data analysis, including:
- Fragment count: Total number of detected fragmented files.
- Fragment size: Total space occupied by fragmented files.
- Fragment ratio: Percentage of total disk capacity occupied by fragments.
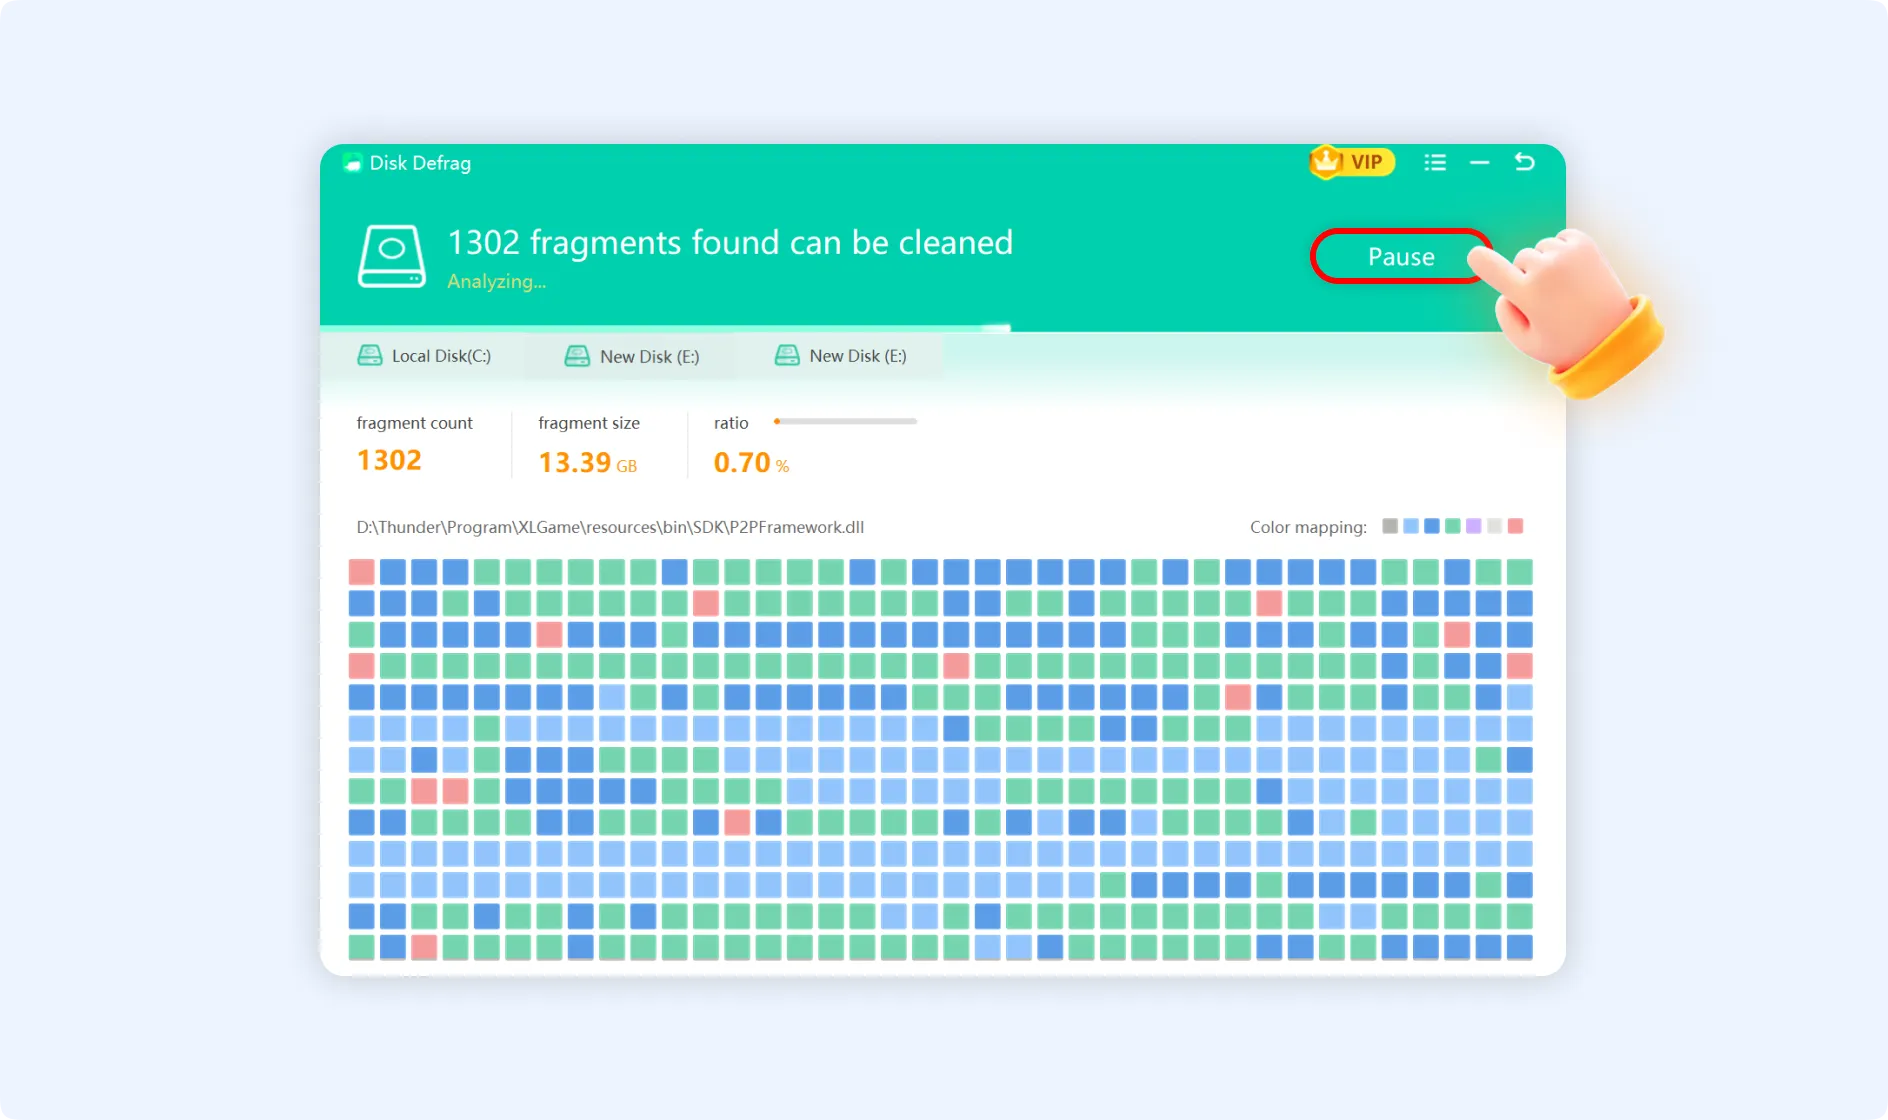
💡Tips: If you want to stop the scan, click the “Pause” button, and to resume, click “Continue” when needed.
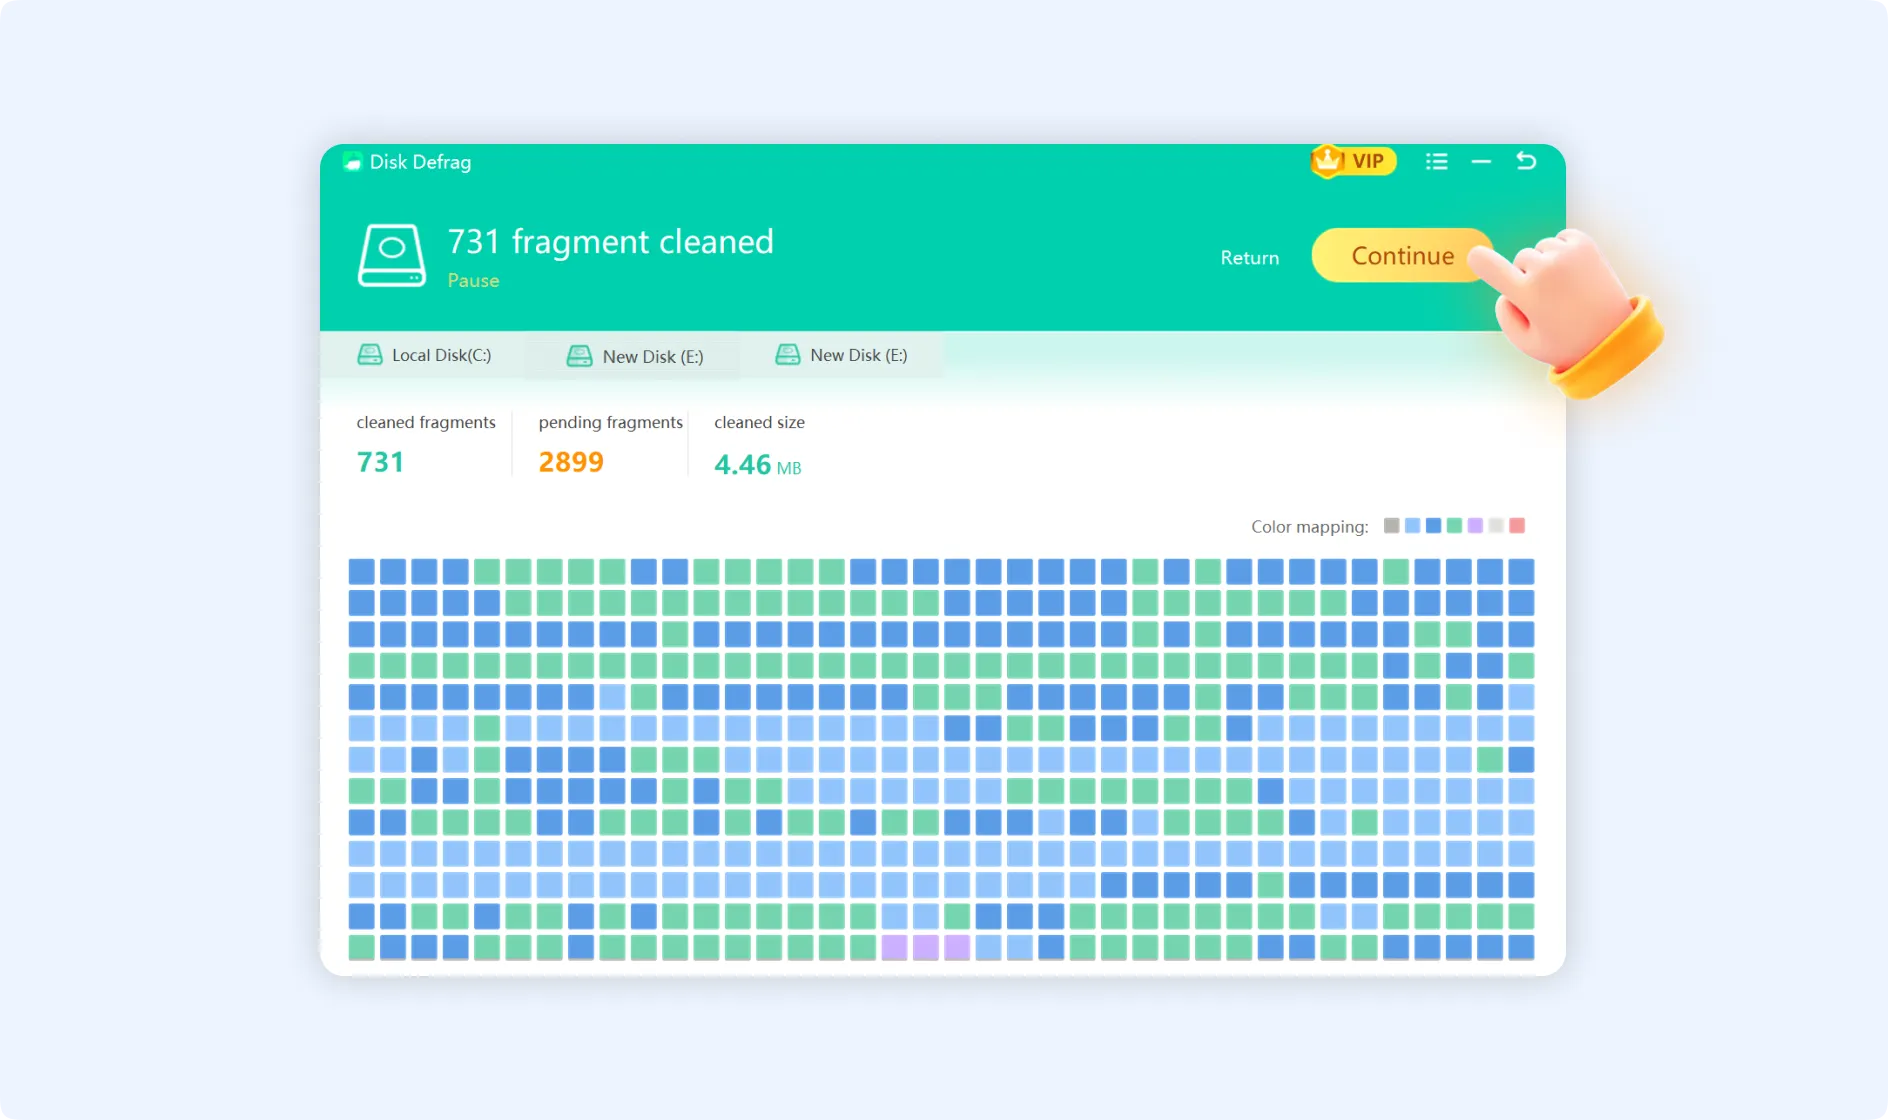
Once the scan completes, the app will display the disk's fragmentation distribution using a visual color block map. Move your mouse cursor over “Color mapping” in the upper-right corner, where each color box will reveal its meaning:
- Dark gray (Initial): Initial state sectors show the disk area at the start of scanning.
- Light blue (Working sectors): The active sectors that are currently in use by the system.
- Blue (Unmovable sectors): System files or protected areas that cannot be defragmented.
- Green (Fragment-free sectors): Favorable, contiguous storage space for files.
- Purple (Moving fragmented sectors): Areas undergoing defragmentation.
- Light gray (Available sectors): Unused, writable disk space.
- Red (Fragmented sectors): Fragmented areas where files are scattered and need to be organized.
The color distribution in the block map will provide you an intuitive overview of your disk's health.
Step 4: Once you finish reviewing the scan results, click the “Clean” button in the upper-right corner. This step will initiate smart defragmentation, which will reorganize scattered files to read/write to the disk more seamlessly.
💡Tips: Perform defragmentation at least once in a month to maintain optimal disk performance.
💡Tips 1: For the best results, run Disk Cleanup to delete unnecessary files before defragmentation.