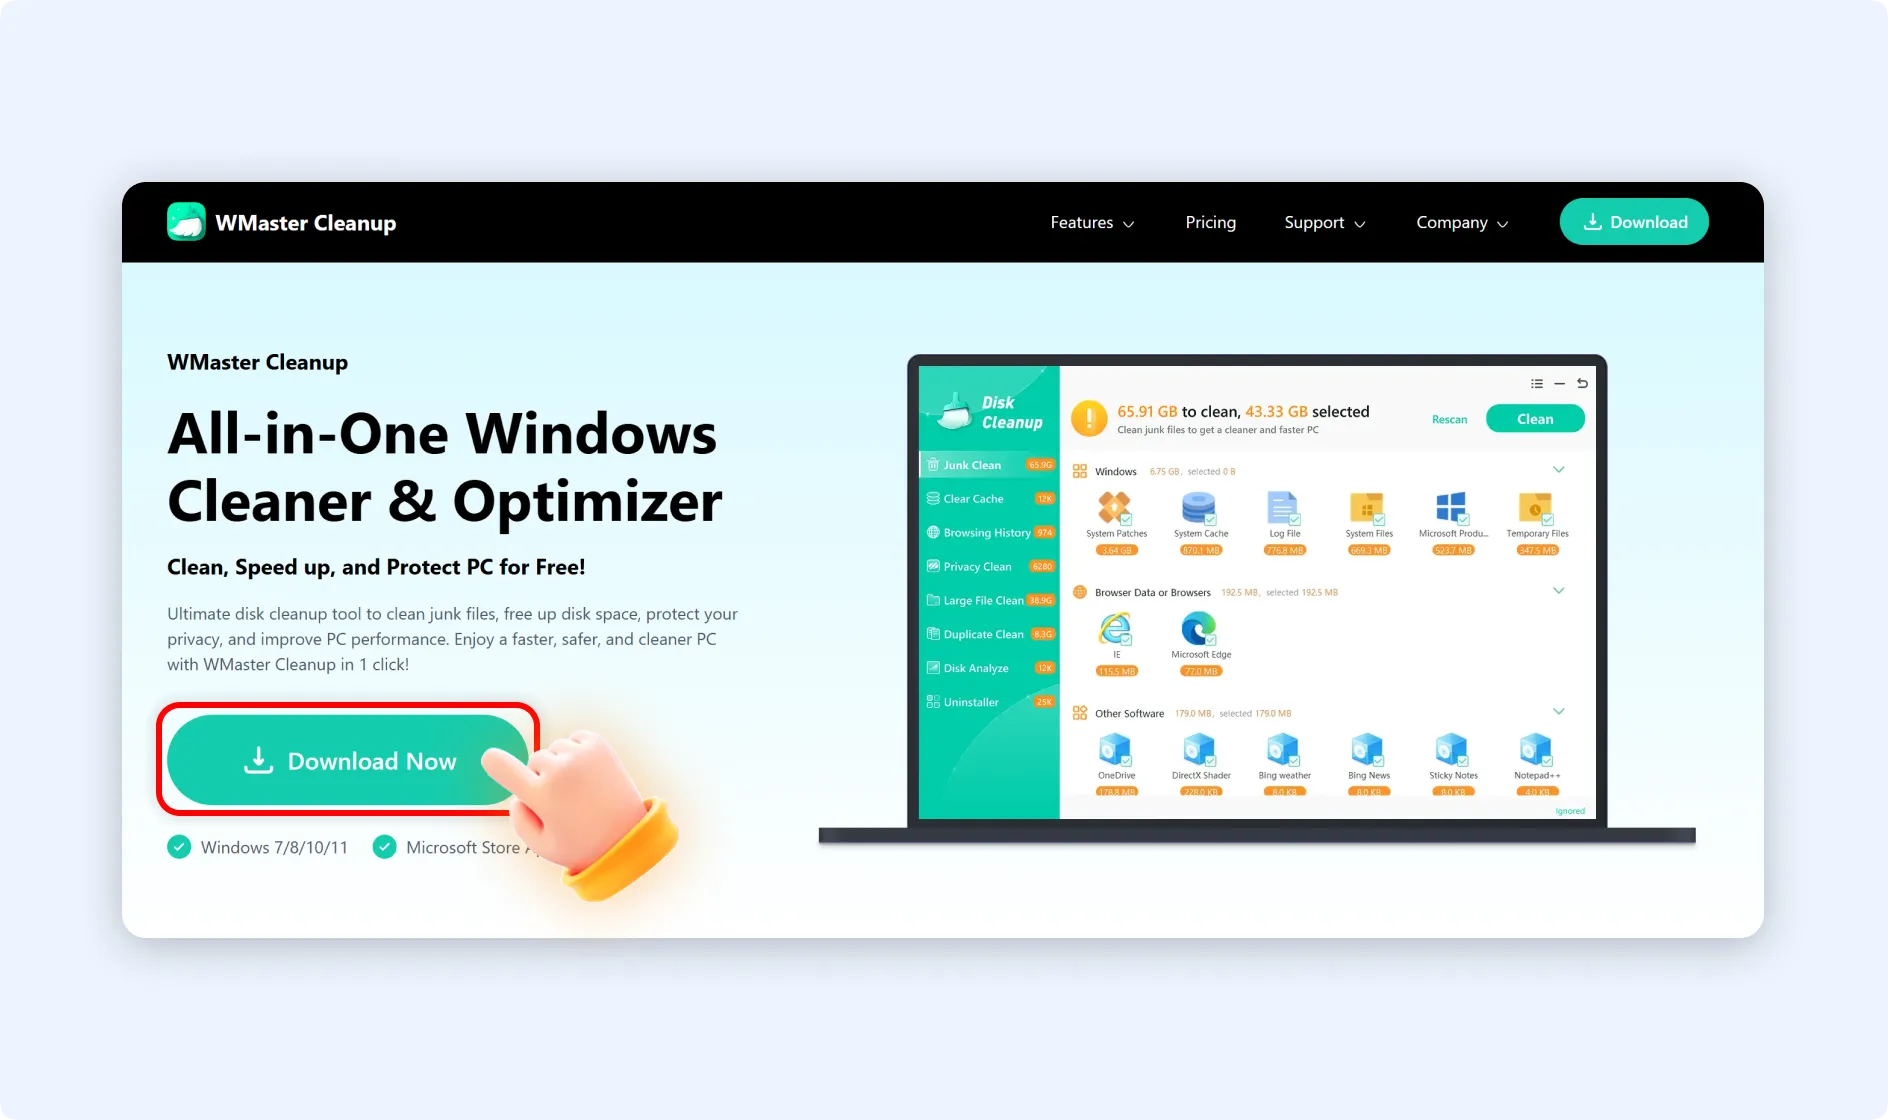
Visit the official site of WMaster Cleanup and click on "Download Now" to get the installation package.
How to Install WMaster Cleanup?
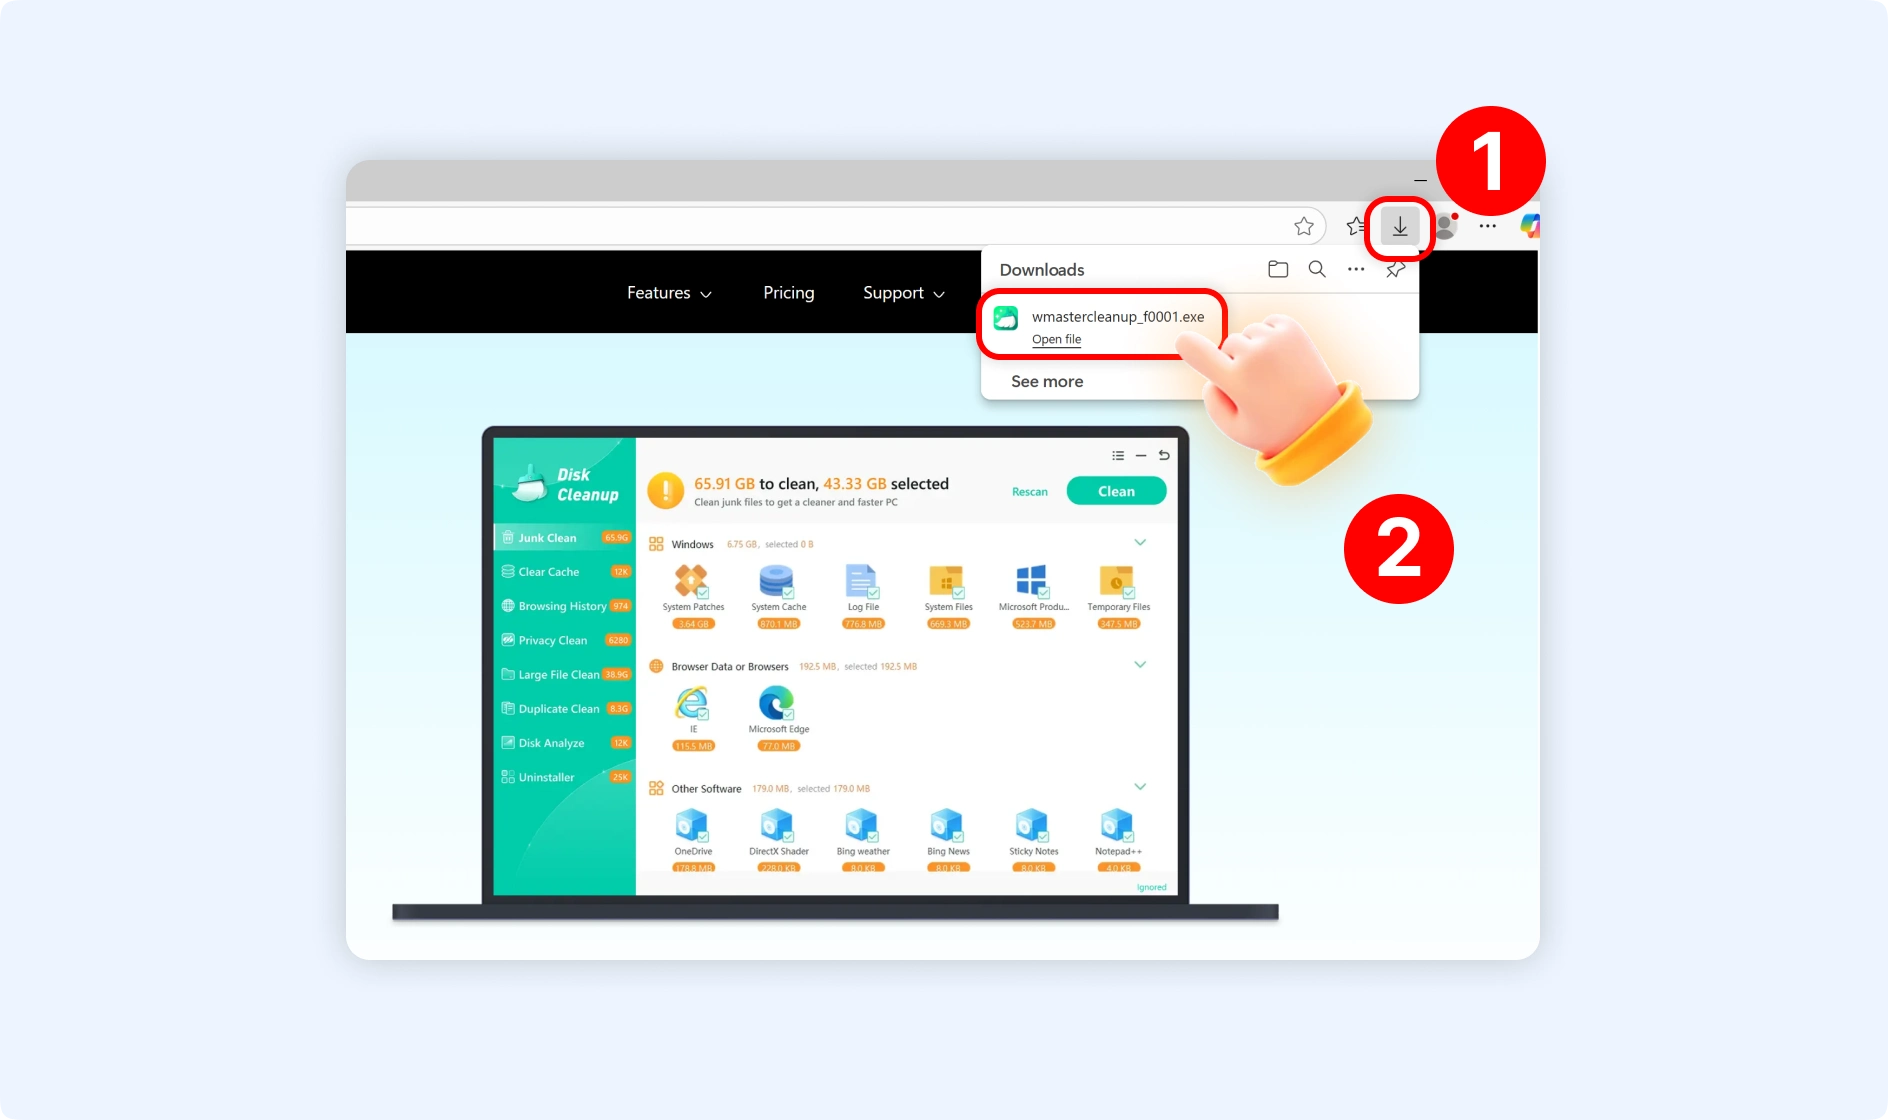
Step 1: Double-click the installation file.
💡Tips:The installation package (wmastercleanup_f0001) will be downloaded to your browser's default “Downloads” location.
Step 2: In the pop-up window, tap on “Install Now” button. WMaster Cleanup will be installed by default to C:/Program Files (x86)\wmaster.
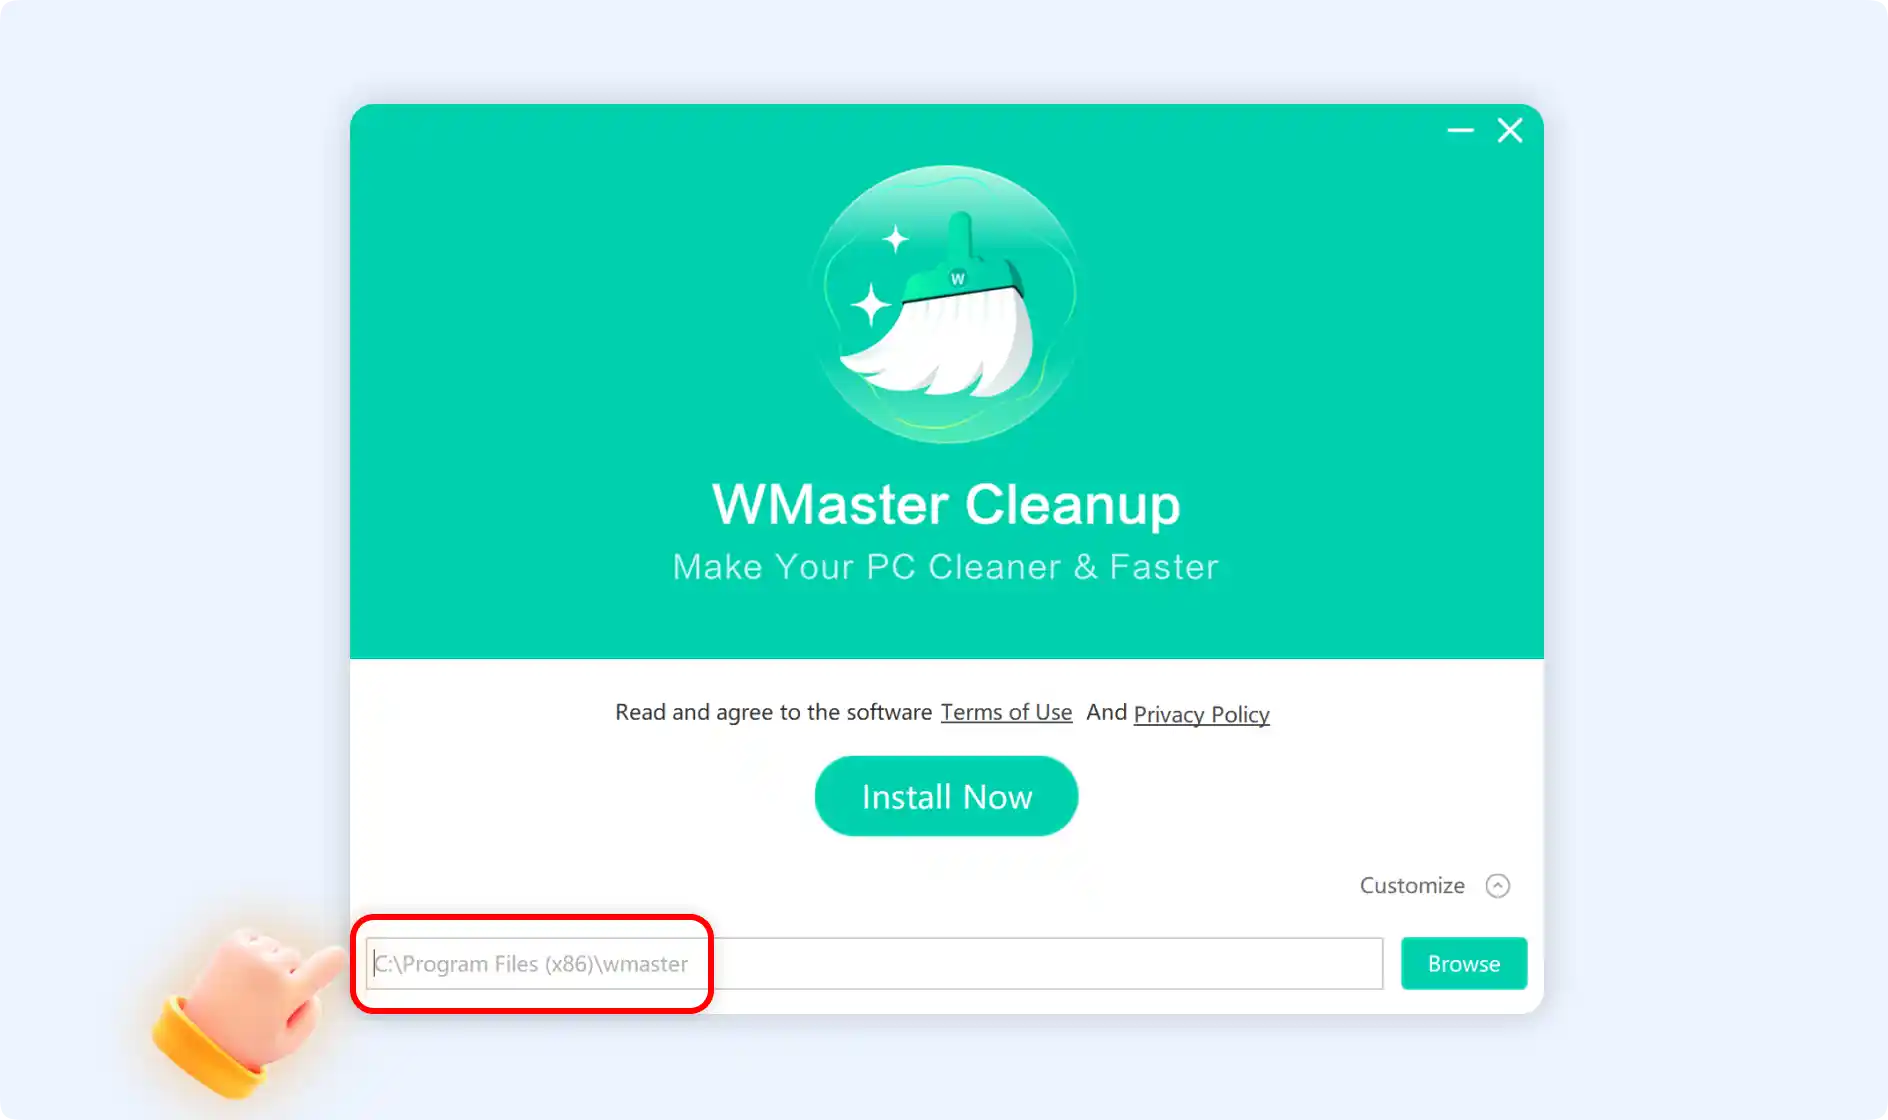
Step 2.1: Alternatively, you can also choose your desired location to install WMaster Cleanup by clicking "Customize." Once selected, click "Install Now" to proceed.
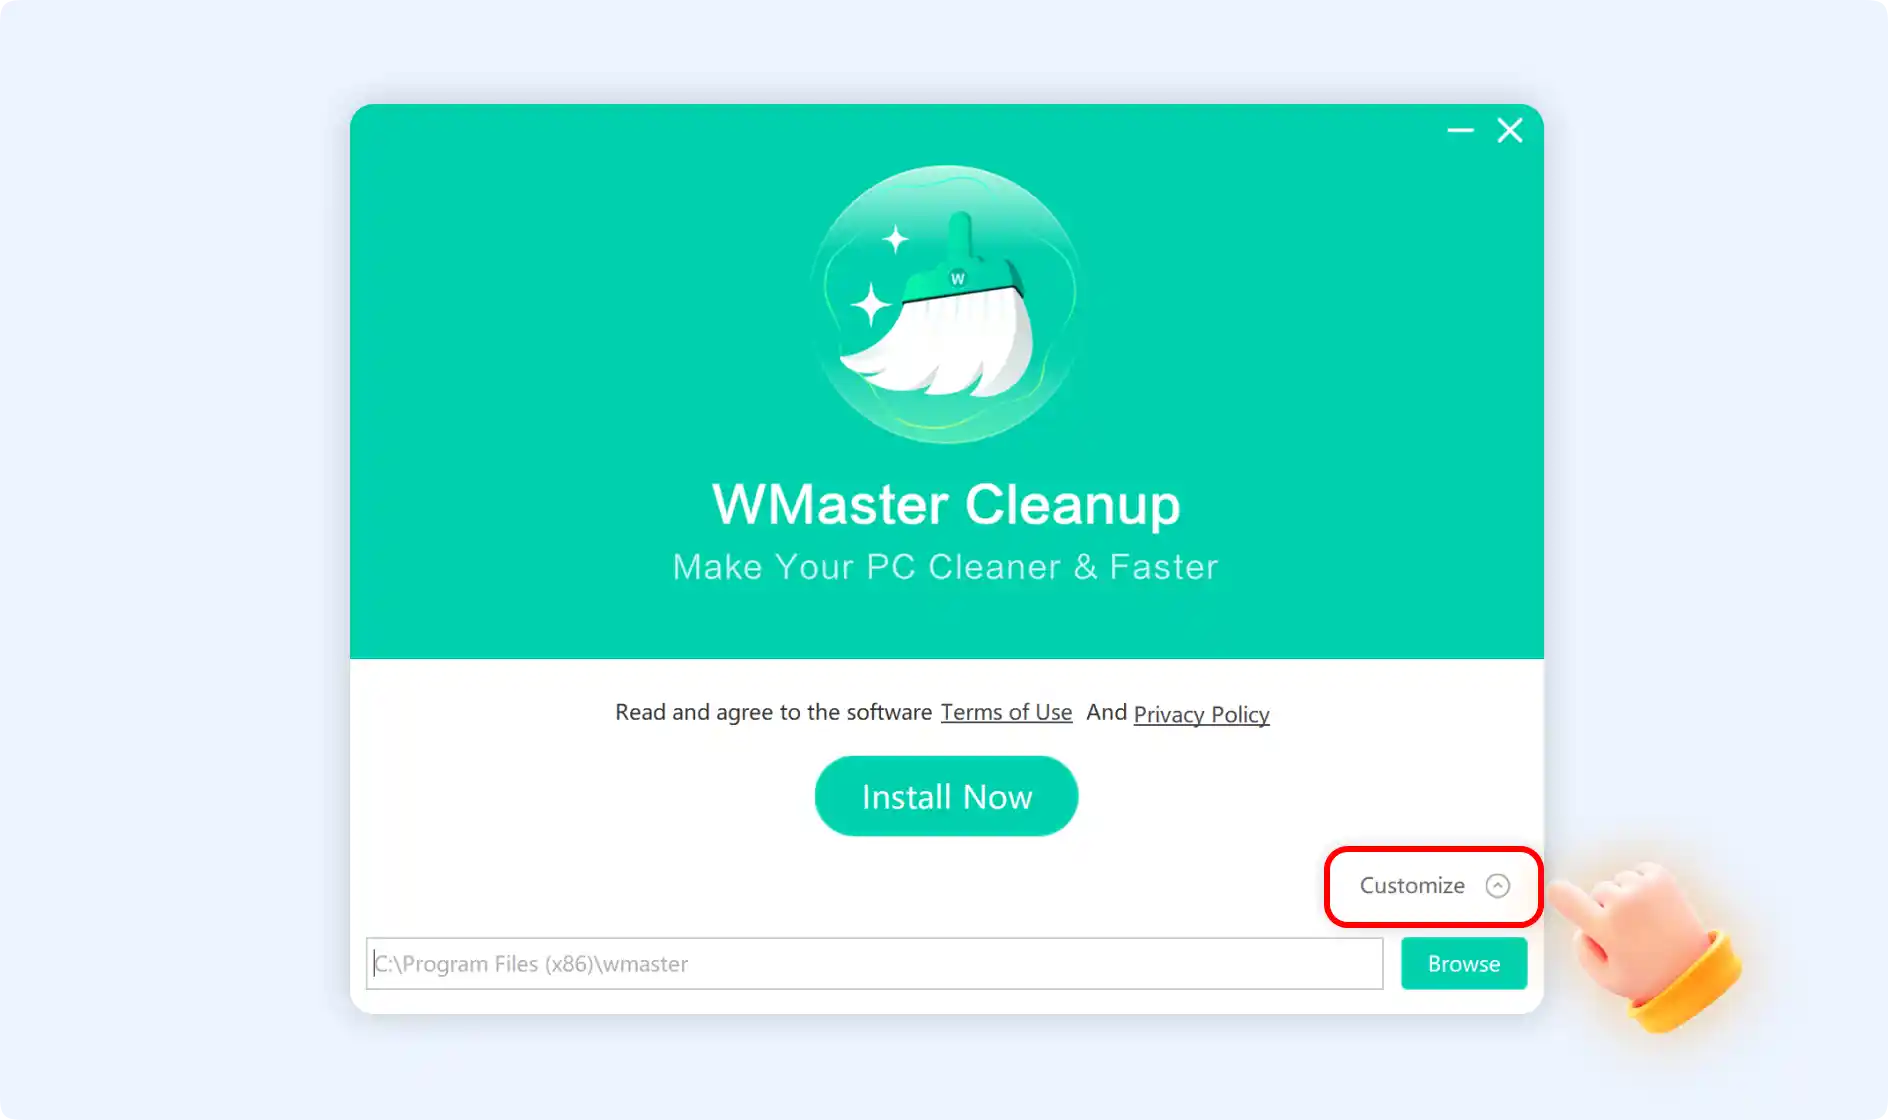
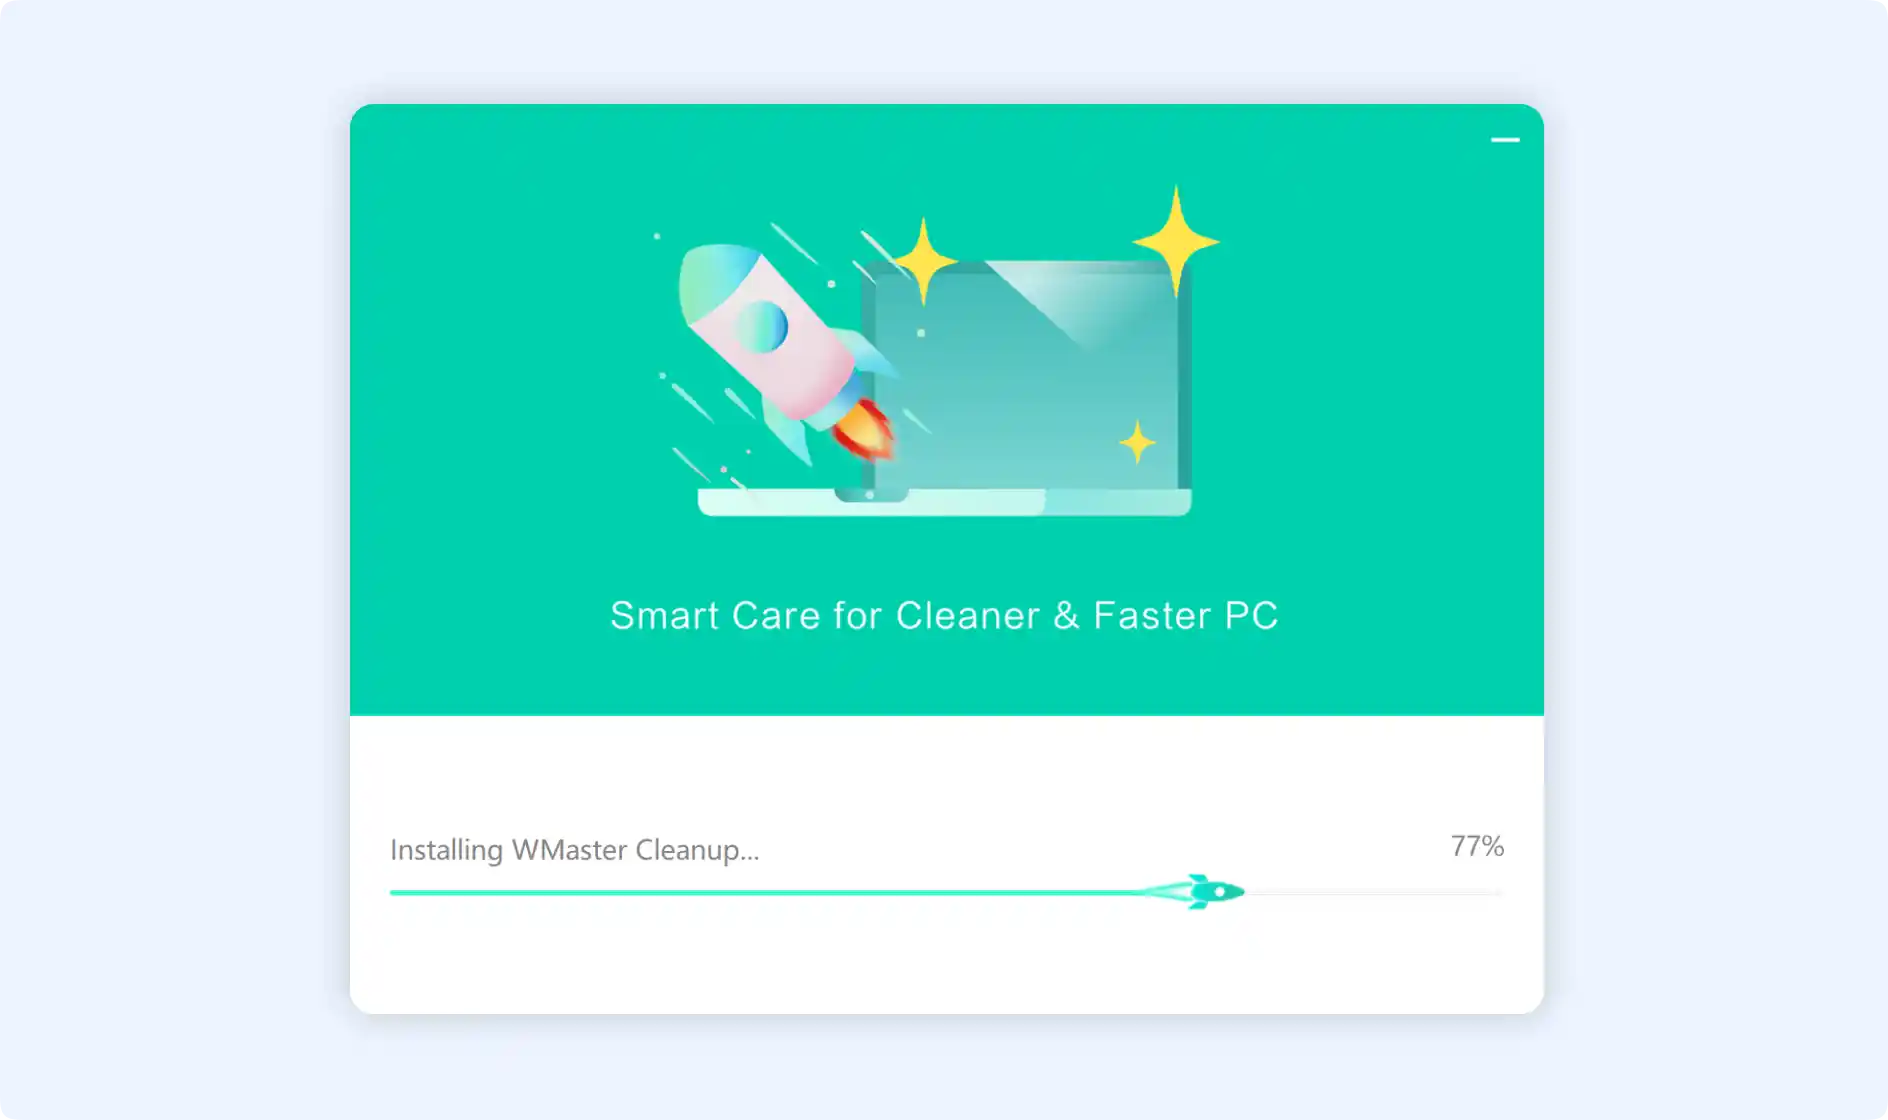
💡Tips:During the installation process, you cannot cancel the installation. Please be patient while the installation is completed.
Step 3: Launch WMaster Cleanup. WMaster Cleanup only takes a few seconds to install. To open WMaster Cleanup right away, click the "Start Now" button in the prompted window, shown as below.
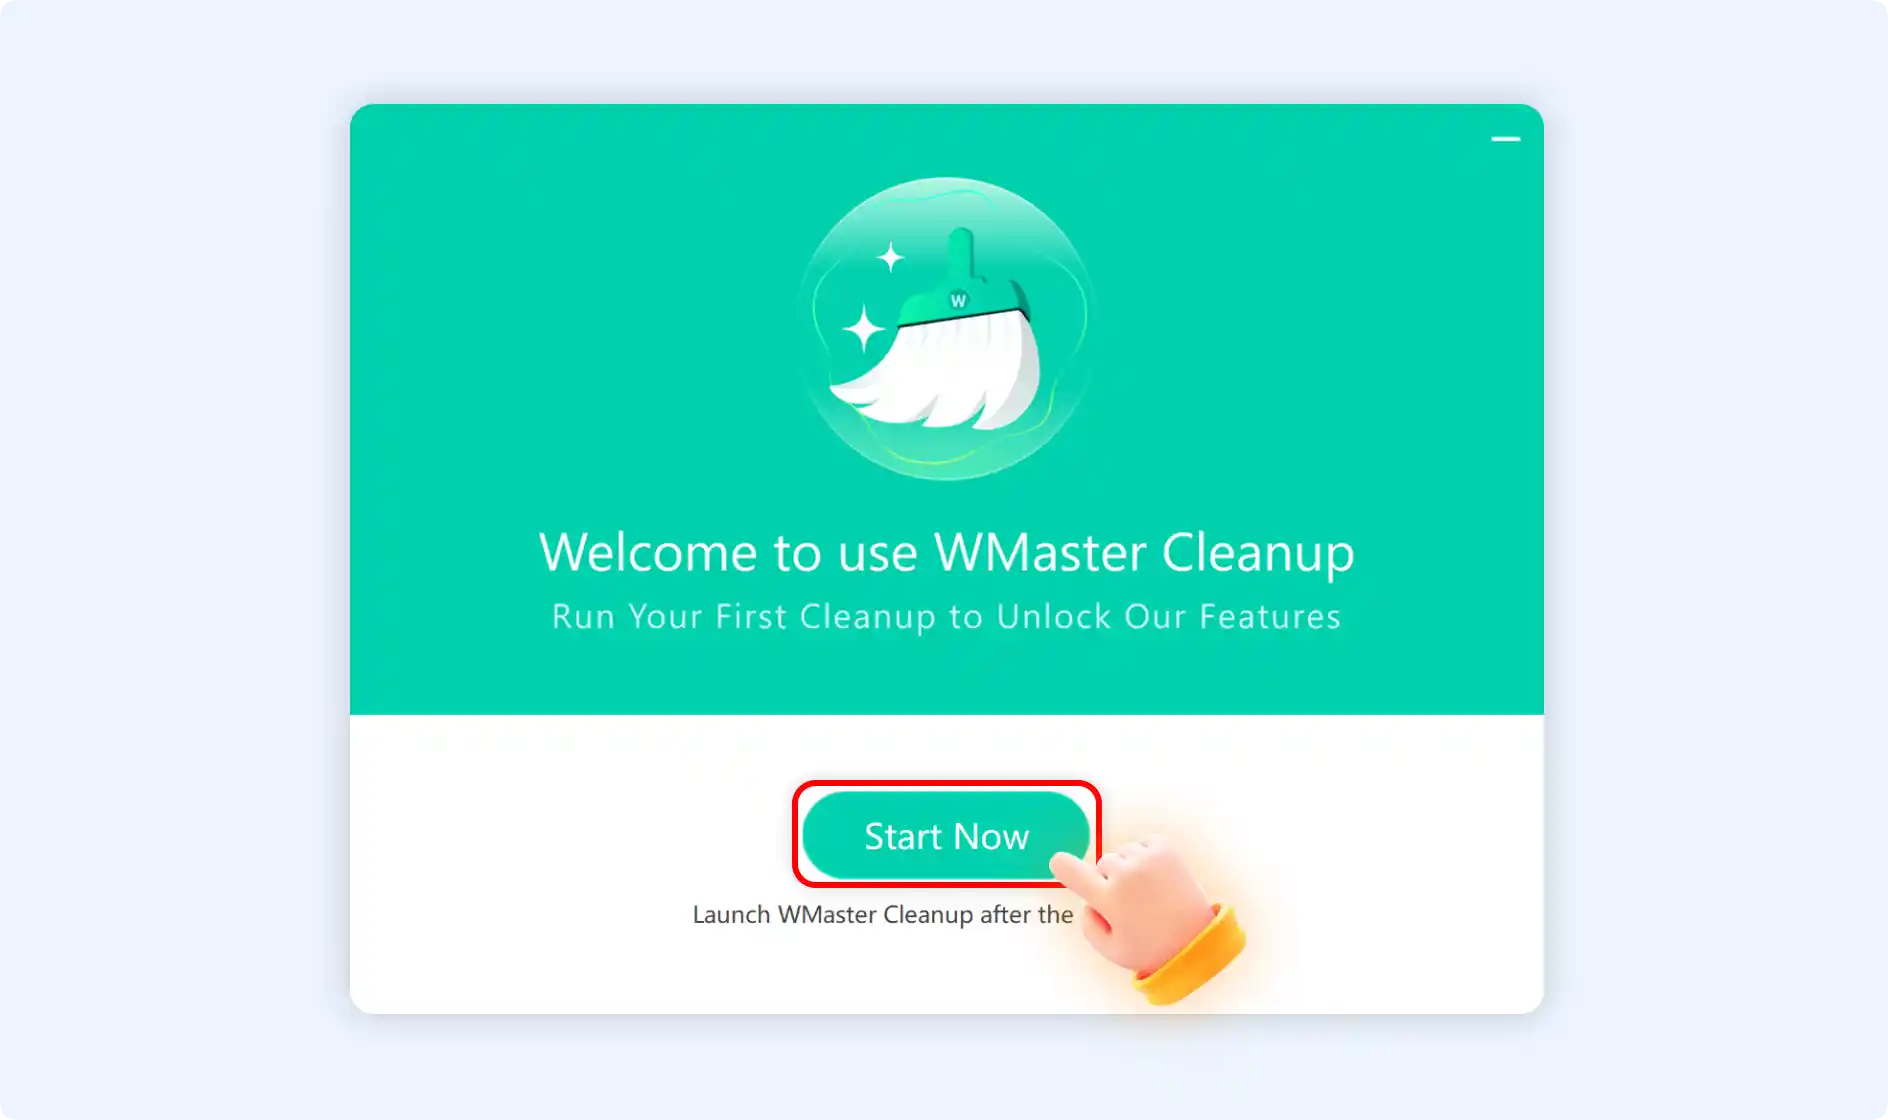
💡Tips:WMaster Cleanup will not be initiated on your PC until you select "Start Now," in order to consider the user's privacy concerns. This interface confirms that the installation was successful and that WMaster Cleanup is now accessible at the preferred location or the default location.
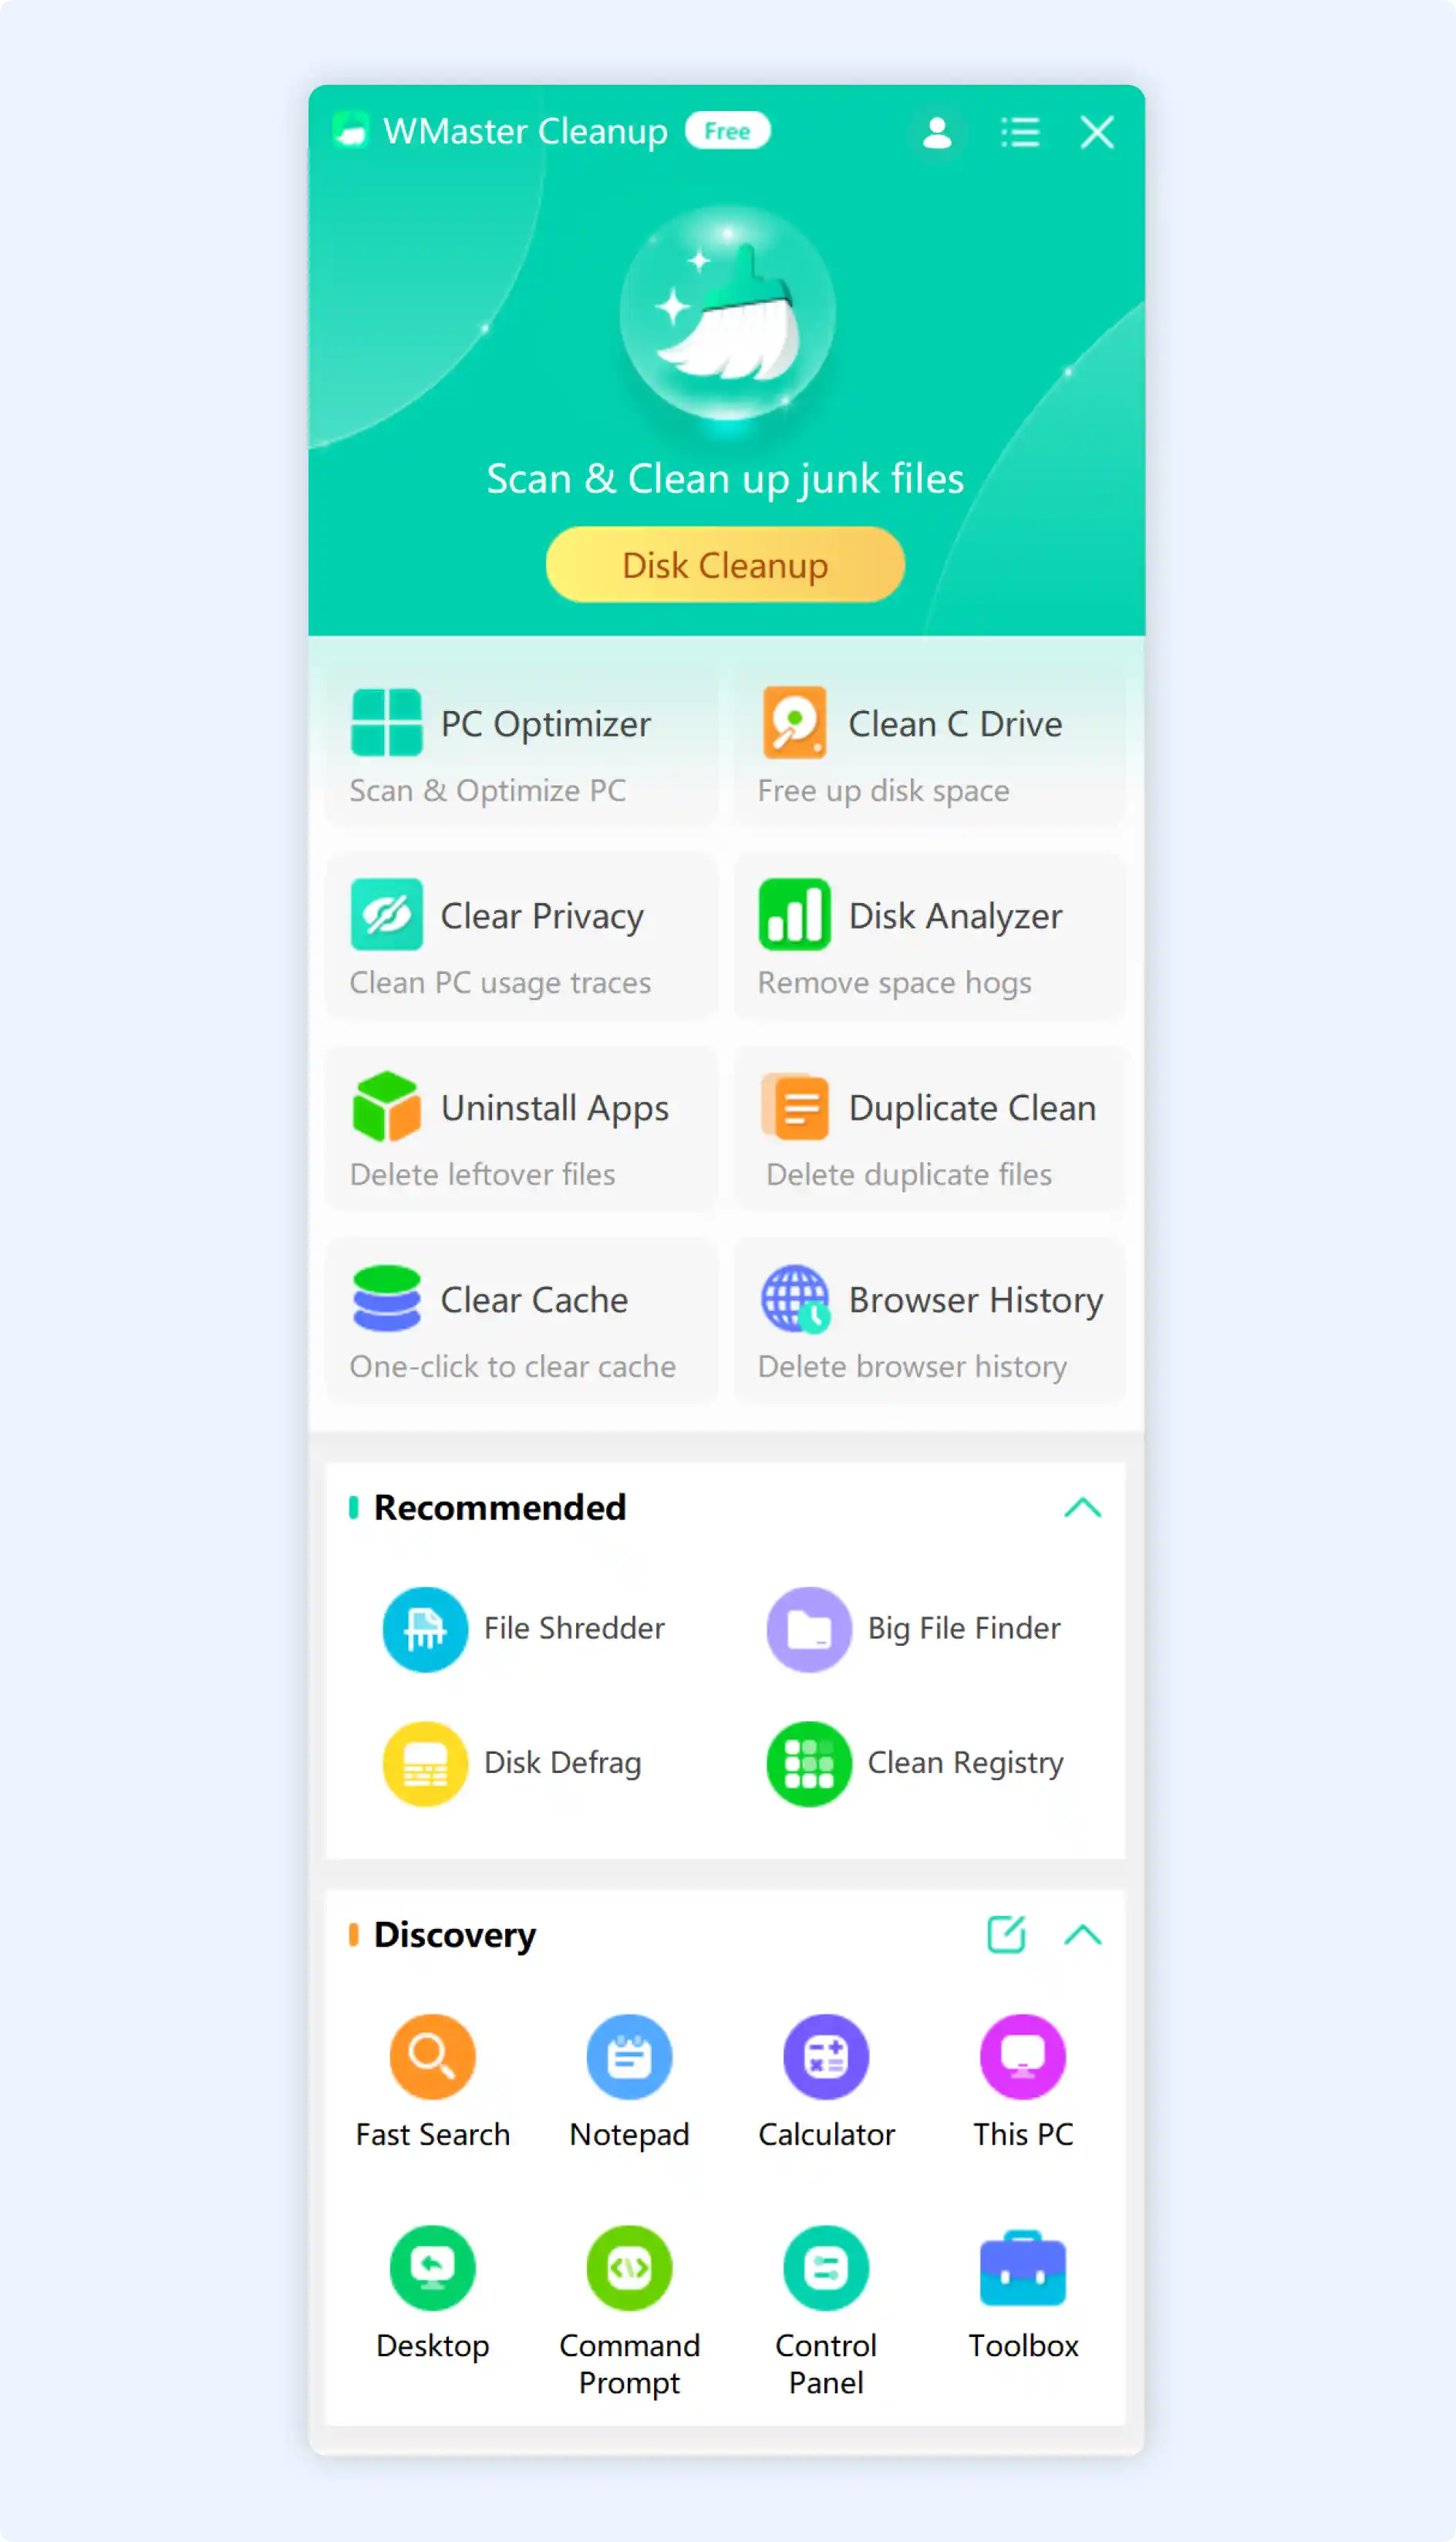
Step 4: Lastly, once you click “Start Now,” the main window of WMaster Cleanup will appear instantly, as seen below.